How Joanne and Milo Butler undertook an eco renovation of their 200 year old property using eco materials such as fibreboard insulation.
In this article, Joanne and Milo explain how they undertook their eco renovation project, including:
- Getting rid of roof leaks and draughts
- Full details of the insulation upgrade using hemp and fibreboard
- Larch cladding details
- Lime plaster process
- The need for planning permission for the 6sqm extension
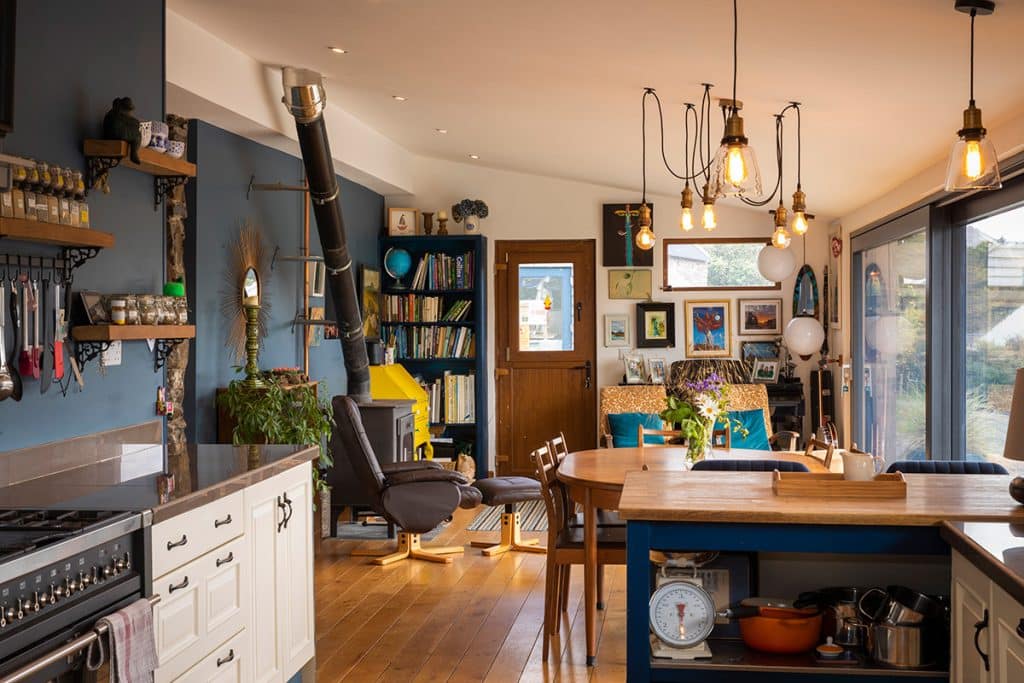
- Repurposed kitchen and internal finishes
- Stone slates – how to find salvaged ones to reuse
- Solution to house with no foundations
- Steel reinforcements for the ceiling
- Installing the wood burning stoves, one with back boiler
- How the composting wastewater treatment system works and how it was installed
- DIY rainwater harvesting system
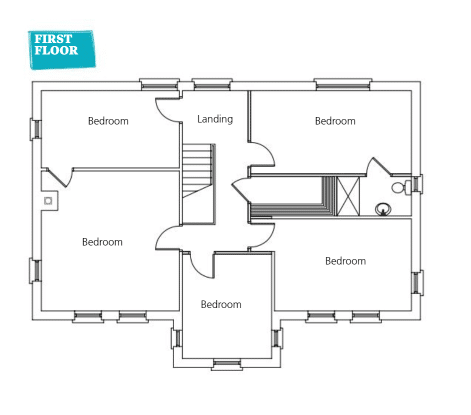
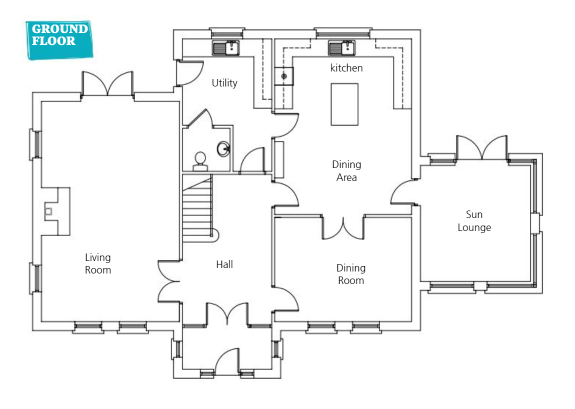
- Floorplans and suppliers list
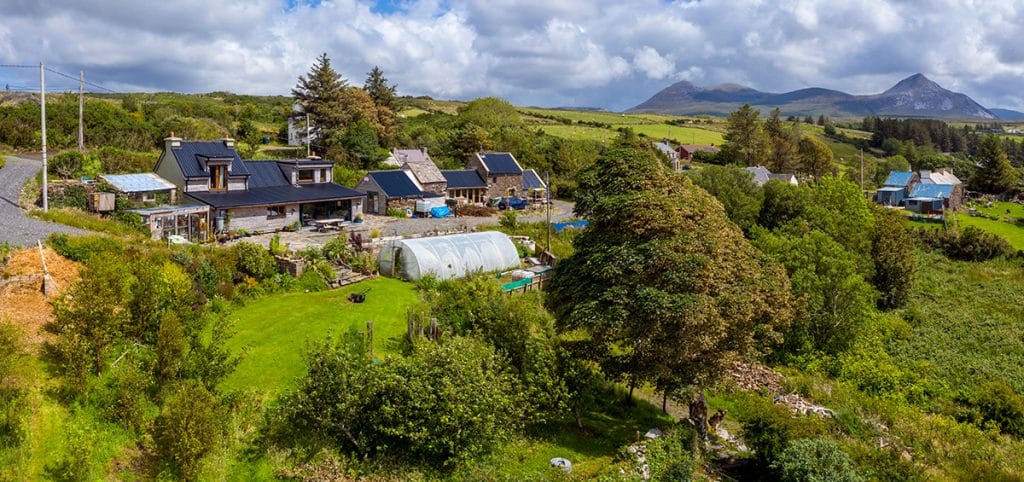
Renovating a 200 year old stone building often involves managing moisture – and that was true of Joanne and Milo Butler’s renovation project. But their eco renovation project presented an additional challenge. Finding a replacement stone roof covering…
“We bought the house 13 years ago from my in-laws,” says Joanne. “They had bought it 30 years previous, when there was a tree growing in the living room! They renovated the house as their holiday home and added a 30sqm kitchen lean-to extension at the back.”
House size before: 1,200 sqft
House size after: 1,300 sqft
Bedrooms: 4
Plot size: 4 acres
Build method: extension in timber frame
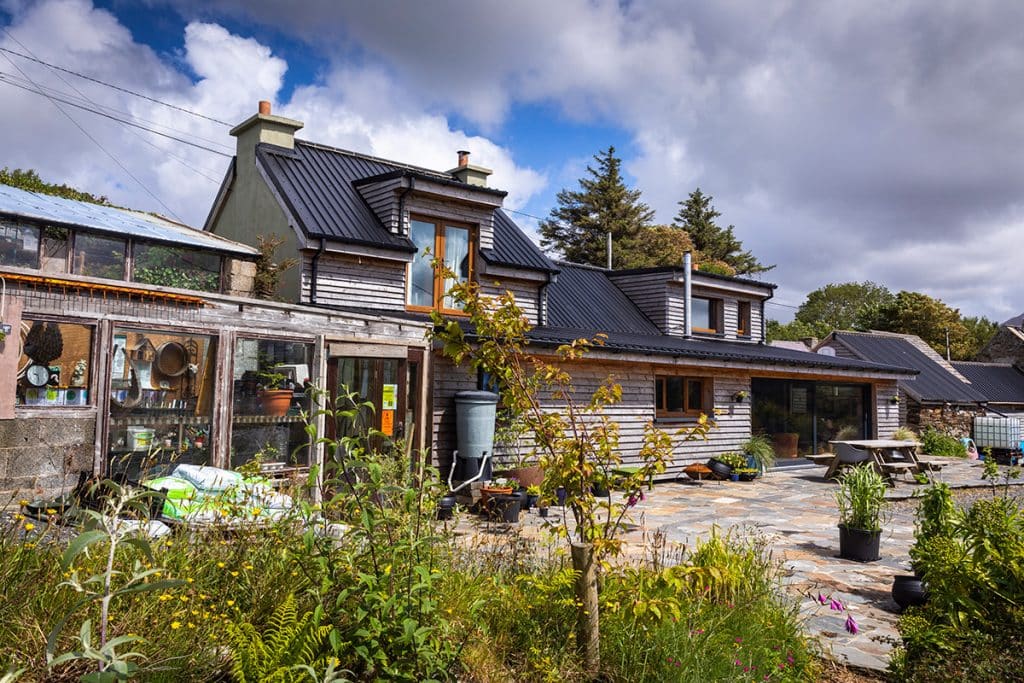
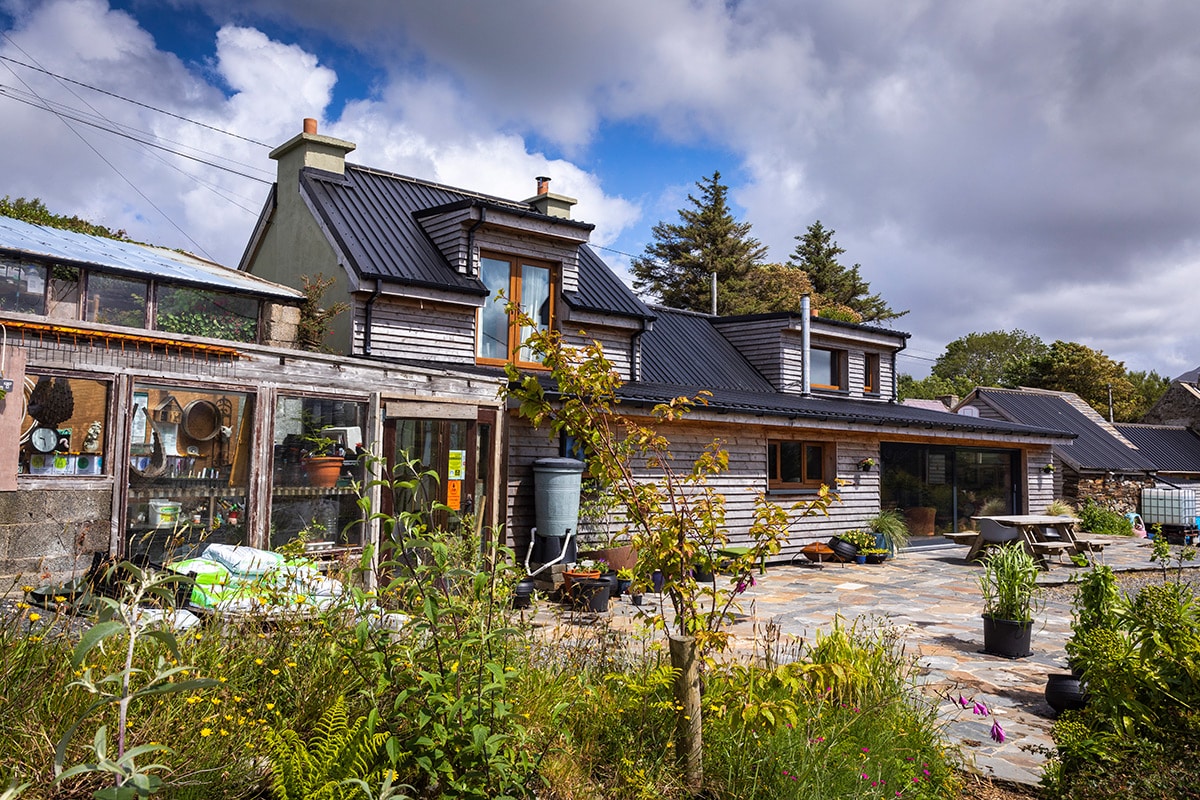
Extension walls: proprietary timber frame system with tongue and groove panels, 60mm hemp between the timbers, then fireboard, then felt, then battens, then larch cladding.
Roof: same build up as for the walls with insulated tongue and groove panels.
Heating: two wood burning stoves, one with back boiler for heating and hot water
Ventilation: natural
“When our in-laws moved into a newly built house nearby, we bought this house from them. We spent approximately €60,000 initially to rewire it, replumb it, get double glazed windows and dryline it as best we could. We also added a 9sqm bathroom and started a little bit of work on the entrance. But even after all of that, we still had leaks in the roof and plenty of draughts.”
“Our eldest was two when we moved in, and we had two more children after that,” says Milo. “For nine and a half years, we were running around with pots when it rained.”
“In 2016 we decided this would be our forever home, and as we were left an inheritance we decided to take on our big build. We only added 9sqm this time again because we had enough living space. But we wanted to make it warm, light and turn it into a really enjoyable space to be in.”
“In total, we were increasing the footprint of the lean-to, to more than 40sqm, so we had to apply for planning permission,” adds Joanne.
“While we were at it, we applied for a change of use on the old outhouses. The house came with seven stone buildings and over the past 10 years we had been adapting the sheds and reroofing them one at a time, to eventually convert them to commercial use for our small garden business.”
“This was when we set up OURganic Gardens – an educational garden to provide courses, volunteer days, experience and training as well as community garden events and garden walks. For this purpose, we also added two new builds: a shed and a potting shed.”
Squaring off the house
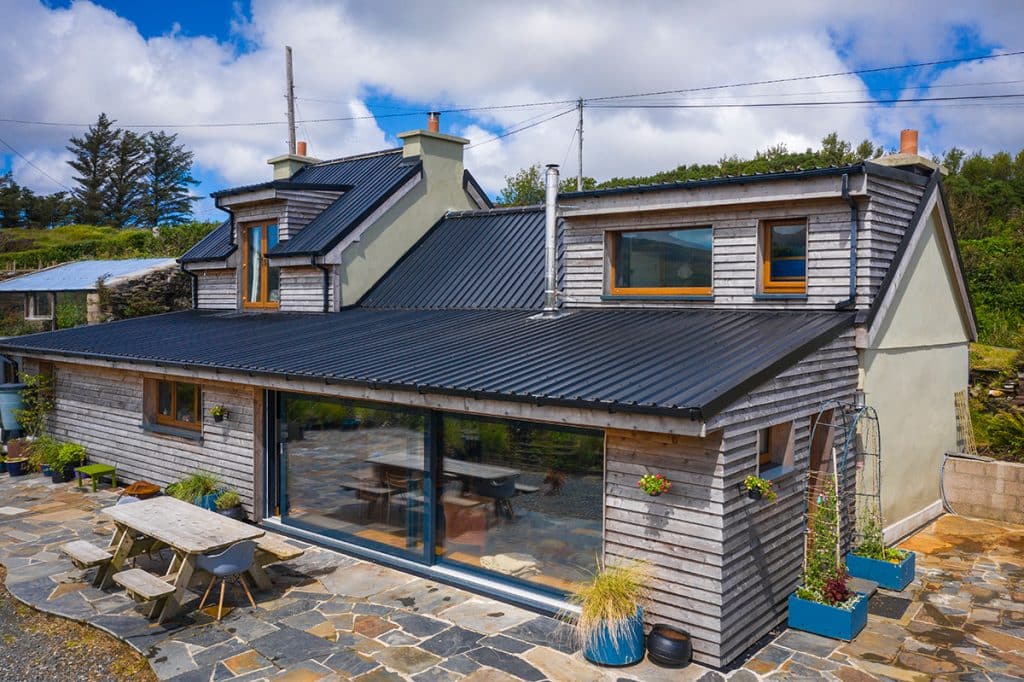
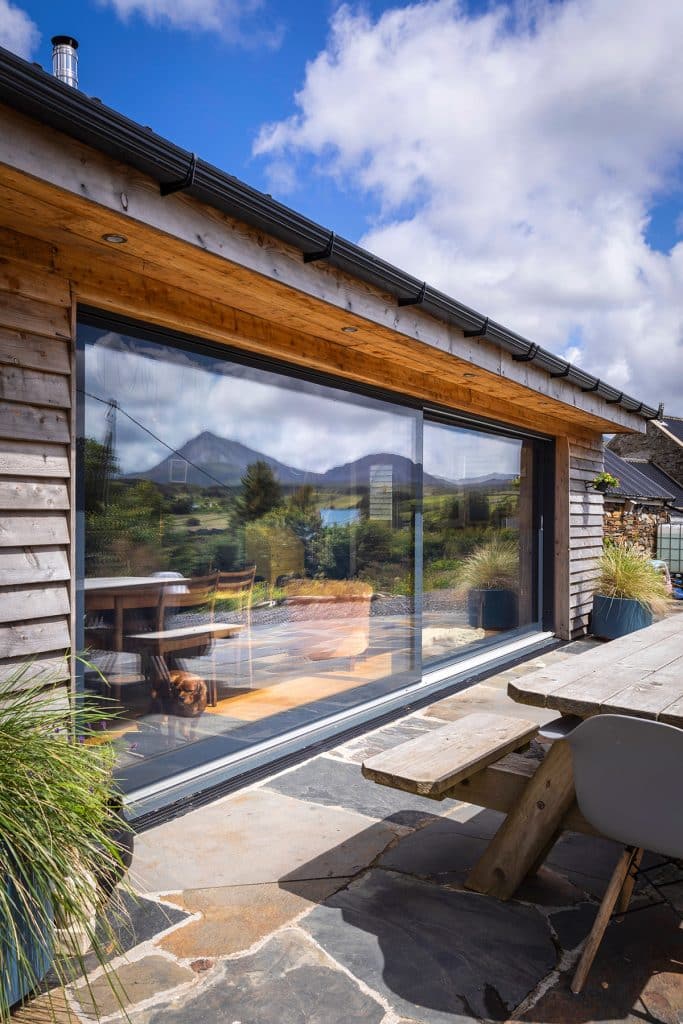
“We went to Selfbuild Live in 2016, where we saw a stunning set of sliders; we loved the idea of having large glass doors to access the garden, and bring the indoors out. That’s really what inspired the extension project,” says Joanne.
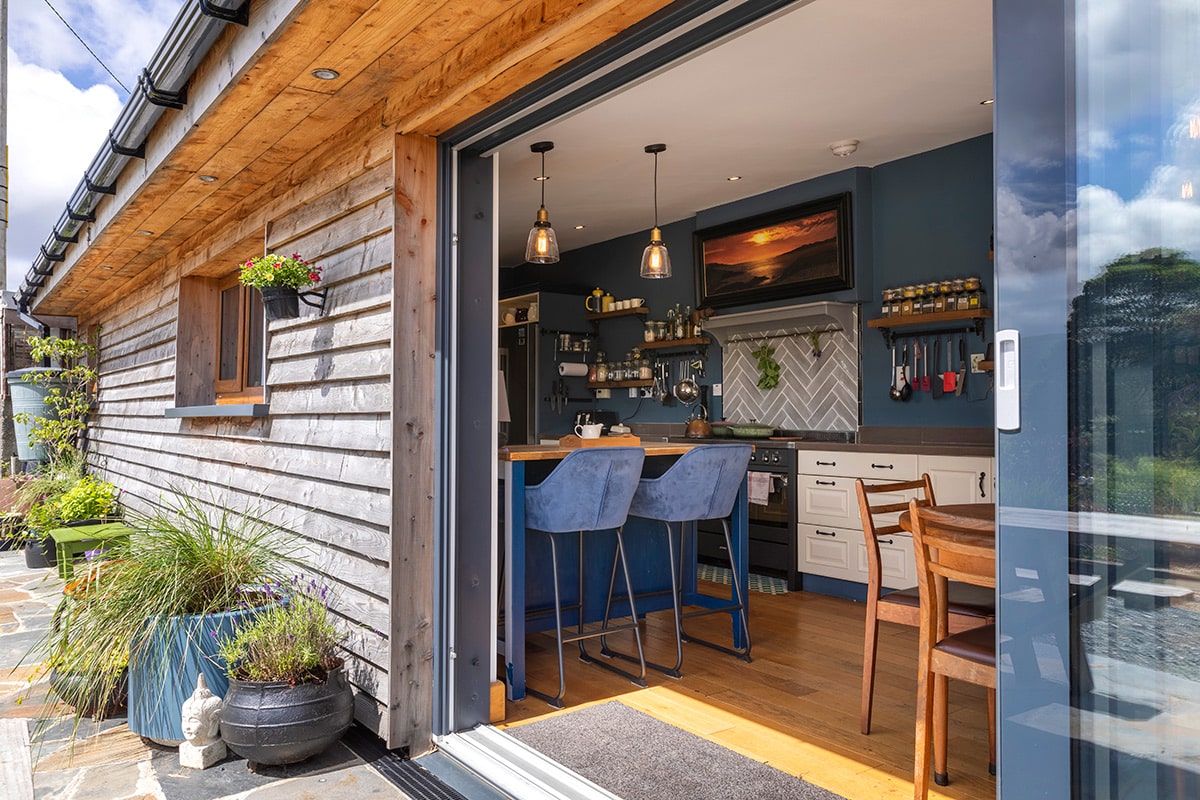
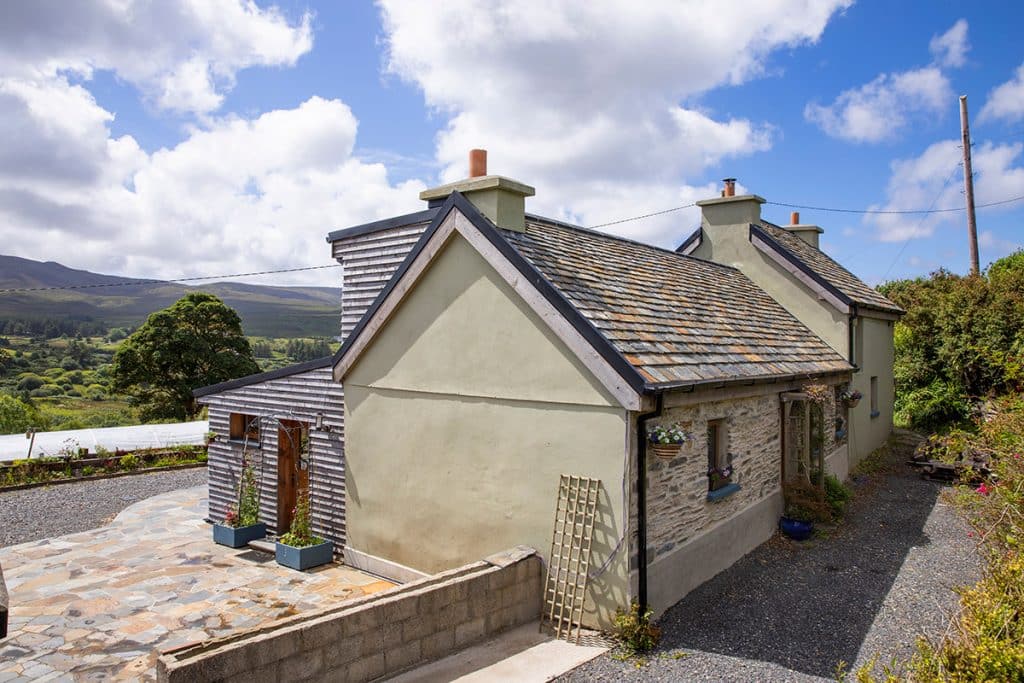
“We squared off the extension with an externally insulated timber frame structure,” says Milo. “We had looked at straw and cob initially but we didn’t have the skills, nor the time.”
“So we went for a modern day eco solution, a proprietary airtight German system which includes hemp between the timbers.”
“The insulating wood fibreboard comes in 60mm tongue and groove 8ft panels. It would have cost us €3-4k extra for 100mm wood boards; instead we spent that money on sealing the gaps in the house.”
“I hated putting money into something we wouldn’t be able to see, but we can feel it. Last year’s bill on kiln dried timber was €750, and next winter it will be our own timber. Although, this year being at home a lot more due to Covid, the bills will probably be higher.”
“Upstairs the extension turned the roof into a dormer, and the frame is in the same timber frame build up. The ceiling downstairs has hemp insulation. We didn’t upgrade the rest of house because we had drylined it 12 years previous. The old stonework was pointed with lime plaster including internal bedrooms and kitchen.”
“Then we lime plastered the walls and used lime paint everywhere. It was overall more expensive, and a slower process, but we wanted an eco friendly option. It also yields a warmer finish.”
“We hired mostly local people to help out, and there were a lot of calls to friends when we needed manpower as well. I was chief engineer and project manager,” adds Milo. “We mostly had two local guys who did the majority of the building work, and this eco stuff was all new to them but they got through it with amazing efficiency.”
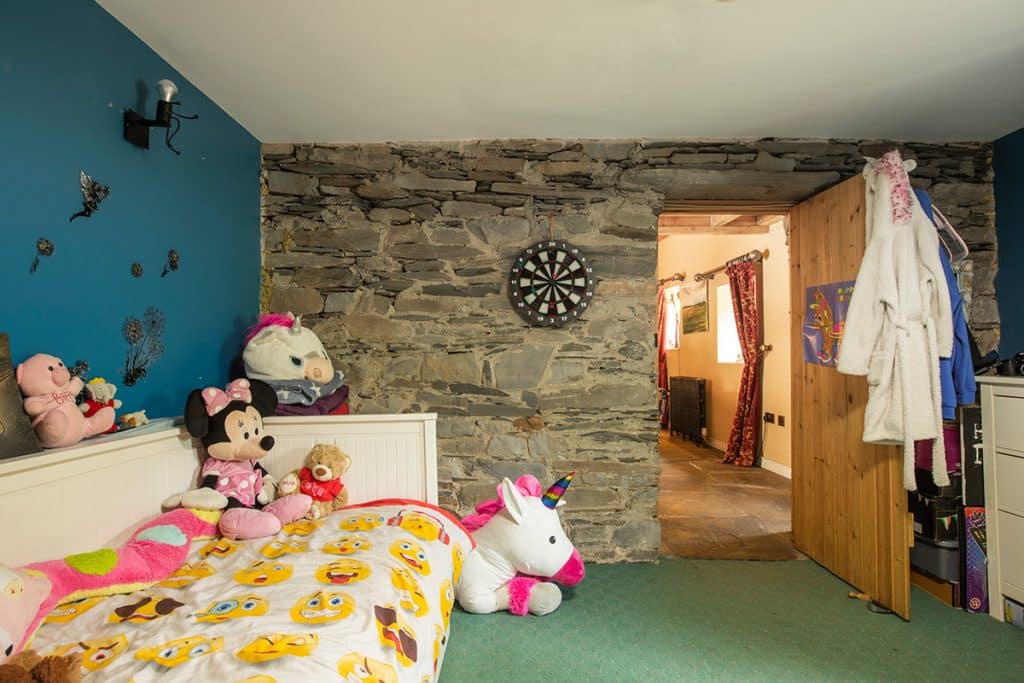
“My job was to keep the interior decoration frugal,” says Joanne. “So everything had to either be second hand or free. That saved us a lot and it was also the eco friendly approach what we wanted to maintain. We were lucky that a friend of ours gave us first dibs on a shed full of furniture they were getting rid of.”
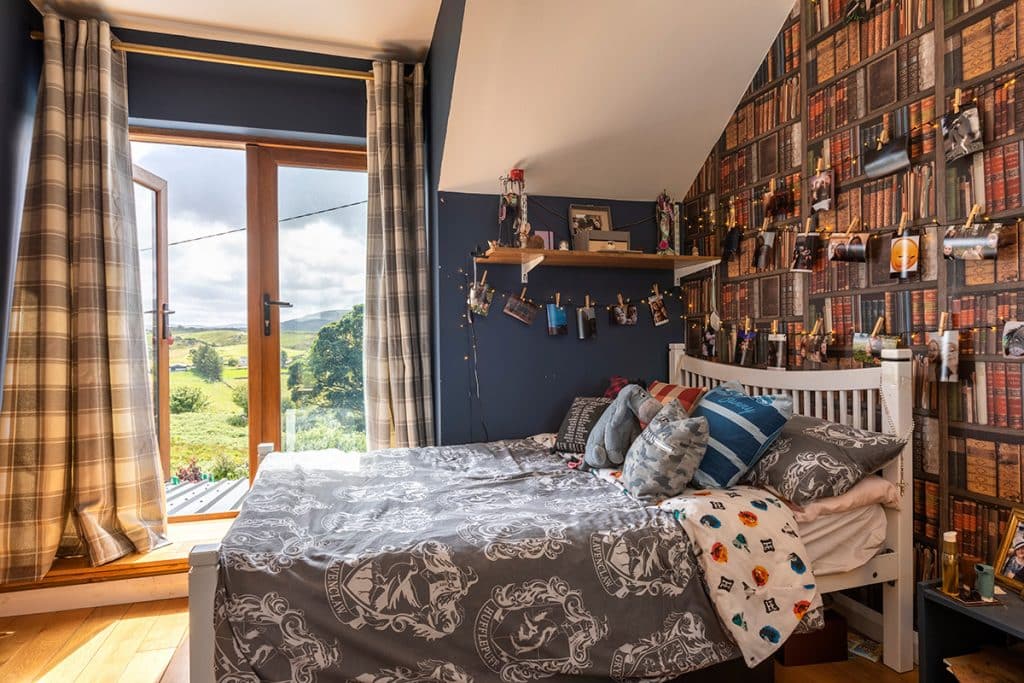
“We had a set of double doors which we kept and repurposed in the bedroom upstairs and the window that used to be in the kitchen went into the dormer as well,” she adds. “Also our main door used to be the back door, but now we have the big sliders and two small windows upstairs including the emergency exit window as required in the building regulations.”
Eco renovation: roof, ceilings, and floors
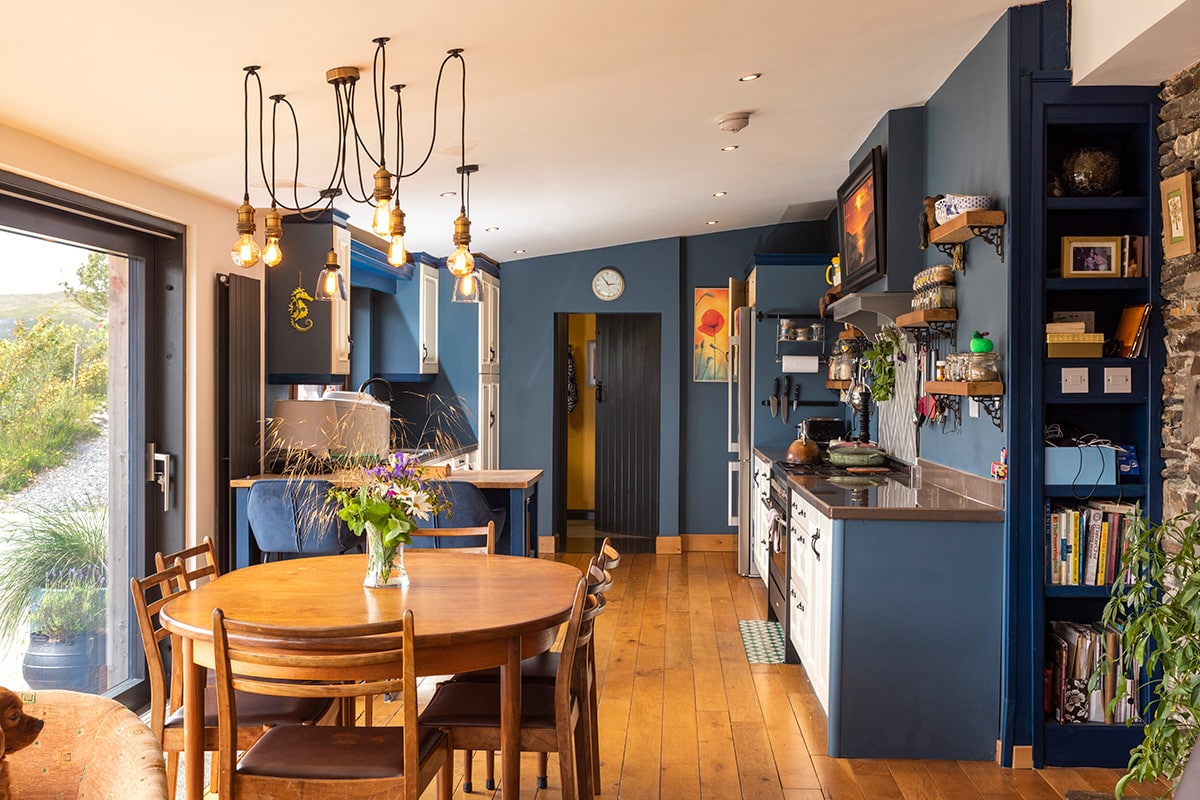
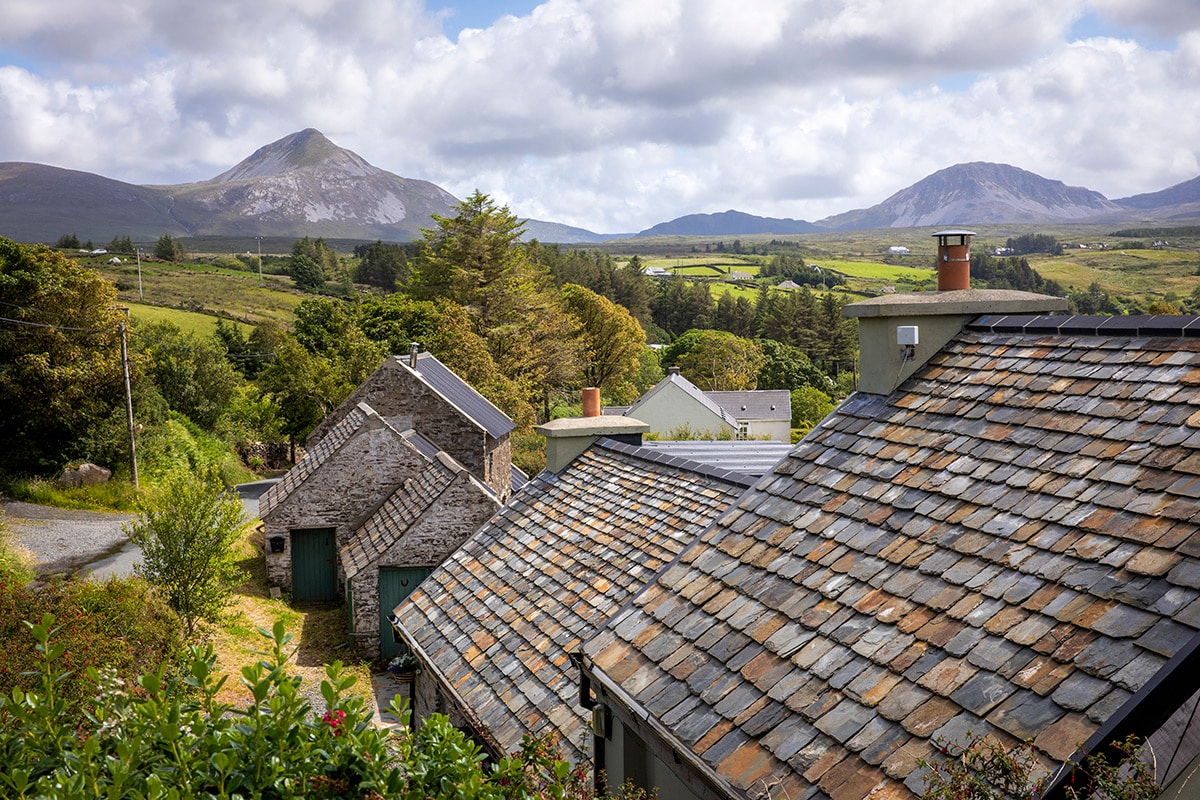
“When it came to the roof, thankfully the rafters were ok but we had to replace the covering. At the front of the building we have stone slates – it’s literally an all stone building.”
“Stone roofs are unusual, and these stone slates only come from our area. Our builders had to cut the slates to get them to fit and used the con saw and angle grinder.”
“The slates came half an inch to one inch thick, and we had to grade them so as to put the smaller ones the higher we got, and make sure the thicknesses matched up ok. It was a very slow process.”
“We put black uPVC coated tin on the back of the house to catch rainwater, it’s a clean way to collect it, and because of our insulation it’s not any noisier than the alternatives.”
“To insulate the roof, we put the same insulated boards as for the walls on top of the rafters, then breathable felt and tape, sealed on all wall plates, and on the stone gables. The roof is totally airtight but nothing is square, so it took a while.”
“Stripping the house back, we came to the point where we were checking the foundations in the kitchen extension that our in-laws had previously added on.”
“We soon found out, to our despair, that there were no foundations to be had so we had to dig under the back of the kitchen and put in 1m of concrete to create a foundation for one of the steel legs, that would connect to the steel beam to hold up the roof, so we could get rid of the wall at the back of the house.”
“I contacted a local steel company who got their structural engineer to do the calculations for us, and they also specified the supports, and a tie into the old house.”
“Then when we cut a door through one of the stone gables we needed a piece of steel in a hurry to join two purlins together. I measured it all up, drew a design diagram and sent it to our steel company and I was able to collect it that same day. Amazing.”
“In places we had to do a couple amendments, but we didn’t disturb any of the ceilings apart from the one in the kitchen, which came down of its own accord due to internal dampness over the years. Thankfully we were all in the living room when we heard the ceiling fall down – luckily no one was hurt.”
Eco renovation: water treatment
“A friend of ours put us onto a Swedish wastewater treatment system, that we eventually went with. We had to provide all of the paperwork for planning purposes. An independent site assessor came out to do the survey and checked all the certificates. Then we got a site visit from the council and they were happy with everything.”
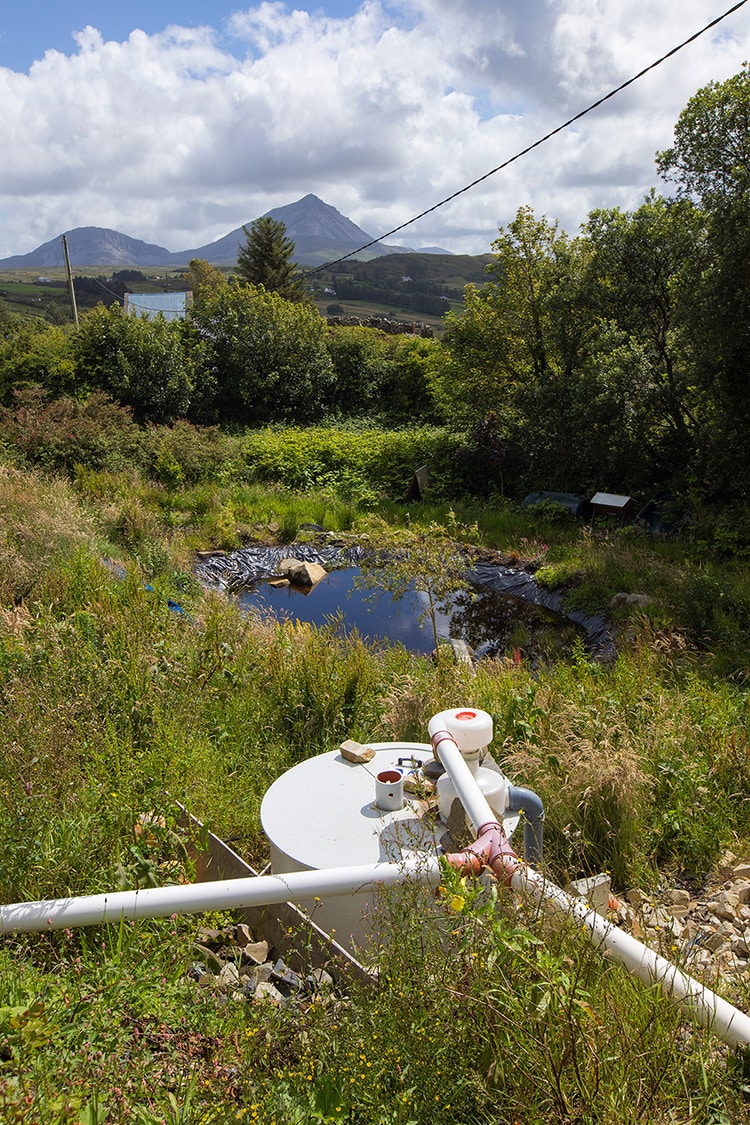
“The system splits the liquids and solids; there are four chambers and no desludging required as the solids are turned to compost. There’s some maintenance to it, in that you have to add worms for the composting process, and it needs to be in a warm environment.”
“The liquids are then directed to a reed bed soakaway pond for tertiary treatment. We had to design a large system because the plan is to host garden and permaculture courses in the future. The reed bed was done by a professional who designed and planted up using the best plants for the job.”
“We will be building a mini shed around the compost area to increase the temperature as we have since observed that it takes longer to turn to soil than we would like it to. We’ve had it for over a year, and we just emptied the chamber.”
“It was about 70 per cent compost, the rest was left in. We have made a specially zoned long term compost bin to allow that compost to finish fully decomposting. In roughly two years we will be able to use it on trees that don’t bear fruit, in the forest. It cannot be used on any edible food plants.”
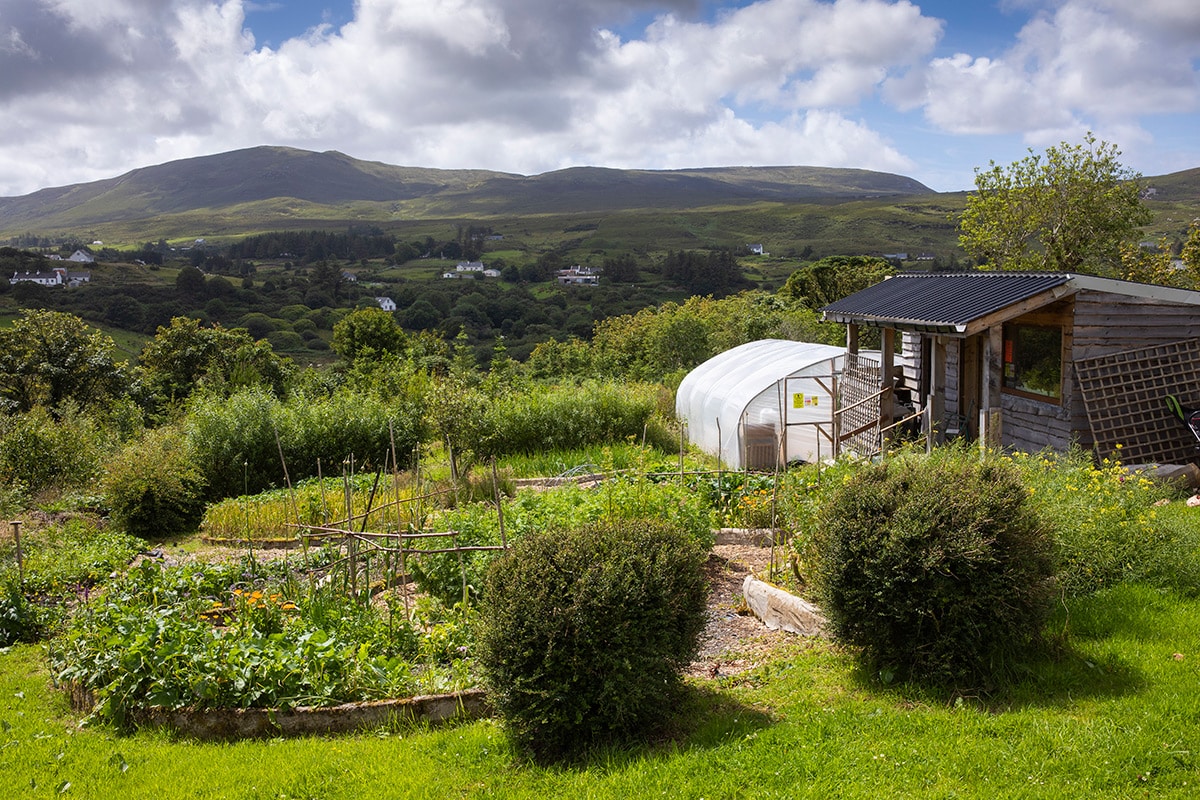
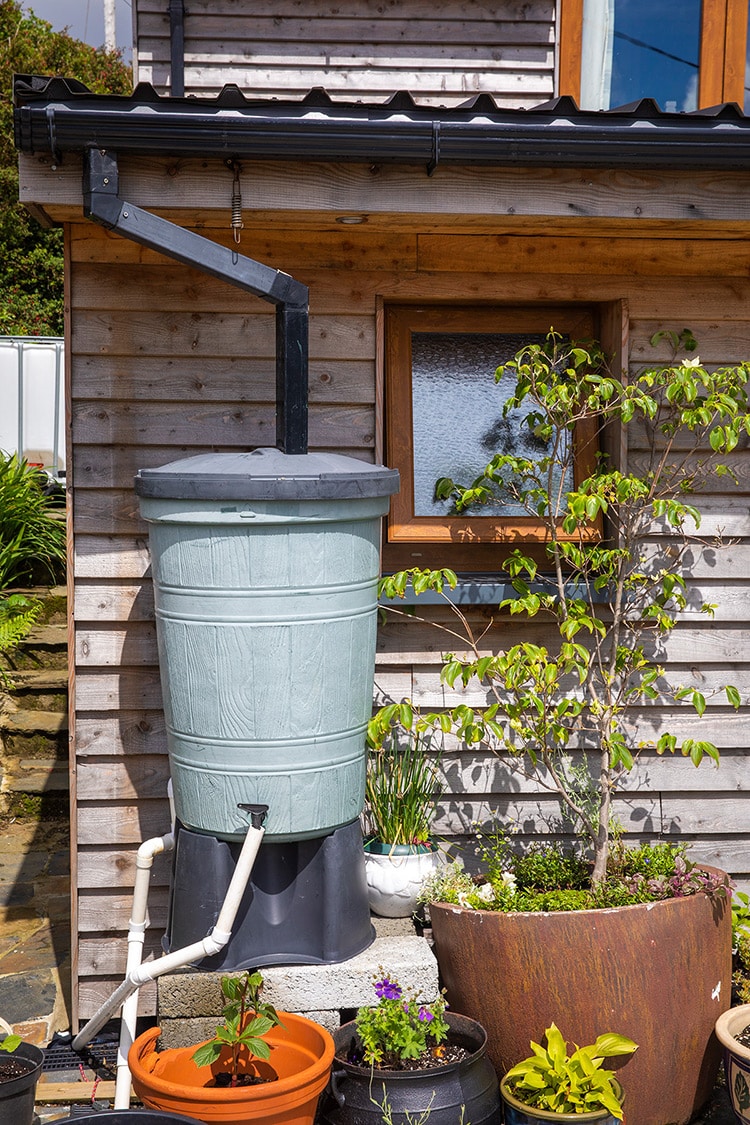
“For the rainwater harvesting system we did our research by visiting people’s homes. We initially installed one, just for the garden and polytunnel, with a 4,000 litre tank, fed from the roofs, and filtered through a smaller tank which holds the debris. It’s 50m away from house and gravity fed. We need to keep the sun away from it, so we plan to add a hedge, to stop algae from growing.”
“Our plan for the future is to use our rainwater for drinking and washing but we would need to add another 6,000 litre system with UV and mineral filters, which would cost €3-4k. The location is organised, and we will need to use a particular type of guttering, so it will wait until funds allow.”
Eco renovation: heating and ventilation
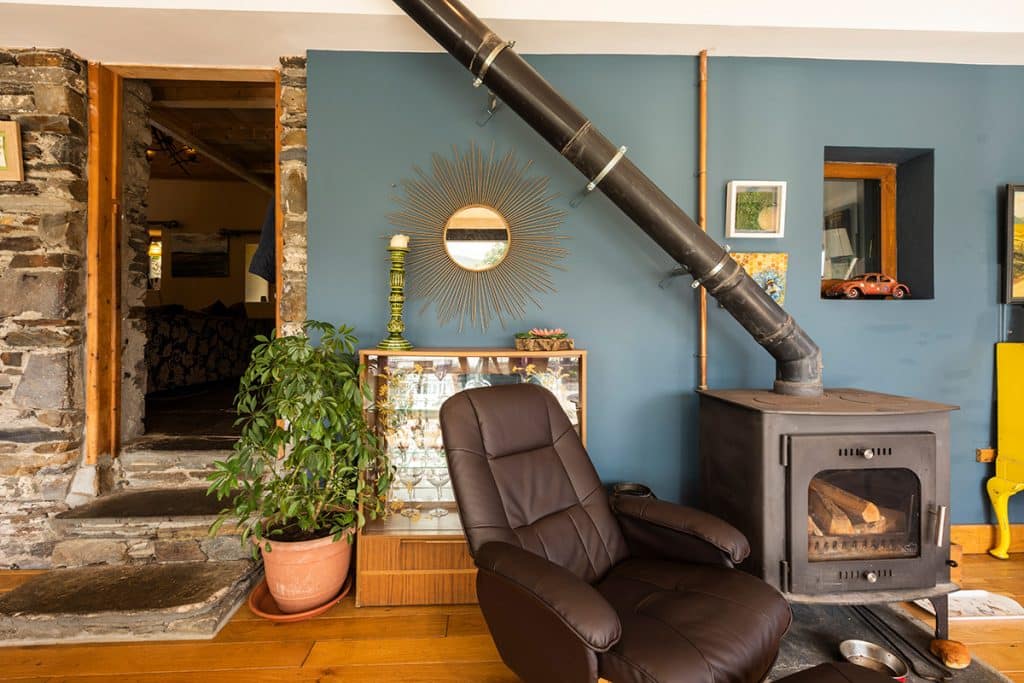
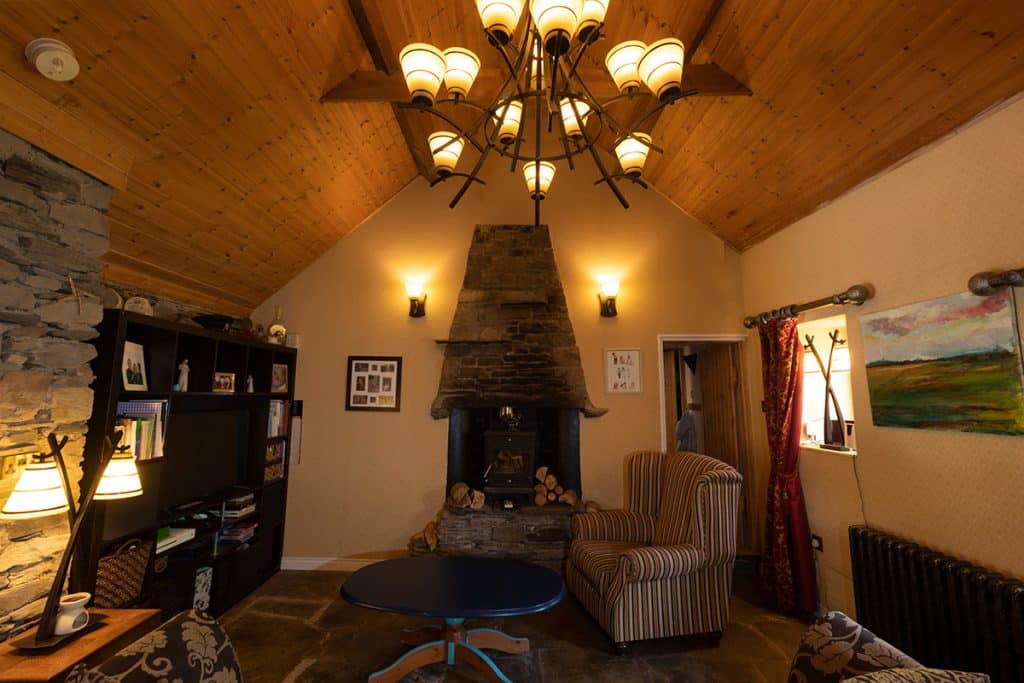
“We looked at a centralised ventilation system but we would have had to amend the ceilings and walls. We used to have an oil boiler but as we have a woodland, we decided to get rid of it and we now have two stoves. One is just a small space heater for the living room, the other has a back boiler for hot water, as well as heating and two hot plates for slow cooking.”
“The back boiler heats the radiators and hot water, we have seven radiators downstairs and one upstairs. On the colder evenings during spring and summer we light the big stove for a few hours. This keeps the house at a nice temperature and tops up the hot water. We also have an electric shower with electric immersion.”
“Good quality dry wood is enough, and in 5 years’ time we hope to be self-sufficient with our heating. The ashes from burning the wood are reused in the garden as fertiliser.”
“It can get very warm upstairs in winter so we plan to get a fan to move the warm air around the house; we are looking for one that isn’t noisy.”
“When we were removing the oil, we had looked at biogas and have all the pipework there if we want to change in future. We have the facility to take a boiler should that decision be made.”
“An air to water heat pump would have been something we initially looked into, but we have no insulation in the floors. Bringing in a digger to insulate would have been too complex a job and cost prohibitive.”
“We knew from the start the eco renovation route would be more money, and that we had to make do with what we had. I’m glad we did it. It shows you can turn old into new. It’s our retirement plan as well.”
“We couldn’t do everything on our to-do list, as we invested in the sliders and the insulation system,” says Milo. “But we have plans for solar panels (which would have to be land mounted to get optimal sunlight, or possibly go on a shed roof), a wind turbine is also on the cards, and of course our full rainwater harvesting system is also in the works.”
Q&A with Joanne and Milo
What would you change?
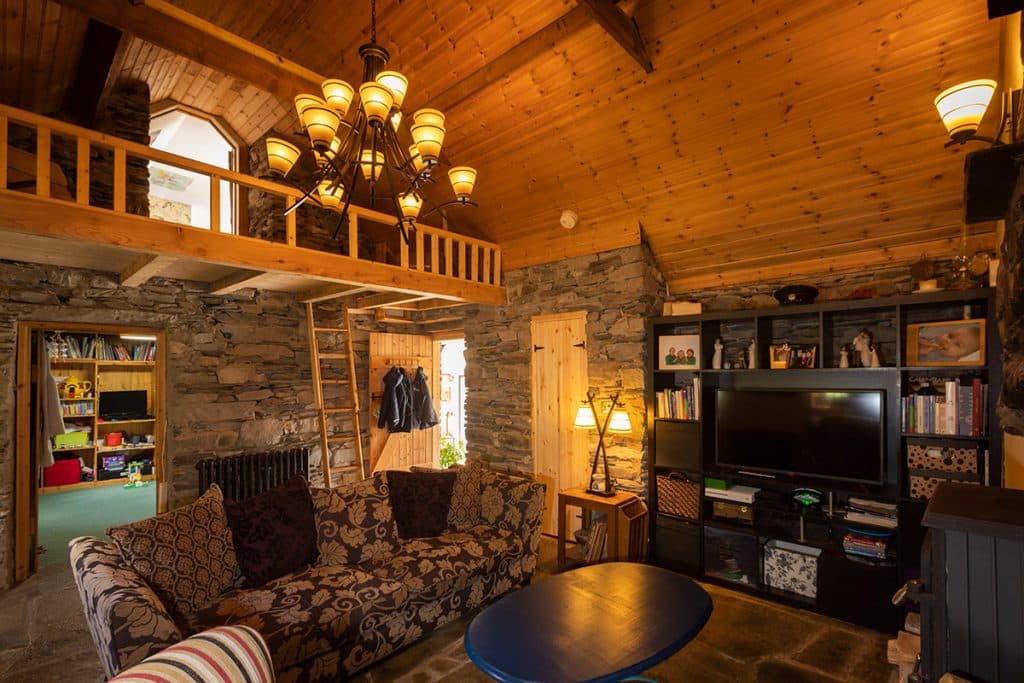
We used to have a ladder staircase in the living room to the upstairs bedroom and had to change that fairly quickly because it wasn’t safe, so we recently installed a spiral staircase .
What single piece of advice would you give a renovator?
I think the most important thing is to make decisions quickly when it all gets going. It’s true that you have to try and pre-empt what might go wrong but there comes a time when you have to decide. We spent two years asking people who’d gone down a similar route, how they did their renovation. But you have to take the plunge some day.
Would you do it again?
Yes, and with the same method. We had a lot of lists, excel sheets. Double checking everything. We also had a plan ready for either a sunny or rainy day just to be on the safe side.
What are your favourite design features?
Probably the south facing sliders, which were our biggest splurge, but worth it. They get sun all day so even in winter there is no need for heating, we just need to light the fire in the evenings. The doors open in the summer and half the home is out in the garden. It’s fabulous.
Were there any surprises?
Perhaps most surprising was how much our teenage daughter got into the build. We did an interior design course together and she was transfixed. She helped us design wallpaper, soft furnishings and colour schemes. We all lived in the house throughout the build, which worked out great for us as an adventure, but not recommended for the fainthearted.
Joanne and Milo’s tips
If you don’t know how to do it , don’t try to do it yourself.
Before you do anything, ask the leading companies in that field all of your questions, as many as you can before spending any money.
Think of how it’s going to be finished.
The clearer your vision, the easier it will be to decide on exact measurements, socket placements, etc.
Costs can be hard to pin down.
On a bigger project, we would have gotten a quantity surveyor to keep us on track. And we did consider hiring one for our project but there were too many unknowns. For instance, we didn’t know how much of the roof would need to be replaced.
Double check measurements twice before placing your order, and also double check your quantities when ordering.
Our first insulation delivery was a full lorry just for us, (it was like Christmas!), and all of it had to be stored indoors – which meant we had to empty all of the sheds, and we had no forklift so it was all done by hand. It was a hectic day clearing everything out to make room for the stuff. The second delivery was just one pallet, which caused a delay as we had to wait for a full truck to be coming our way. Thankfully it only set us back two weeks as we ordered as soon as we realised we were short.
Seek out professional advice.
We got an engineer in for the site assessment, for the wastewater system, and had an architect draw up our plans for planning permission. We then relied on specialist suppliers for technical input. For instance, all of our window sills and door thresholds had to be individually designed to work with our larch cladding, so with the help of a specialist aluminium company, it was easy. And even when there was a problem with a door threshold not fitting, they replaced it very quickly.
Suppliers
Sliders (sliding glazed doors)
Lumi, lumiwindows.com
Full insulation system for roof and new walls
Gutex from Ecological Building Systems, ecologicalbuildingsystems.com
Site assessor
John Bonner, Consulting Engineer, tel. 074 954 2008
Wastewater treatment
Aquatron liquid/solid separator primary treatment from Herr Ltd,
herr.ie
Reed bed design and installation (tertiary treatment) from Alvin Morrow Reed Bed and Constructed Wetland Design, Installation and Maintenance, alvinmorrow.com
Window sills and thresholds
NW Aluminium, nwa.ie
Steel
Henry McGinley & Sons Ltd., henrymcginley.ie
Larch cladding
Mc Fadden Timber Yard, Kilmacrennan, tel. 074 913 9026
Photography
Paul Lindsay, paullindsayphoto.co.uk
NI calling ROI prefix with 00353 and drop the first 0

