Self-builder Enda Kenny explains how he went about the site assessment stage of his self-build project.
In this article we cover:
- How he set his budget
- How he went about the site prep
- Dealing with site specific issues
- Services and planning red flags
- Hiring an architect
- Timeline
- Top tips
Project manager and civil engineer Enda Kenny started his self-build in 2020 and just recently moved in; here he shares what he learned from the initial stages of his self-build.
Set your budget
It’s vital to know your budget before you do anything. Mostly so you don’t end up with a house design that you can’t afford to build.
To do this I’d advise hiring a mortgage broker. Prior to creating our design brief or choosing the site, we met with a local mortgage broker who was recommended to us by a friend. We called to make an appointment and they told us what info they needed us to bring with us, i.e. bank statements, pay slips, etc.
They analysed our financial standing and told us the maximum mortgage we could afford. We were then ready to give a budget figure to the architects we’d requested fee proposals from. It’s important to remember that everyone’s circumstances are different and that your maximum mortgage budget figure is not just three or four times your combined salaries. There are numerous other variables that need to be considered.
I’d advise that when giving a budget figure to your architect to knock at least 10 per cent off the figure you get from your broker. I’m not saying that architects waste your money; it’s because it will probably take up to two to three years to get from initial design to moving in. In that time, the cost of
construction will have inflated by approximately 5 to 10 per cent.
With the considerable increase in labour and material costs over the last two years, it’s important to get an early idea from your architect if what you have to spend is enough to build what you want.
Material and labour cost usually make up 95 per cent of your build cost, if the site is gifted. Generally the breakdown is 50/50, i.e. labour versus materials. That’s the general rule. Let’s say you’re spending
€250k, approximately half of that figure will be spent on materials.
Insulation, timber, fixings etc., everything has gone up a few per cent, but insulation and timber have come up 30 per cent, steel and rebar went up 50 per cent. Anyone with a structurally complex house with a lot of steel in it, you’re talking huge money.

Hire an architect
We sent our design brief to three different architects in the area, and requested a fee proposal from them. The firm we hired was one I had worked on a project with. In my experience with them, I found they showed great attention to detail, were quick to respond to queries, easy and honest to deal with. They also had some clever design solutions and knew how to maximise the space that’s available to them.
It’s worth noting that an architect will cost you more than using an engineer that does planning applications and so forth, but it is well worth it in the long run considering you are going to invest hundreds of thousands into your project.
In my opinion, paying the extra money upfront for expertise in house design is well worth it in the long run. If you don’t use an architect you could be sitting in your house in 10 years’ time thinking ‘I don’t like this’ or ‘I want to change that’. It will cost you a lot of money in the long term if you are regularly changing things.
My advice is to try to get it right from the start. We had a couple of options but went with the one that offered the orientation we wanted for the house, one that allowed us to build it so that the rear elevation would be south facing because for us, as for many people, one of the main things was natural light. This was the best option for us.

Site Checklist
Location. We knew the general area we wanted to build in, on family land on the edge of town, and we had a choice of greenfield sites. We met the architect on the proposed site. They took photos of the site itself and of all the surrounding houses. They used a compass app to see the orientation so they could design the house to capture as much sunlight as possible.
Services. We had no issues with services, sight lines or a new entrance, as the proposed site was on a secondary road on the edge of a town. All the required services including mains cold water, wastewater and electricity were within the road.
We knew there would be road openings required to bring a connection to water, wastewater and electricity. I was conscious of the time it can take the relative bodies to arrange and carry out the service connections, so we planned to apply for the connections once we started the build.
Planning red flags. There were houses either side of the site and across the road so we were confident, and were assured by our architect, that there would be no issue with getting a new entrance or getting planning permission. Also, we planned to build a modern style house so it helped that there was a modern commercial building approximately 500 metres from the site. The planners don’t like new houses to ‘stick out like a sore thumb’, i.e. not in keeping with the style of the surrounding houses.
Topography. This is a crucial element to consider when choosing a site. If the ground level of the site is very low in comparison to the adjoining road, it will cost a fortune with importing fill or hardcore to bring the site up to the required levels for construction. Equally, a site that is very high in comparison to the adjoining road will result in excessive costs as it will have to be lowered and the excess material removed from site. A relatively flat site that is close to road level is ideal.

Timeline for Site Prep, Co Mayo
Feb 2020: Met on site with architects.
May 2020: Full planning application submitted.
Jun 2020: Council requested further information, Planning approved and Commencement Notice submitted.
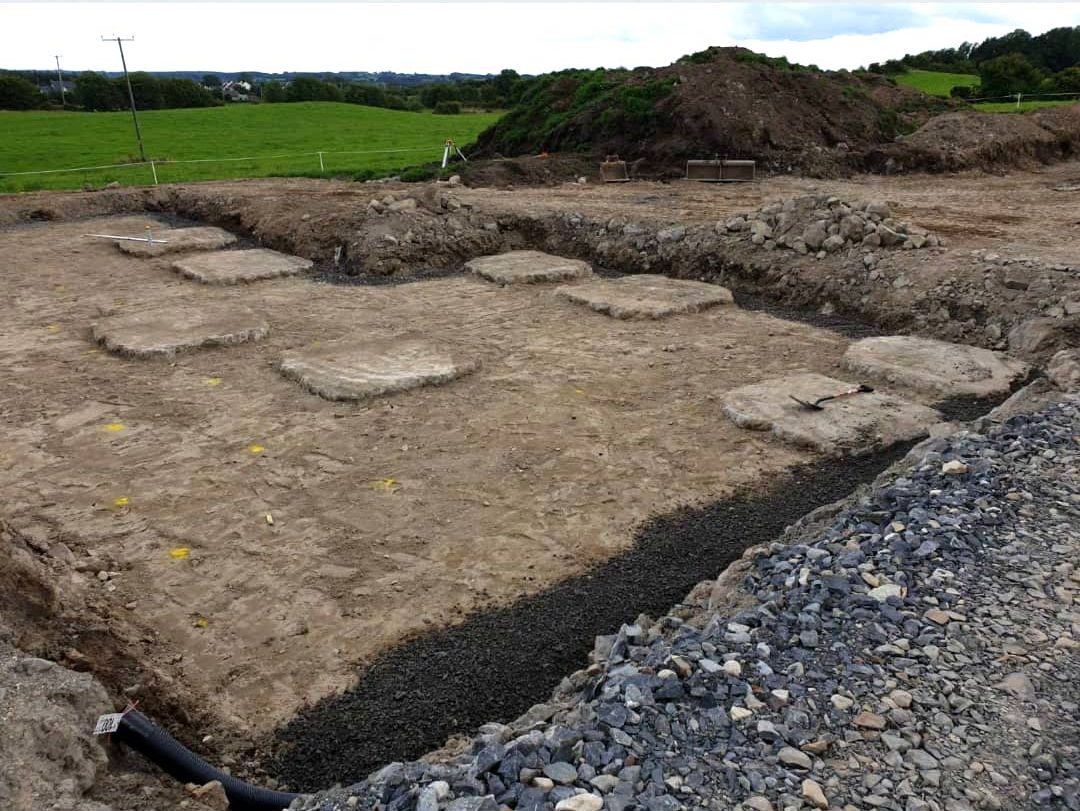
July 2020: Broke ground and commenced site prep.
Aug 2020: Detailed design complete.

Architect Orientation Suggestion
Put your garage on the front elevation. The architect suggested we put the garage at the front, north facing side of the house so we wouldn’t block light or the views from the southern side. In our case the garage has sheltering, it;s a cantilever from the flat roof over 1.2m. This means you can’t see the garage from the road or even from the front of the house. This is where our bins will go; it’s a small bit of a trek from the back of the house but well worth everything hidden.


