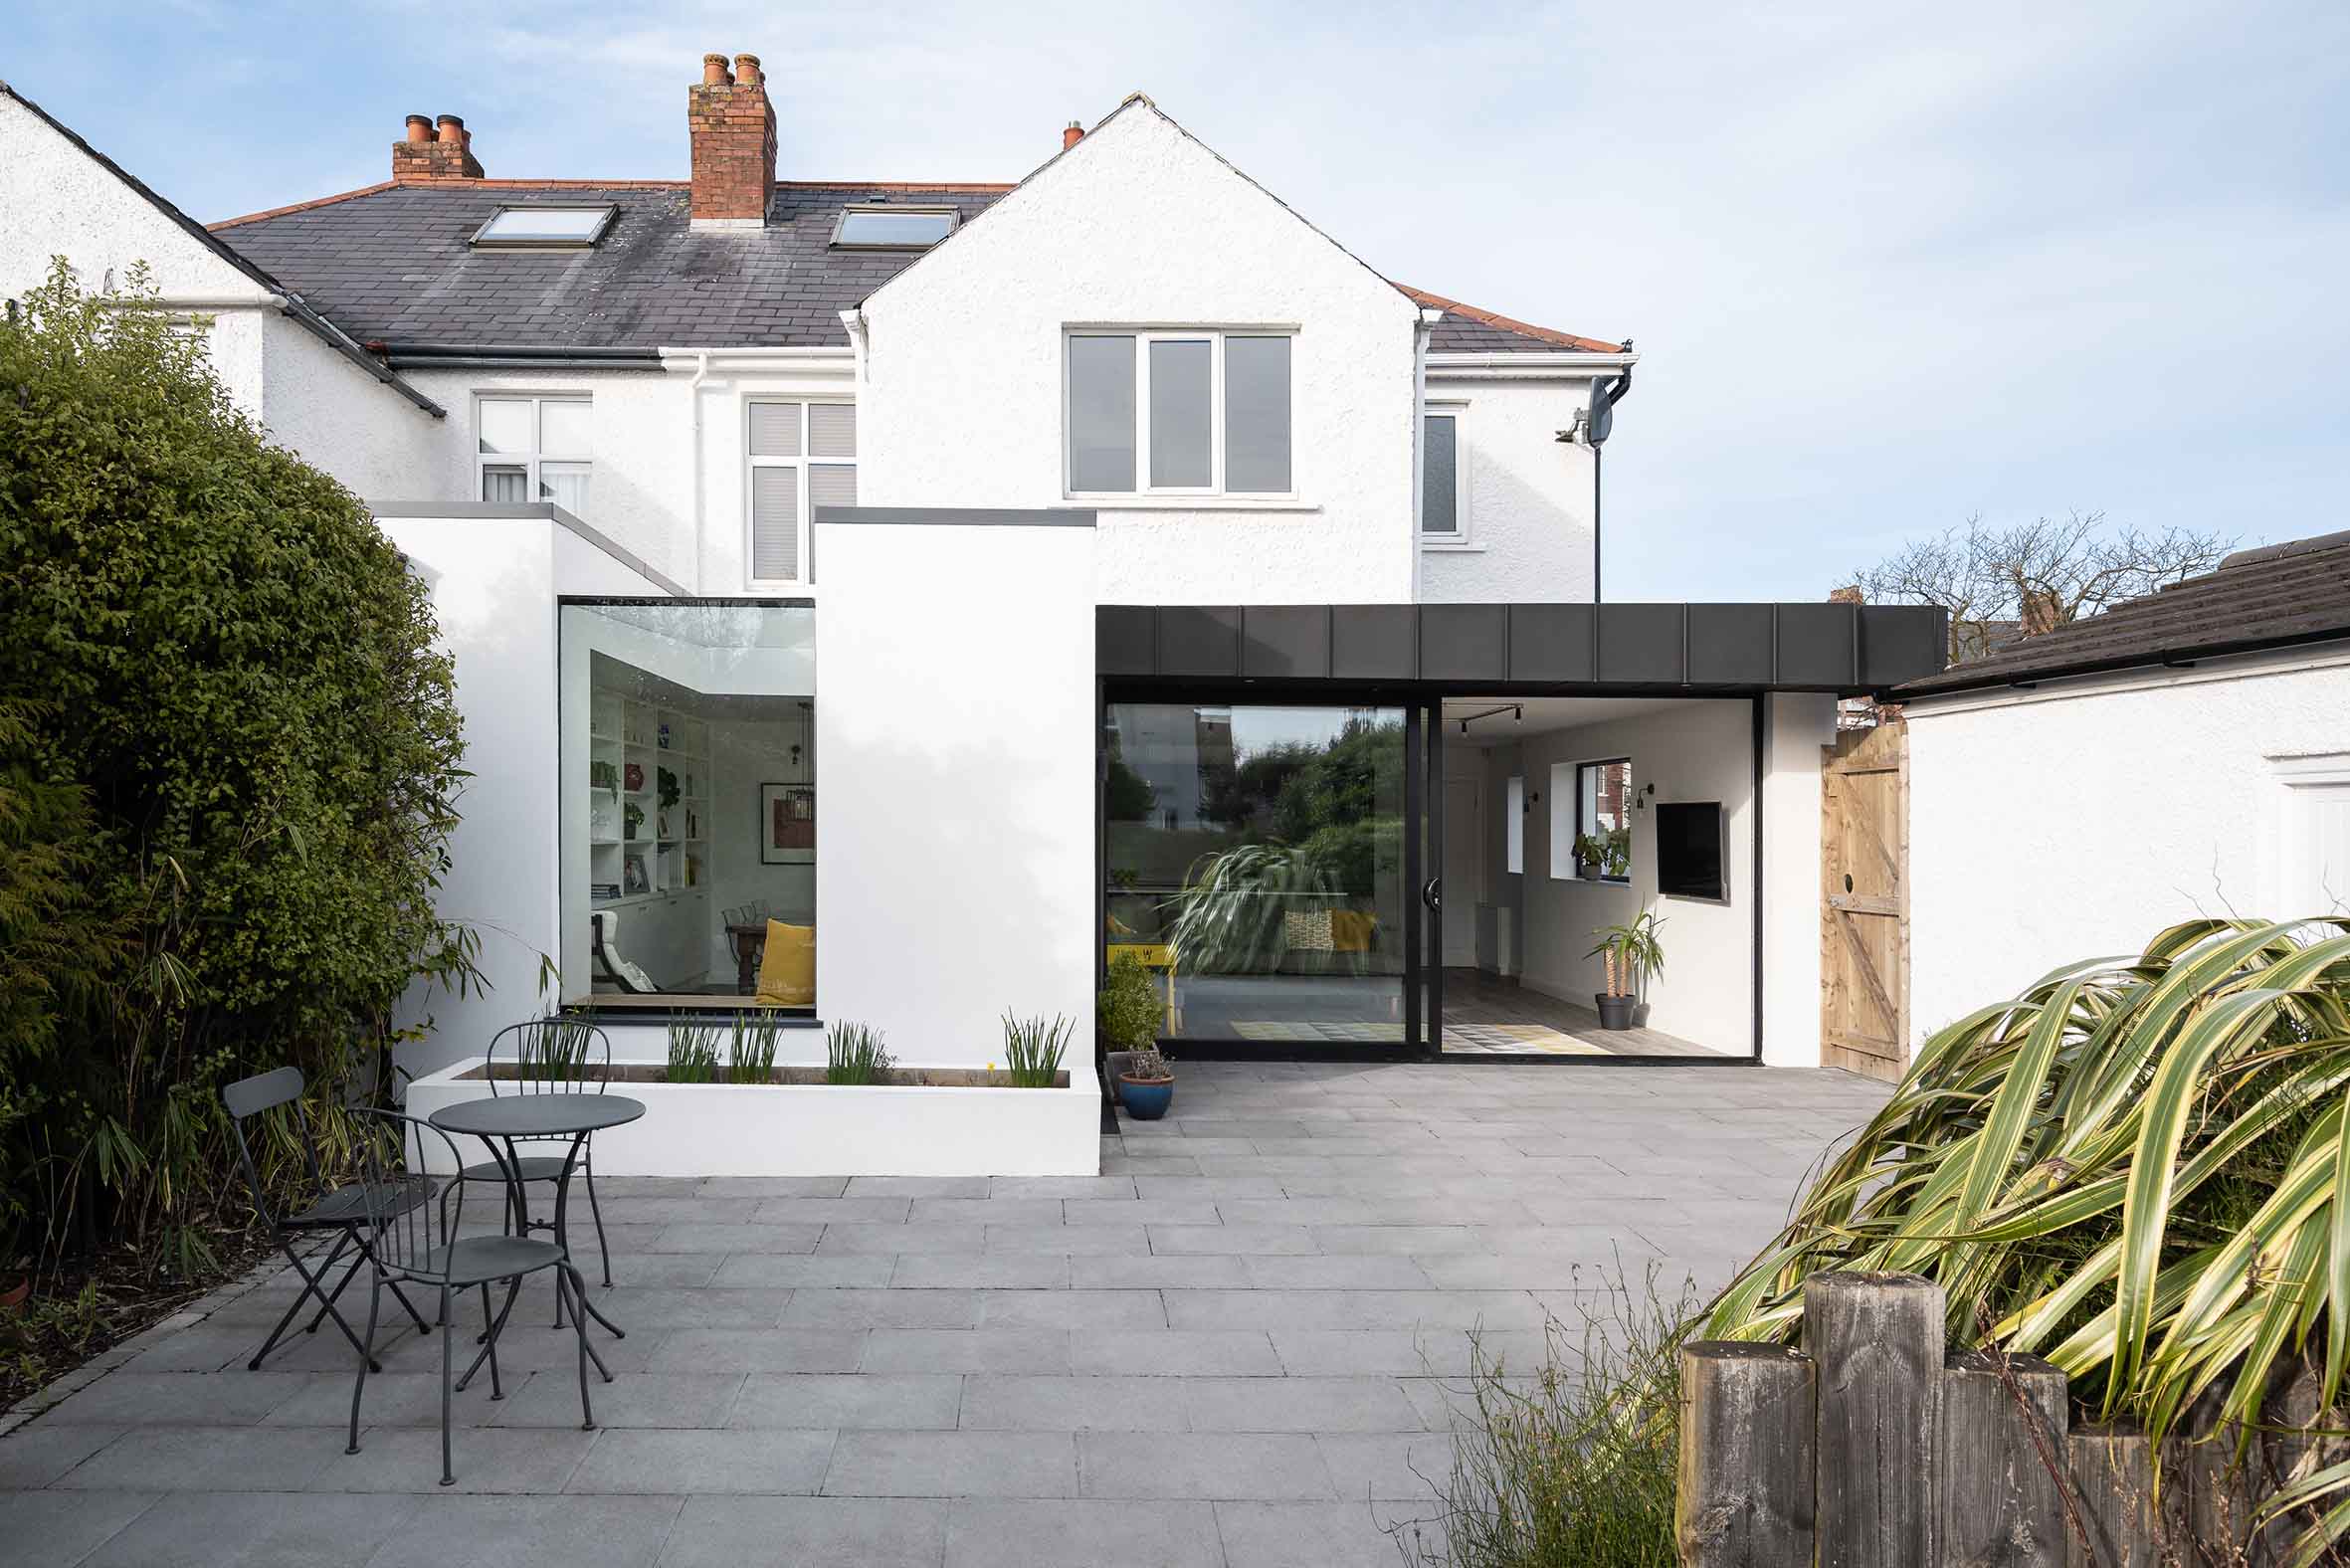
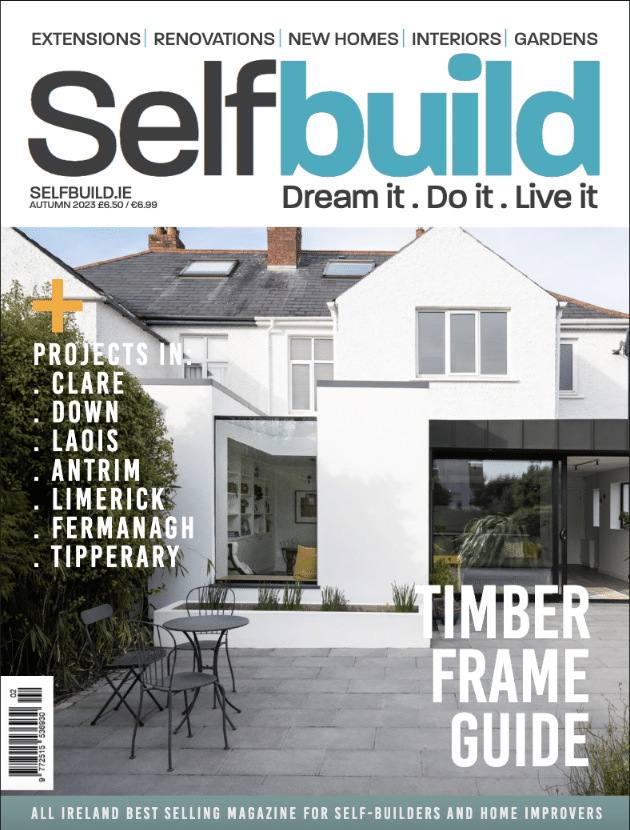
How Emma and Jonathan Rhodes knocked down their conservatory in Co Down to replace it with a modern open plan extension.
In this article we cover:
- Renovation cost
- Benefits of hiring an architect
- Process of changing the layout
- How they managed the project
- Kitchen and bathroom choices
- Clever island design
- Insulation and heating upgrades
- Biggest splurge
- Top tips and what they would do differently
- Landscaping
- Professional photographs
- Floor plans and full specification
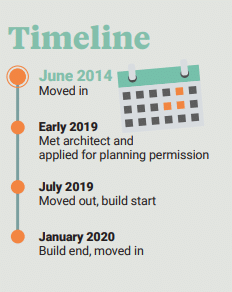
- Timeline
Overview
House size before: 241sqm
House size after: 265sqm
Plot size: 618sqm
Bedrooms: 5
Heating: gas boiler
Ventilation: natural with extractor fans
Renovation cost: £110k + VAT all in
When we bought the house it had a lean-to at the back, a type of conservatory with thin plastic roof. It was so cold, you could see your breath for six months of the year. You just couldn’t heat that room,” says Jonathan.
“Warmth and comfort stopped us from using what was the brightest room in the house, as it was south facing. We knew we needed to knock it down and rebuild an extension that would be nice and warm.”
Above all, Johnathan and Emma wanted to create a comfortable space to live in and entertain their extended family. “We like a simple minimalistic style, not an awful lot of clutter,” he adds, an ethos that guided them throughout the build.
Reconfiguration
“Initially we figured we’d stick on a box on the back of the house, and we got an architectural technician to draw that up for us. But something just wasn’t right with that, we weren’t that happy with it,” says Jonathan. “That’s when we approached an architect.”
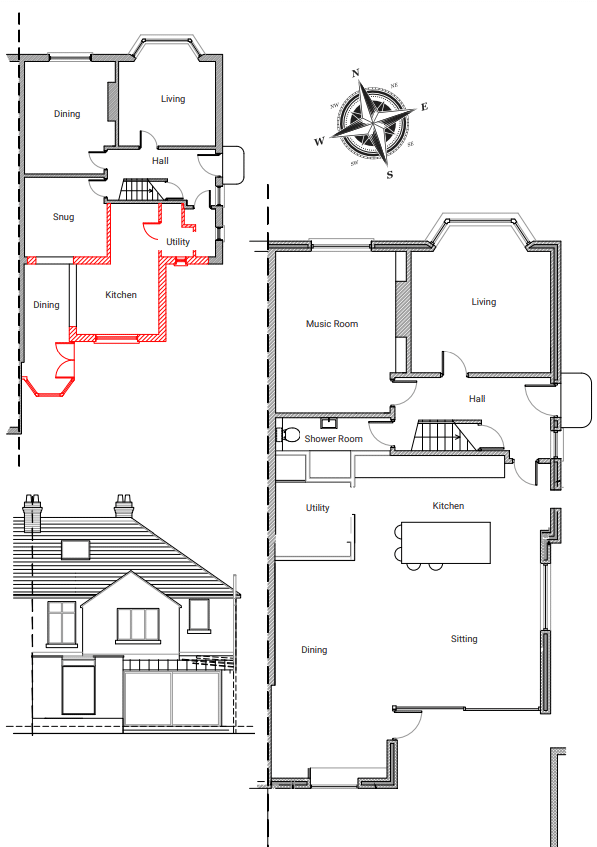
“I suppose that was the difference with hiring an architect, Aisling looked at the entire plan. She immediately identified that the layout wasn’t working. Upon entering the house, you had to take quite a long route to get around to the kitchen, going through a little TV room. It didn’t really make sense.”
“Aisling suggested we move the bathroom to the centre of the house, knock some walls so that when you walk into the house you’re able to see through to the kitchen and access it. As soon as she said it, we knew that’s what we needed.”
Even though the couple wanted a bright home to live in, the darkest part of the semidetached home is in fact what made the most difference to their life. “There’s still no natural light in there but it doesn’t matter as we’re making the best use of what was dead space, converting it into a functional room,” says Emma, speaking of her favourite design feature.
That’s right, it’s the utility room. “We’d never had one in our previous house so it was a bit of a novelty. The roof in that section is higher than in the rest of the house, so that makes it feel more airy and it gives us room to use the pulley rack that hides away.”
“Our laundry area used to be in the kitchen so having somewhere to put that stuff away felt luxurious. Believe it or not, having a sink in the utility was a breakthrough moment,” laughs Emma. Ventilation is through a mechanised ceiling vent.
“We didn’t have much choice about where things went if we wanted it all to fit; we stacked the washer and dryer one on top of the other.”
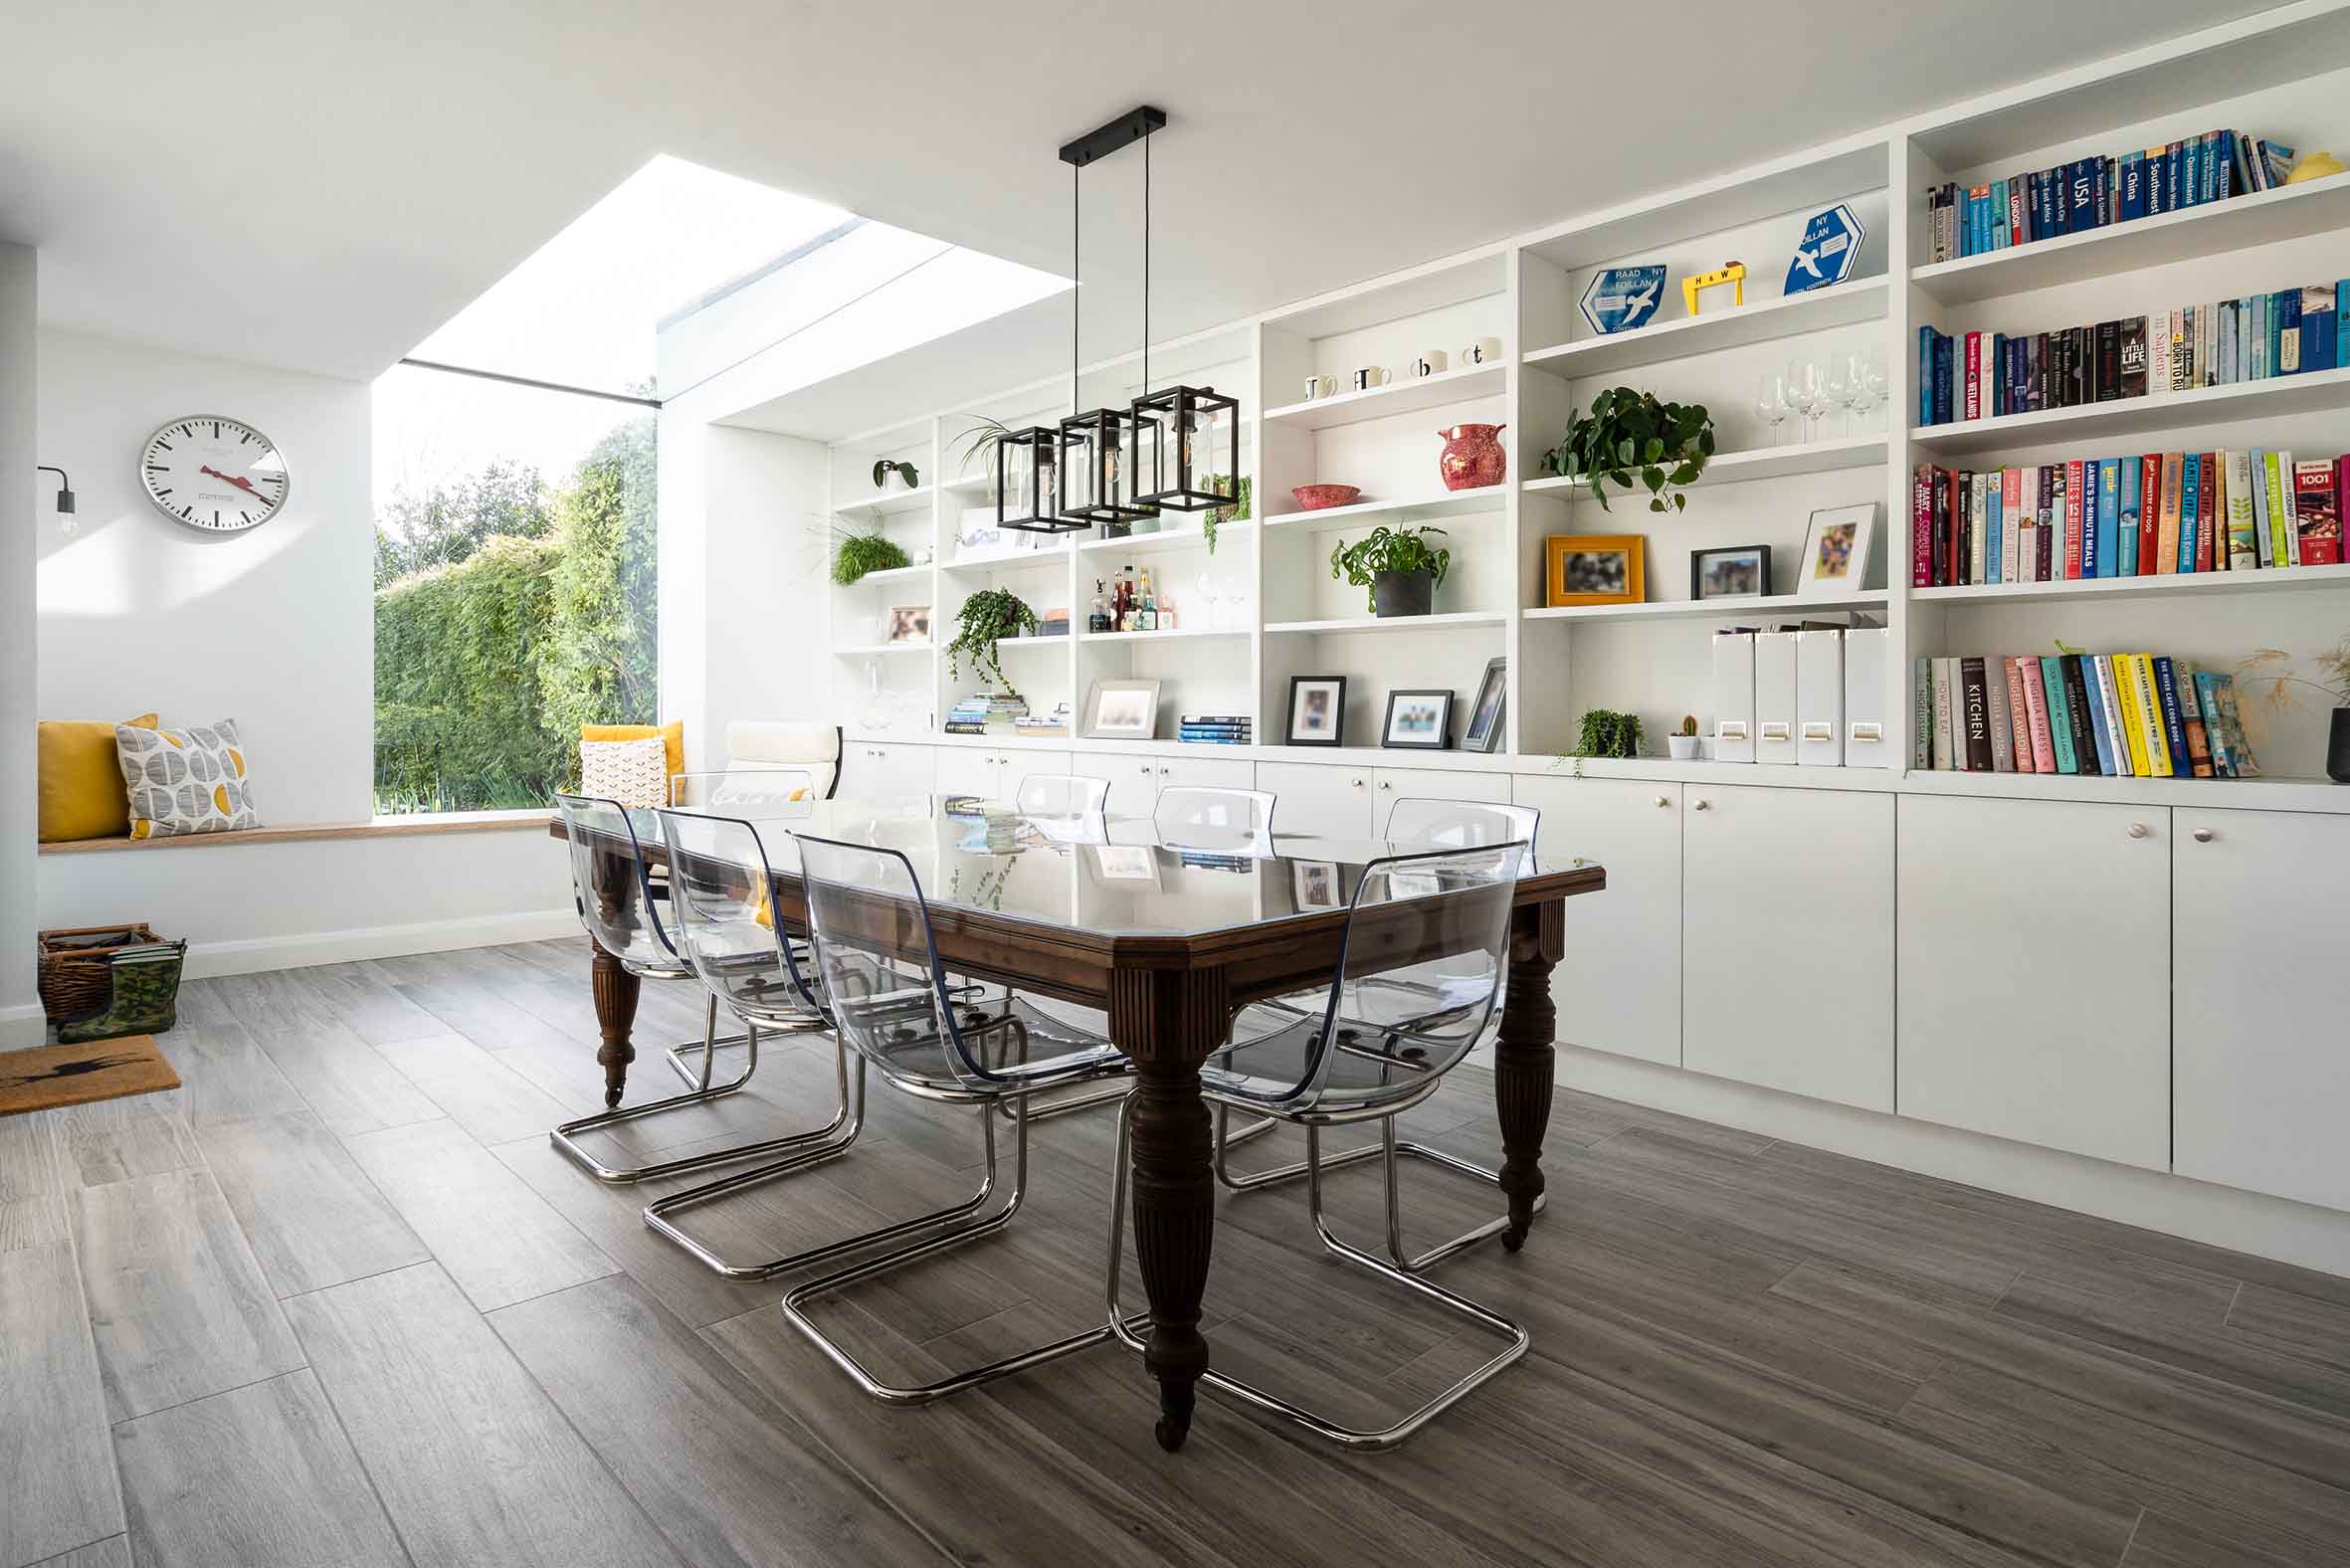
They also added a shower to the downstairs wc. “I do a lot of running in the surrounding hills so when I come in I need to have a shower so I don’t bring muck through the whole house,” adds Emma. But to keep the family home neat and tidy in the most commonly used rooms, they knew they would need a lot of storage to keep to as clutter free a lifestyle as they could. “We added quite a bit of shelving and that keeps the space tidy,” says Jonathan.
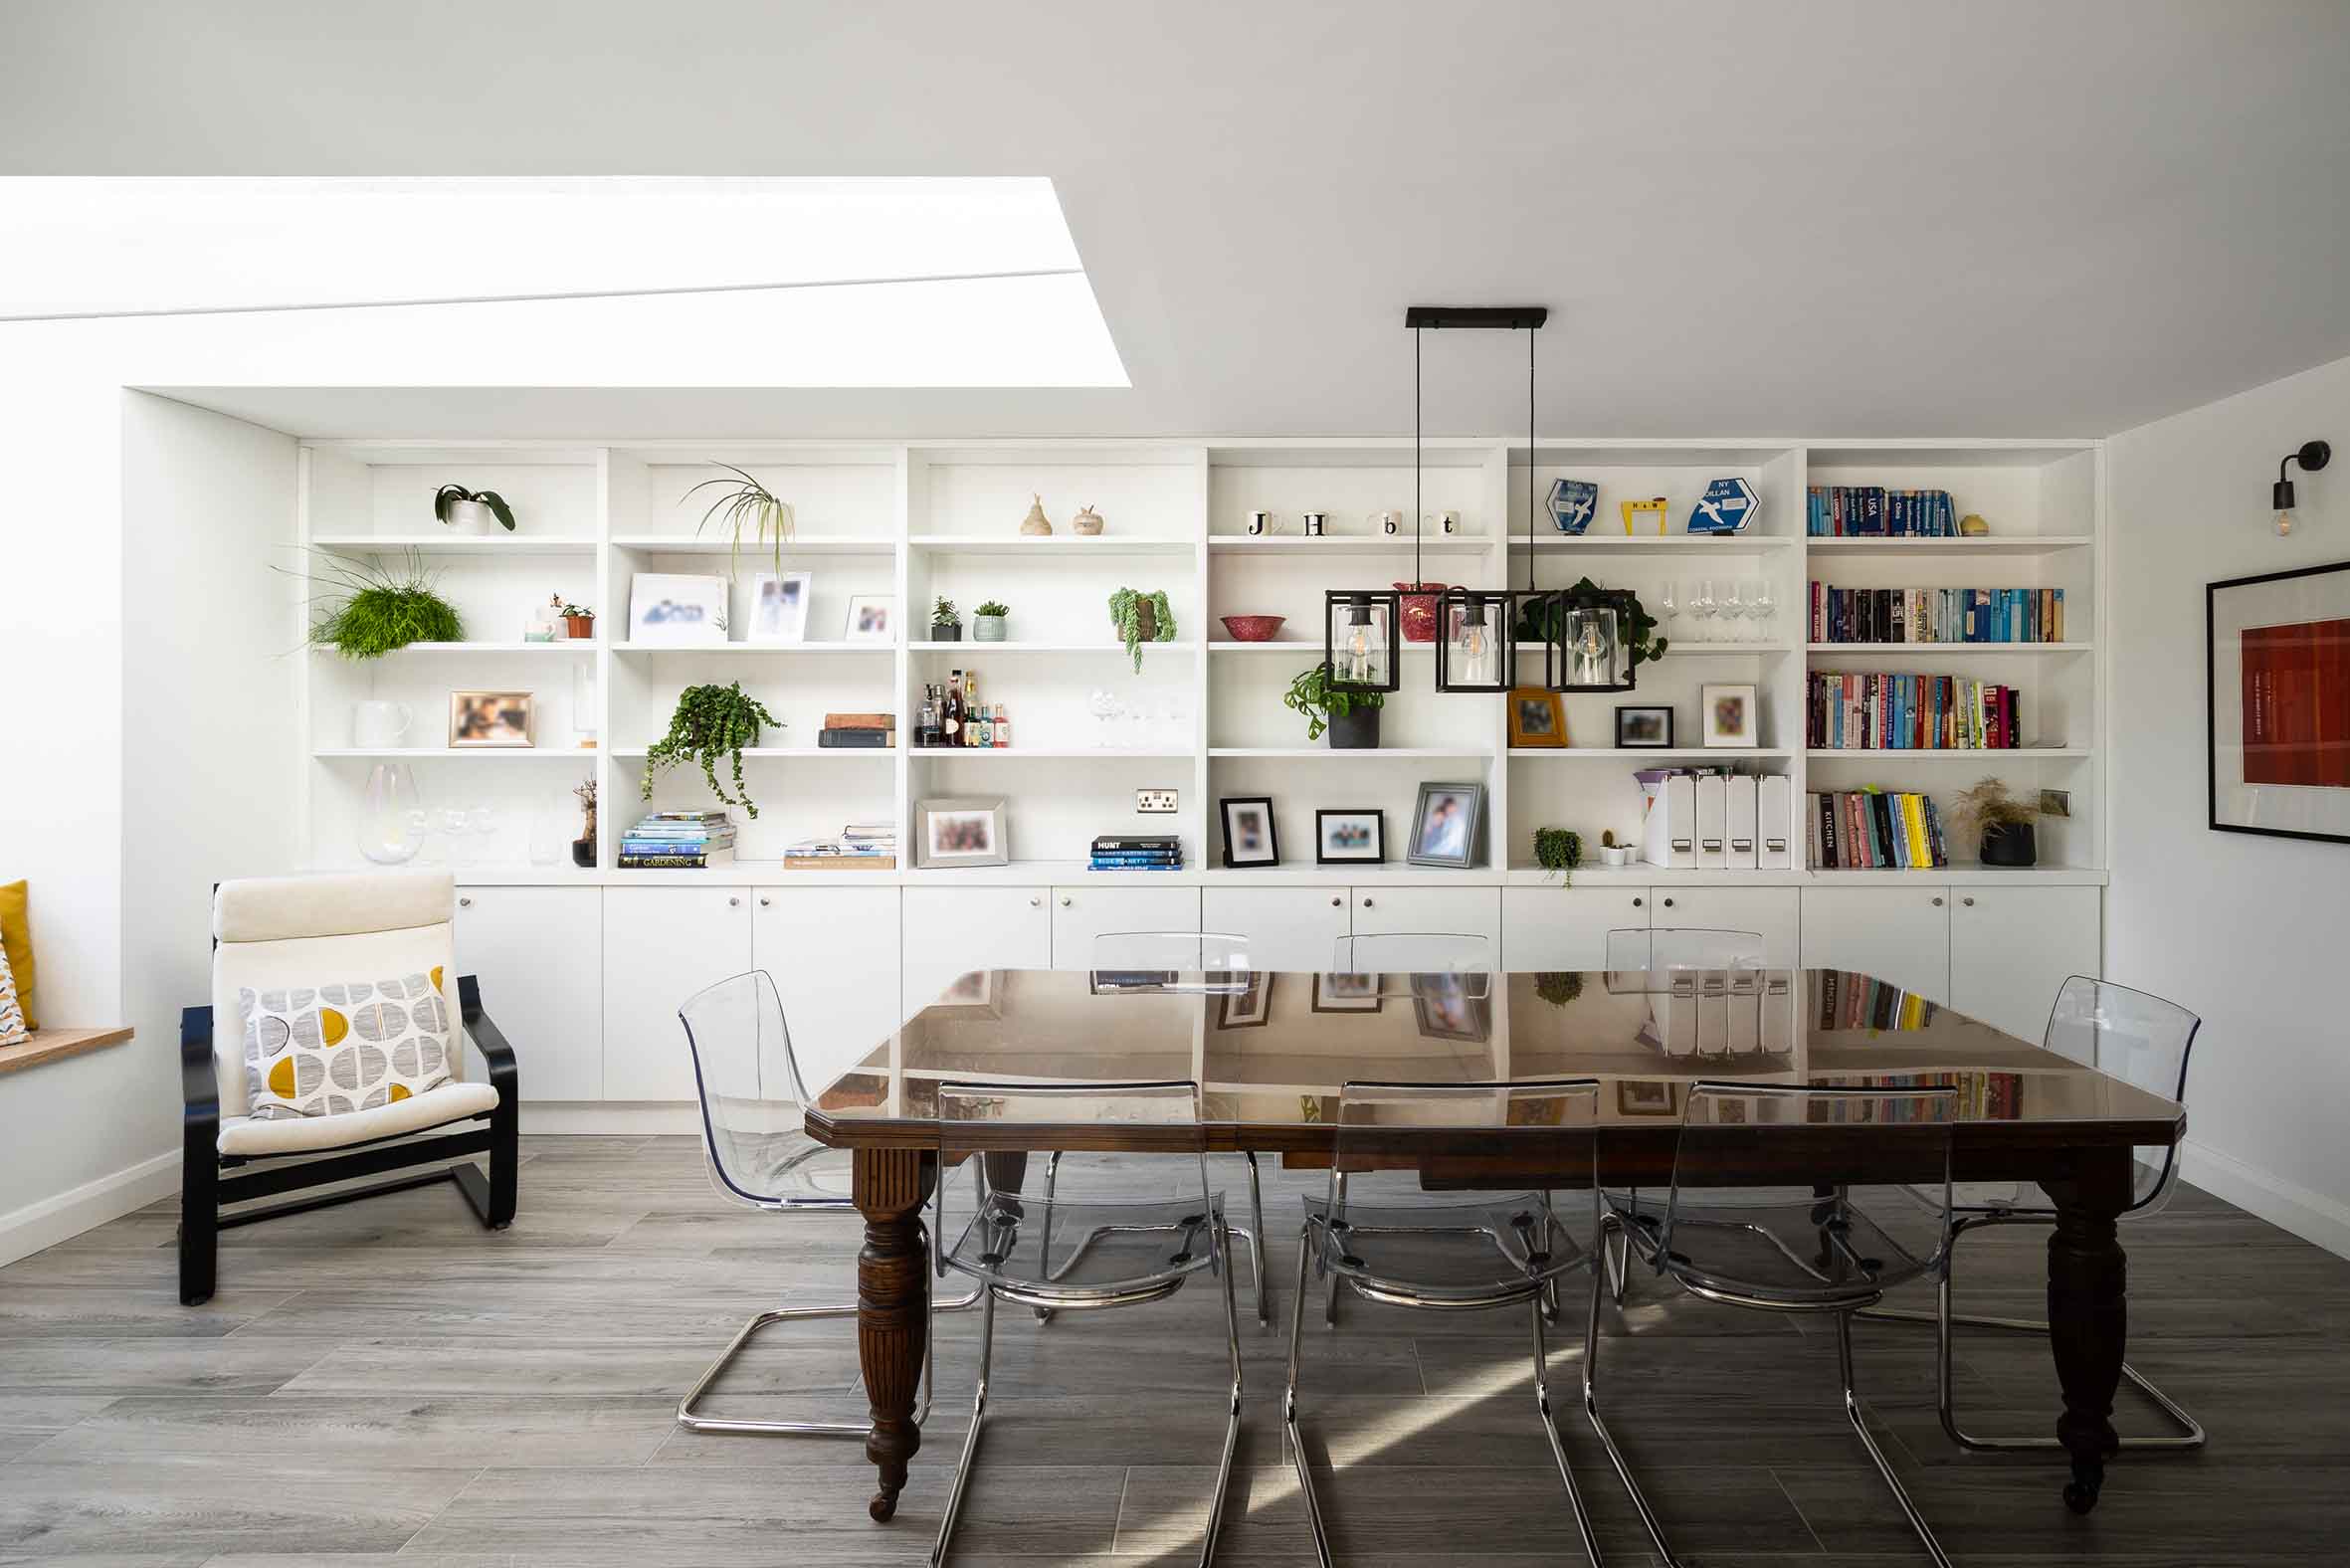
“I quite like plants so I needed a bright area where I could put my pots, which I got to do on one wall in the living room. The shelving actually turned out to be one of my favourite design features.”
Project management
“We were both working full time, with children, which means we didn’t have any spare time. So Aisling did the project management for us,” says Jonathan. “We had to get planning permission but we were lucky in that it came through really quickly, even Aisling was surprised at the turnaround time.”
“Then we tendered to three or four builders Aisling had worked with in the past. She’d given us a shortlist of contractors she knew were reliable and she could work with. The costings came in above what we were expecting.”
“We met all of them and to be honest it was hard to choose, so we went on price. That builder happened to be working on Aisling’s house at the time too. He was really good. During the build, the building control officer came a few times to check on the work and we had no issues.”
“Aisling organised regular site meetings with ourselves and the builder, which took the stress out of it,” adds Jonathan. “She drew up a RIBA contract for us to sign and she was very good at setting out a payment schedule. When things would be done, we would have a look at it. Then for each stage, on her site visits she would sign off and issue the payment certificates. It was very structured. There was none of the ‘when do we pay for this when do we pay for that’ it was all done on completion of the different stages.”
The insulation and heating upgrades were essential to deliver the warmth and cosiness the couple wanted. They also switched to underfloor heating and went from oil to gas. “We did quite a few things at the same time,” says Jonathan. “I won’t say I have no regrets now with the way gas prices are going, but there’s no doubt the new boiler is a lot more efficient.”
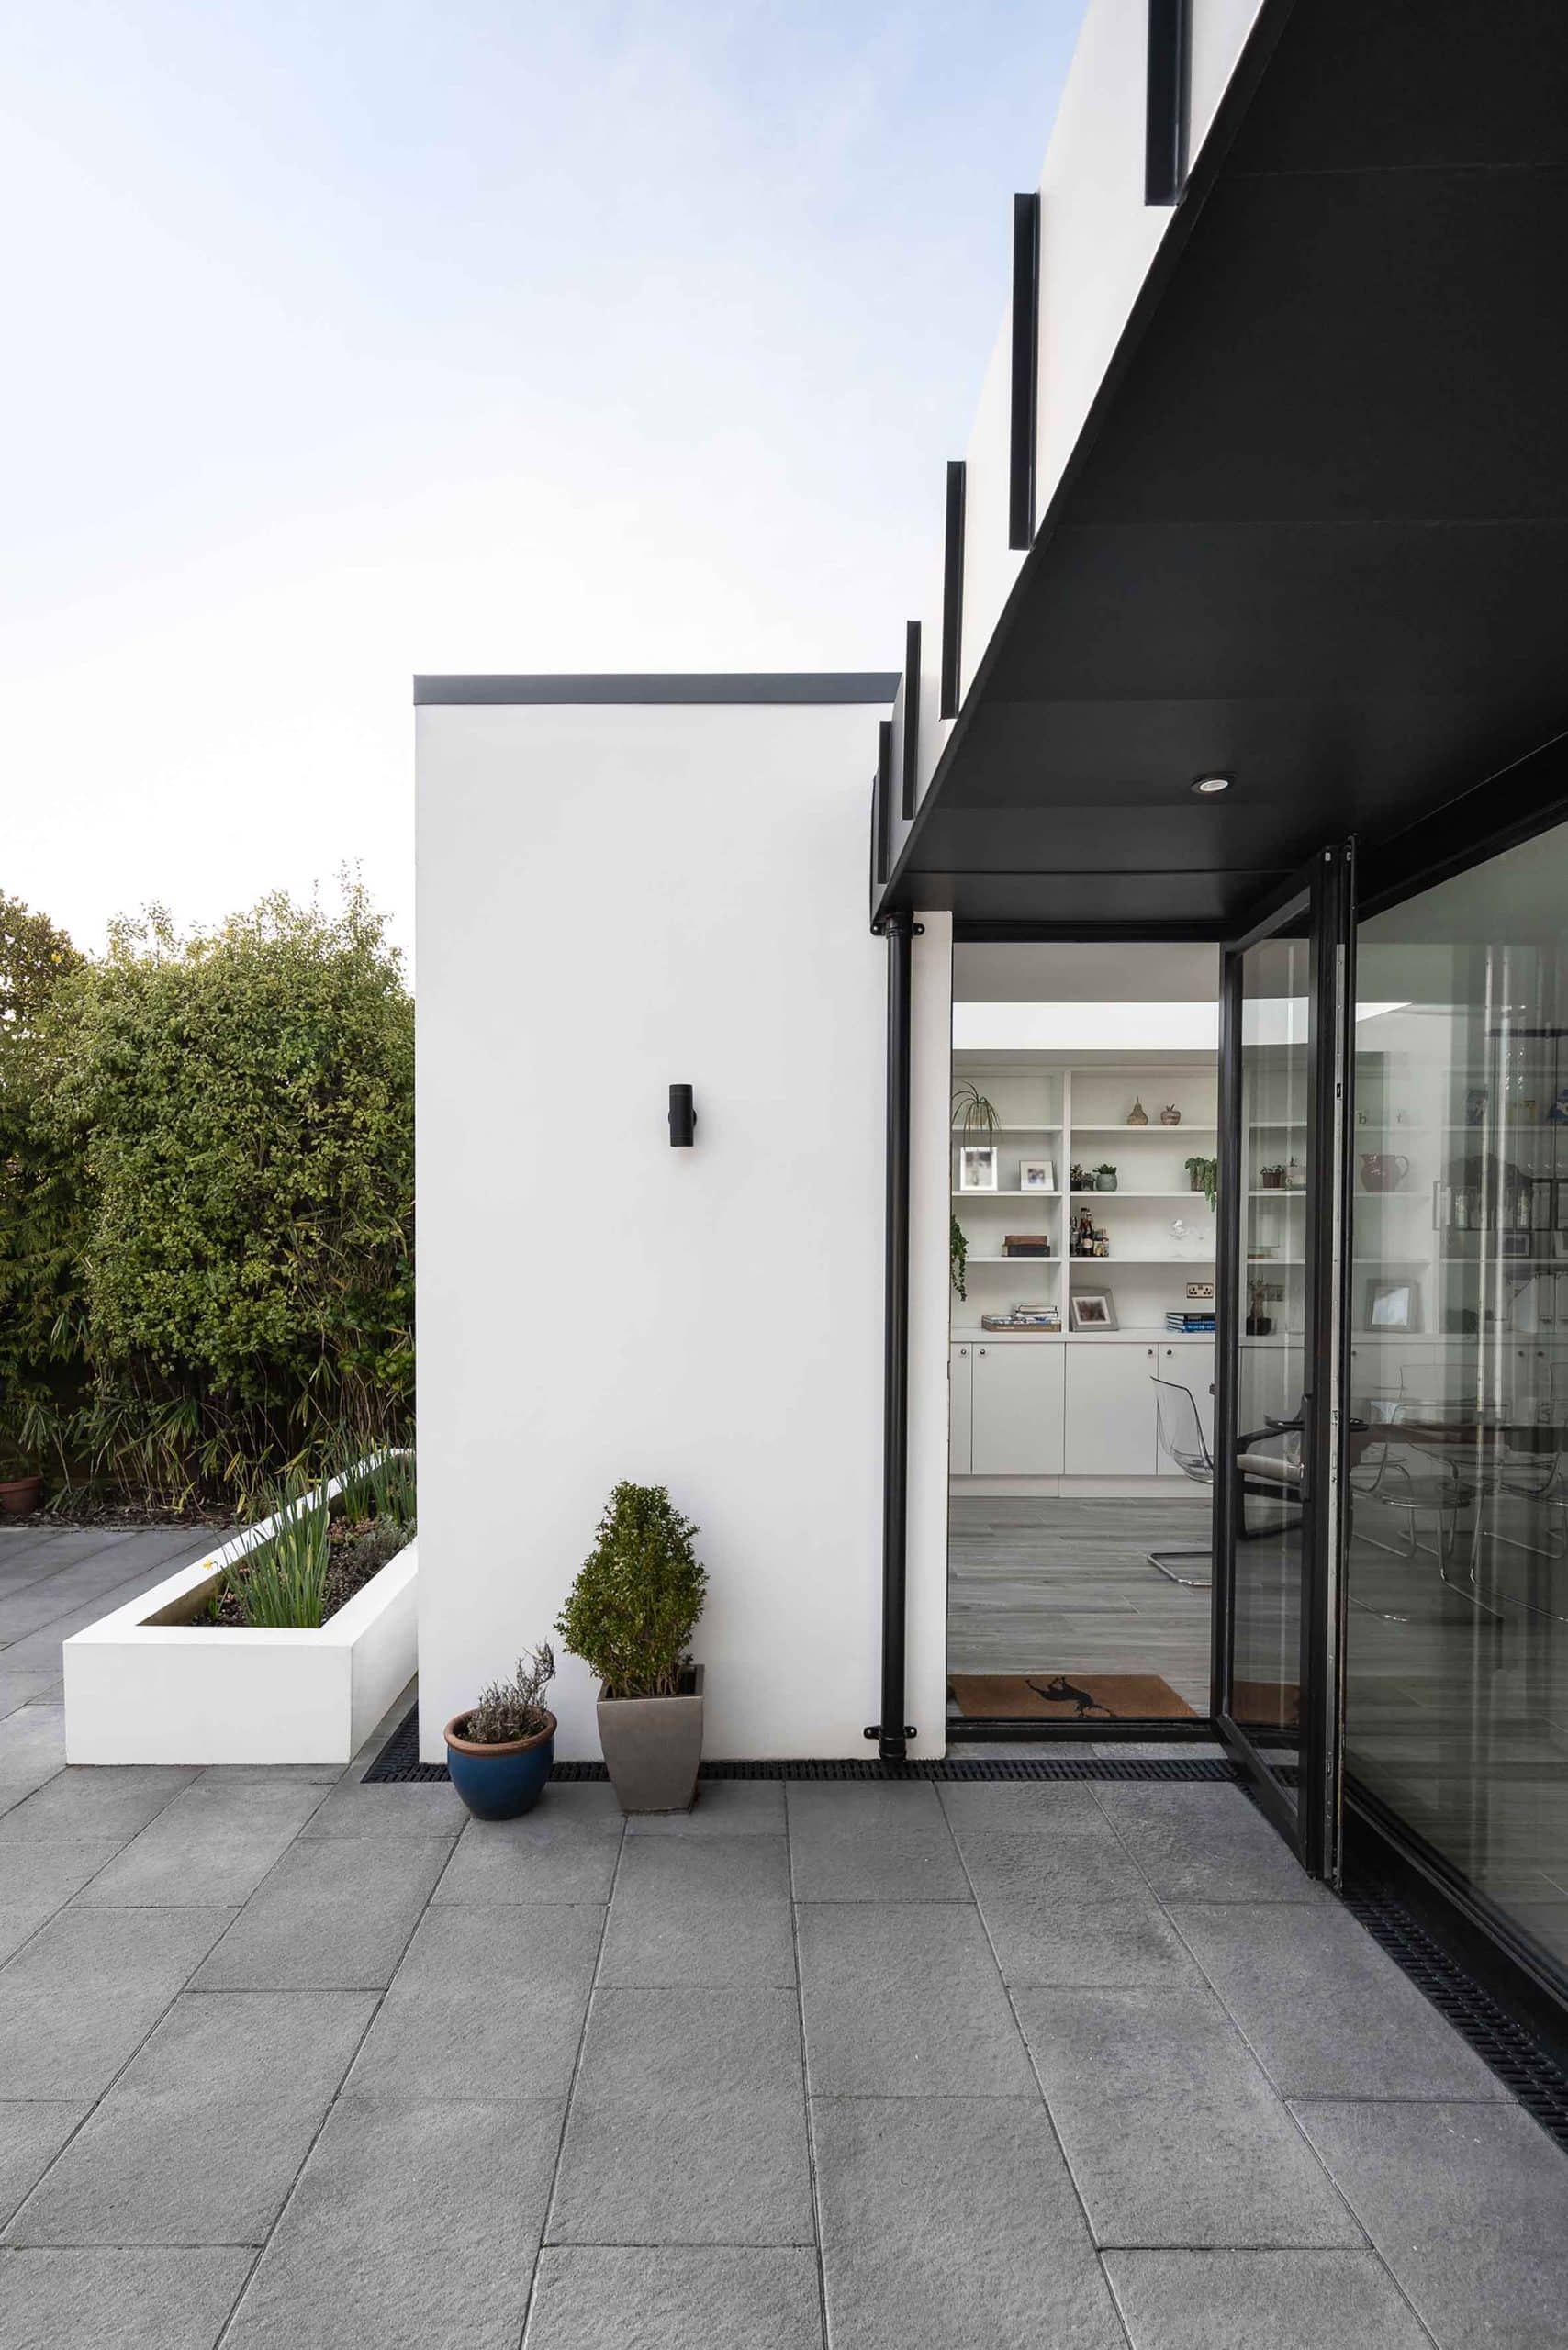
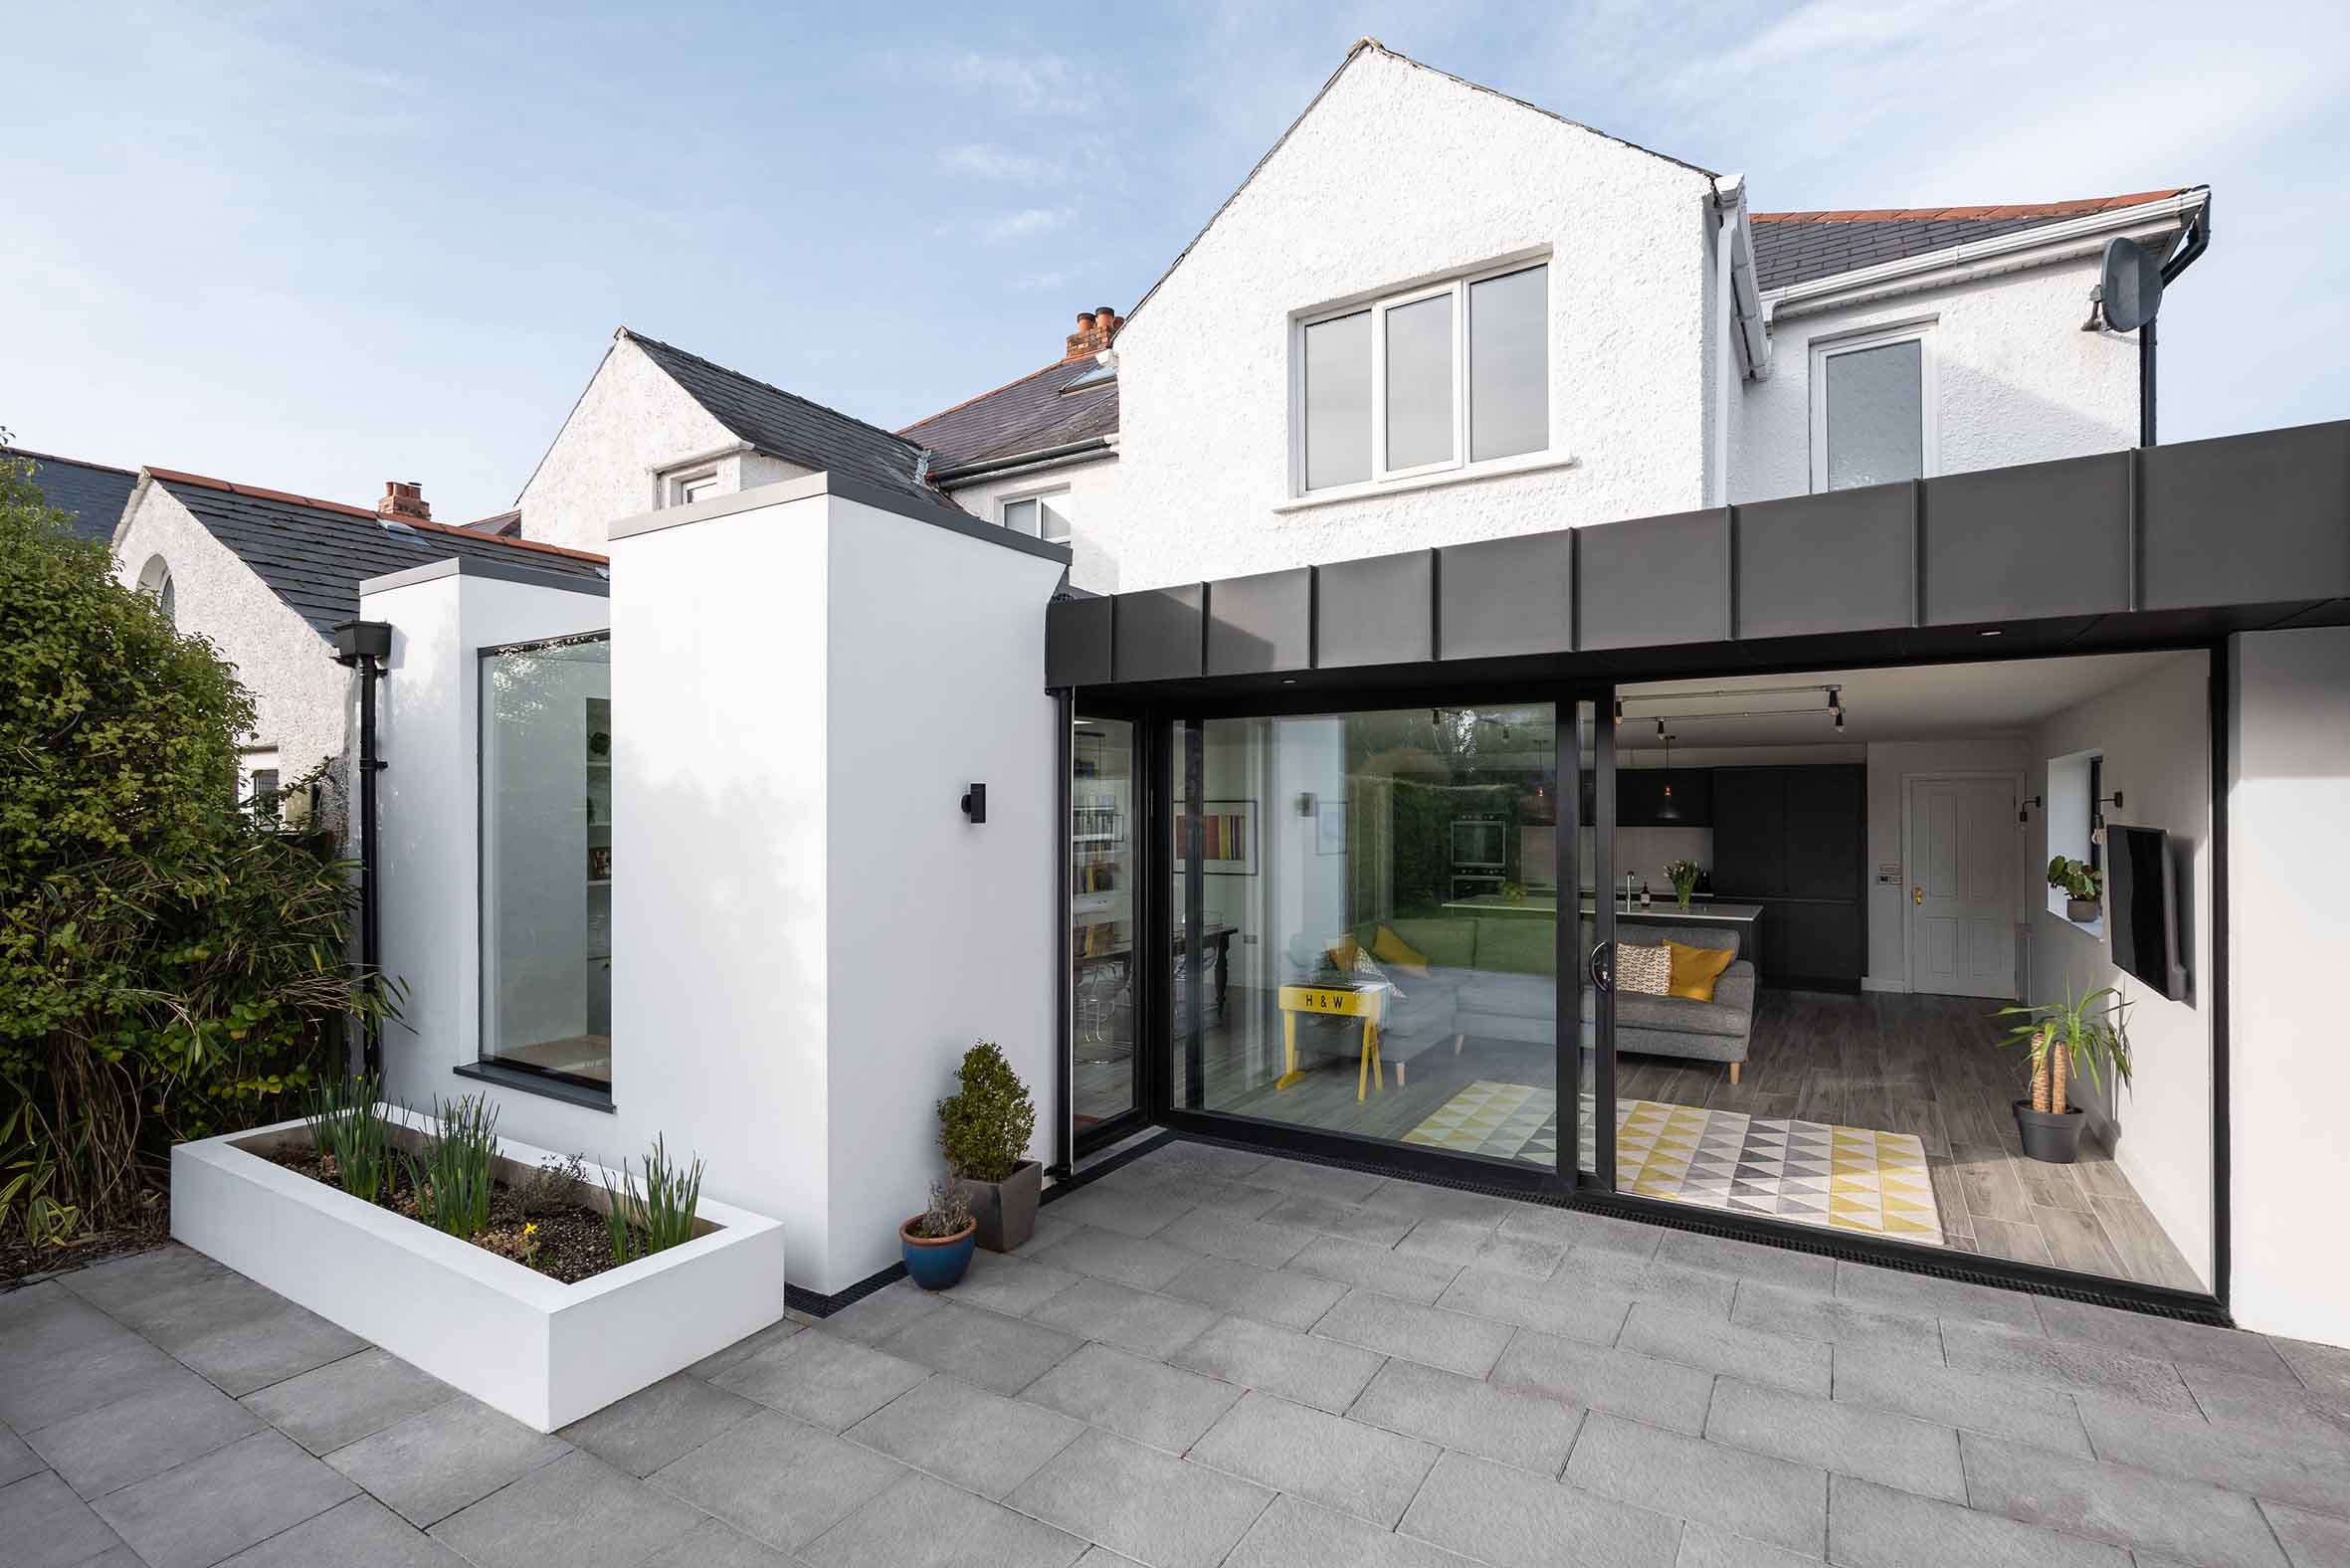
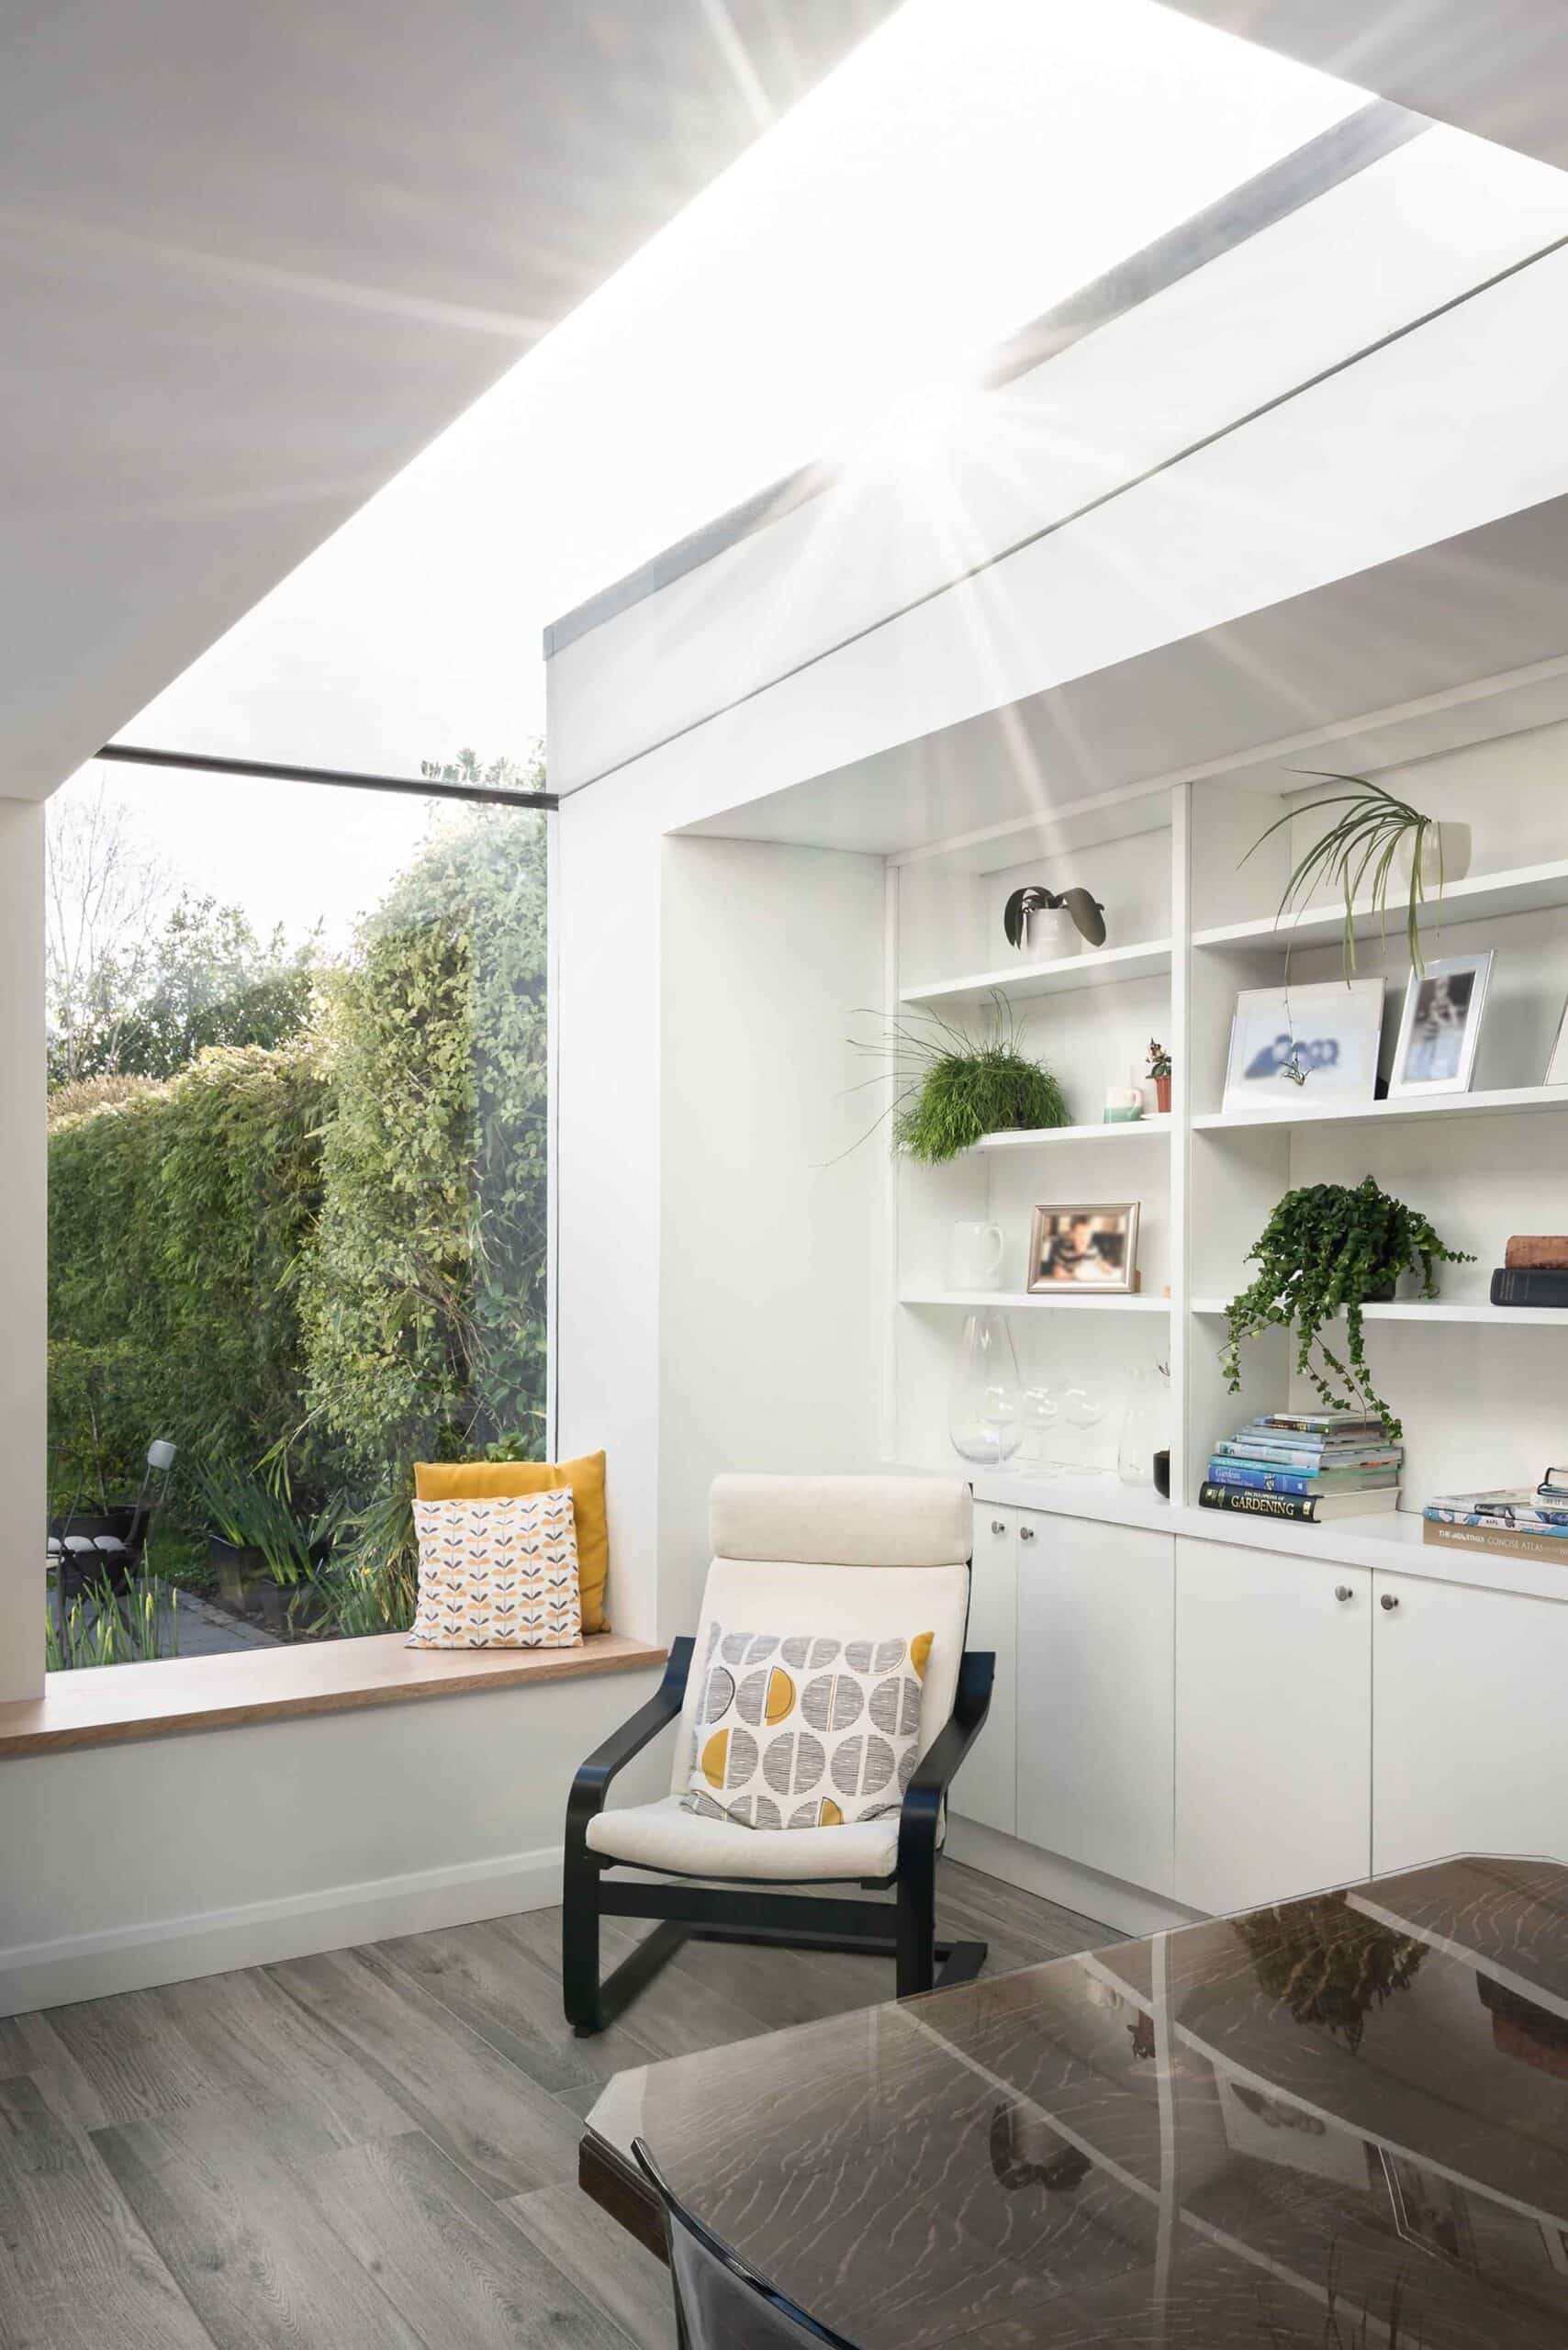
“We put in loads of insulation in the new part and you really notice it when you’re going from the old part of the 1920s house to the extension, it’s nice and warm.” At the design stage, there were certain things Aisling thought about that the couple hadn’t considered. “We have an overhanging canopy at the back to protect us from overheating as we’re south facing,” says Jonathan. “At the time I’m not entirely sure if I believed Aisling that we needed it but it turned out to be absolutely the case, it does get hot and the overhang does take the edge off the intense summer months.”
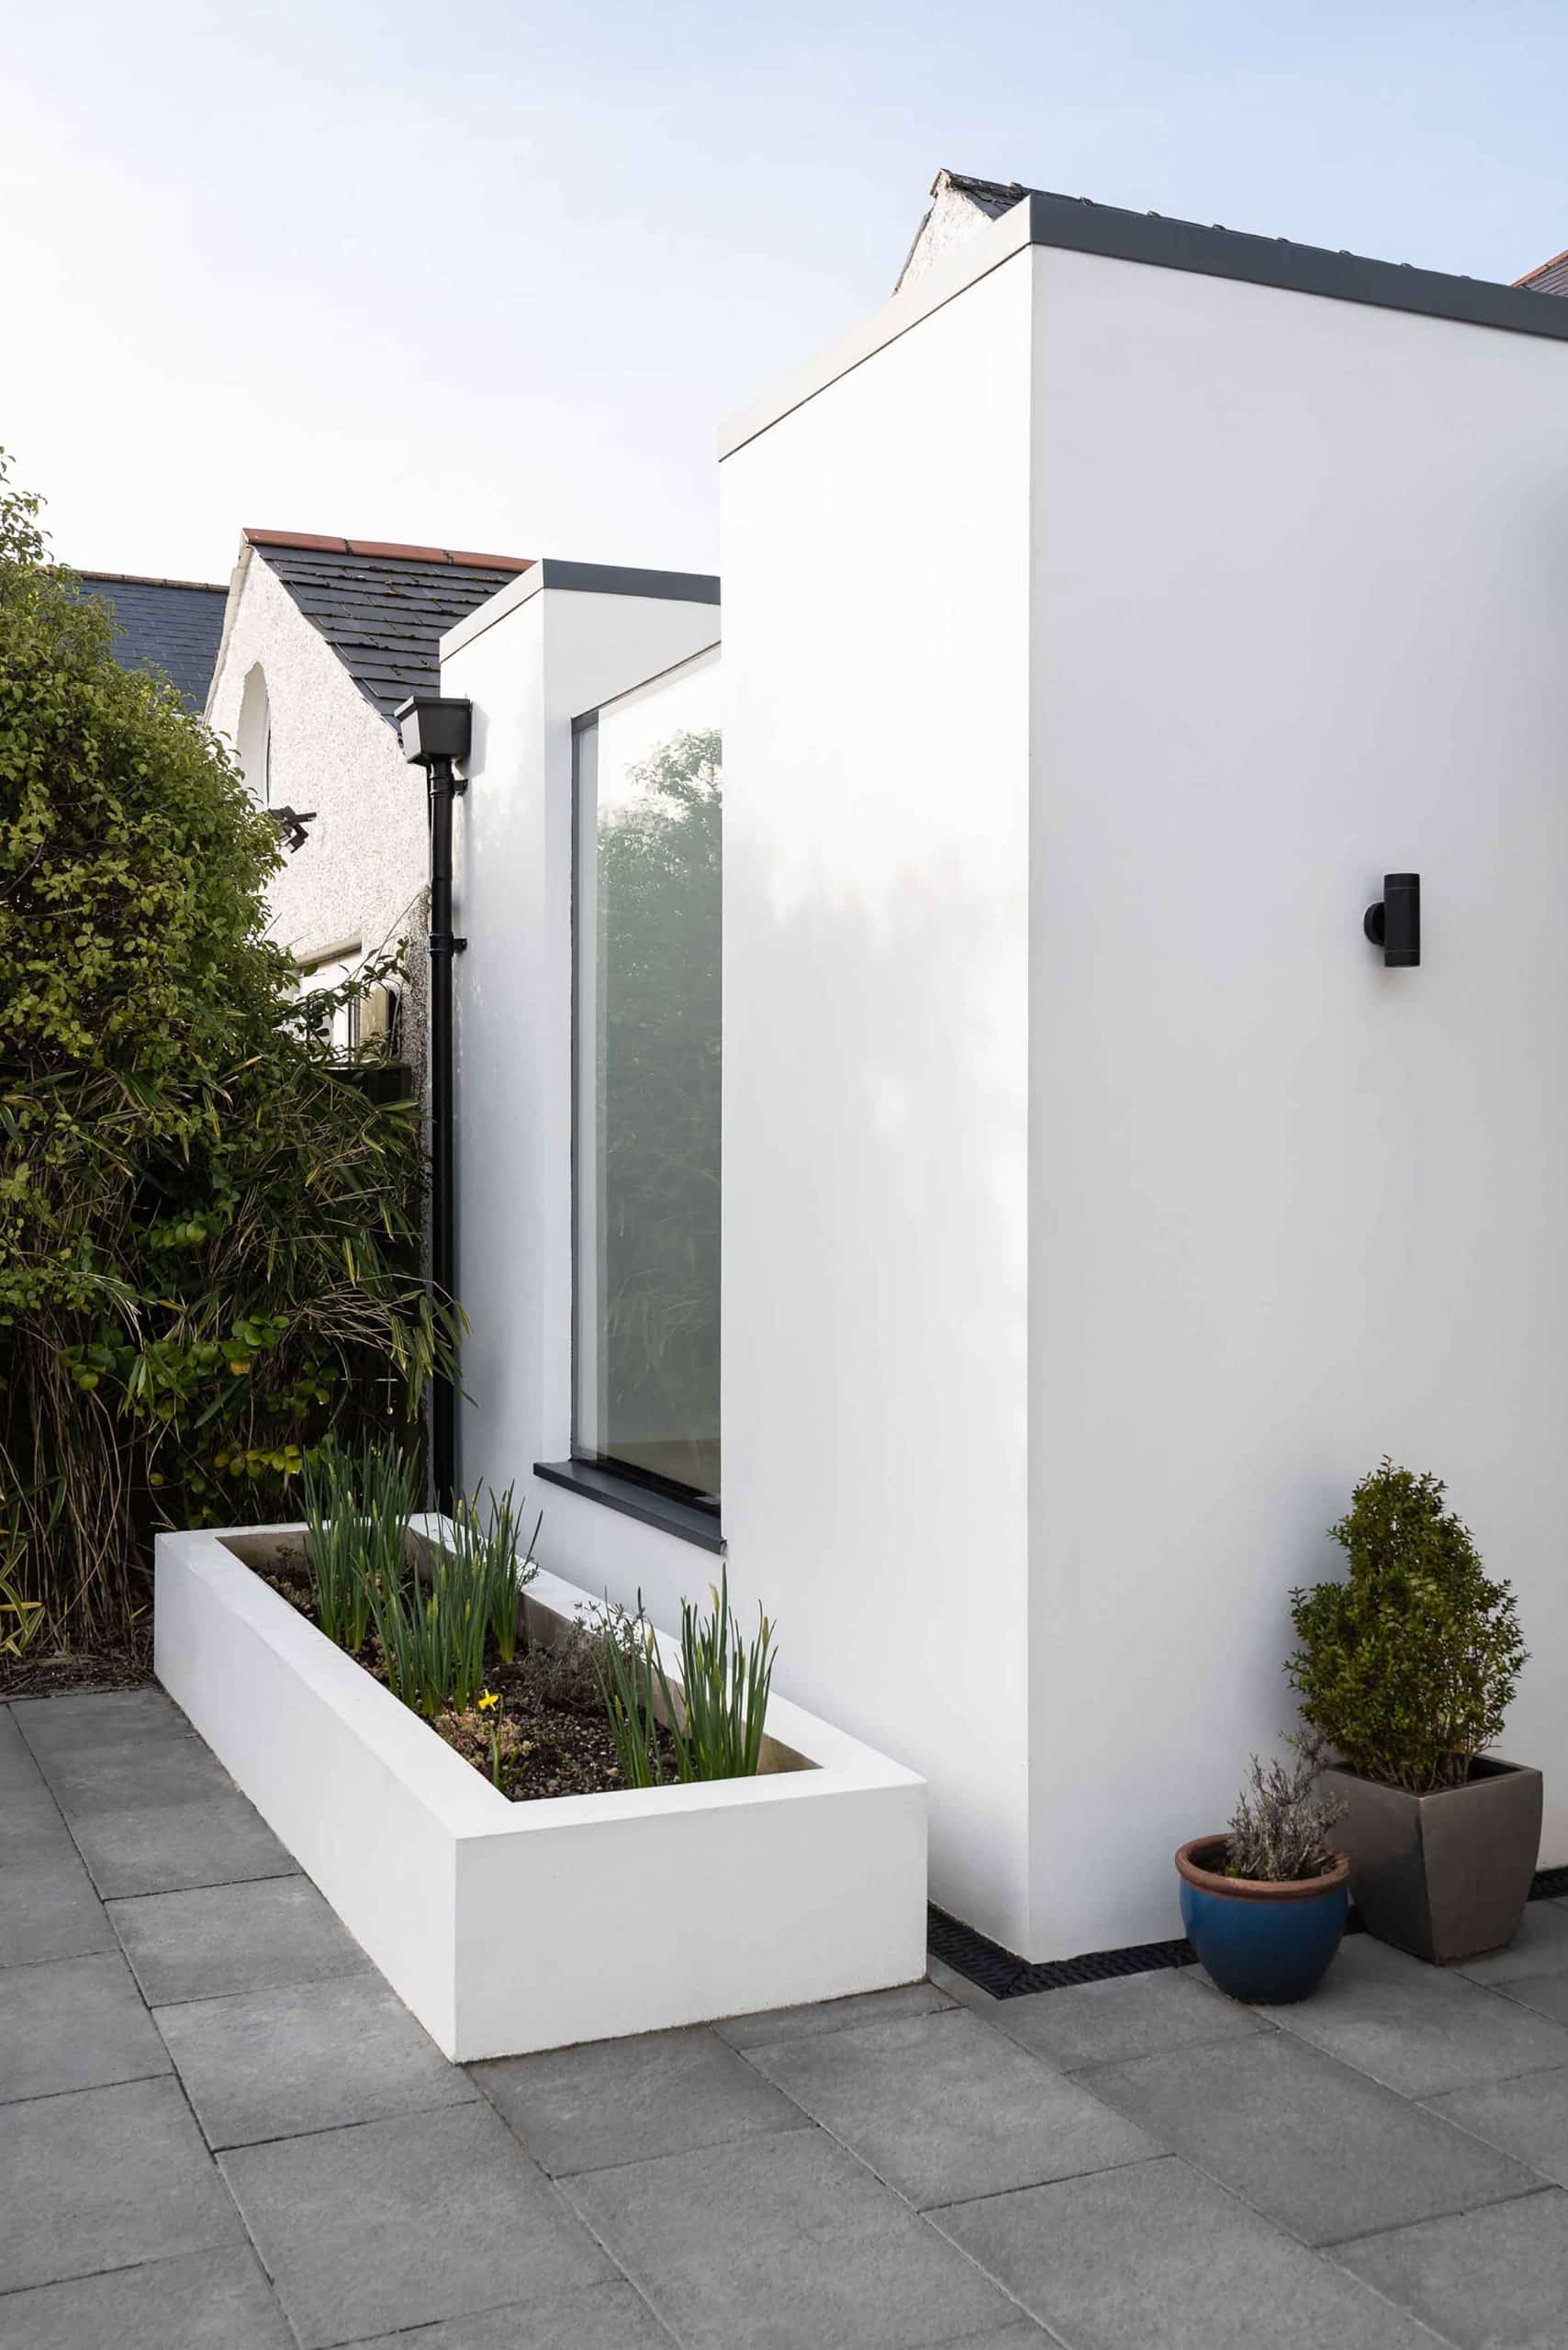
“I’m a sun worshipper so it’s perfect for me, it’s definitely never too hot,” adds Emma. “I love that we added windows to the eastern elevation too, which means better quality of light throughout the day, as it now comes from two angles instead of just the one.”
But the windows did cost plenty, and caused some delays. “Because it had to come up from one supplier in the south and it needed a special crane to get it fitted in,” says Jonathan. “That led to delays. That added to the expense too, as did going for two panel doors are opposed to three or four. But we’re really glad we spent on those elements.”
Bathrooms and kitchen
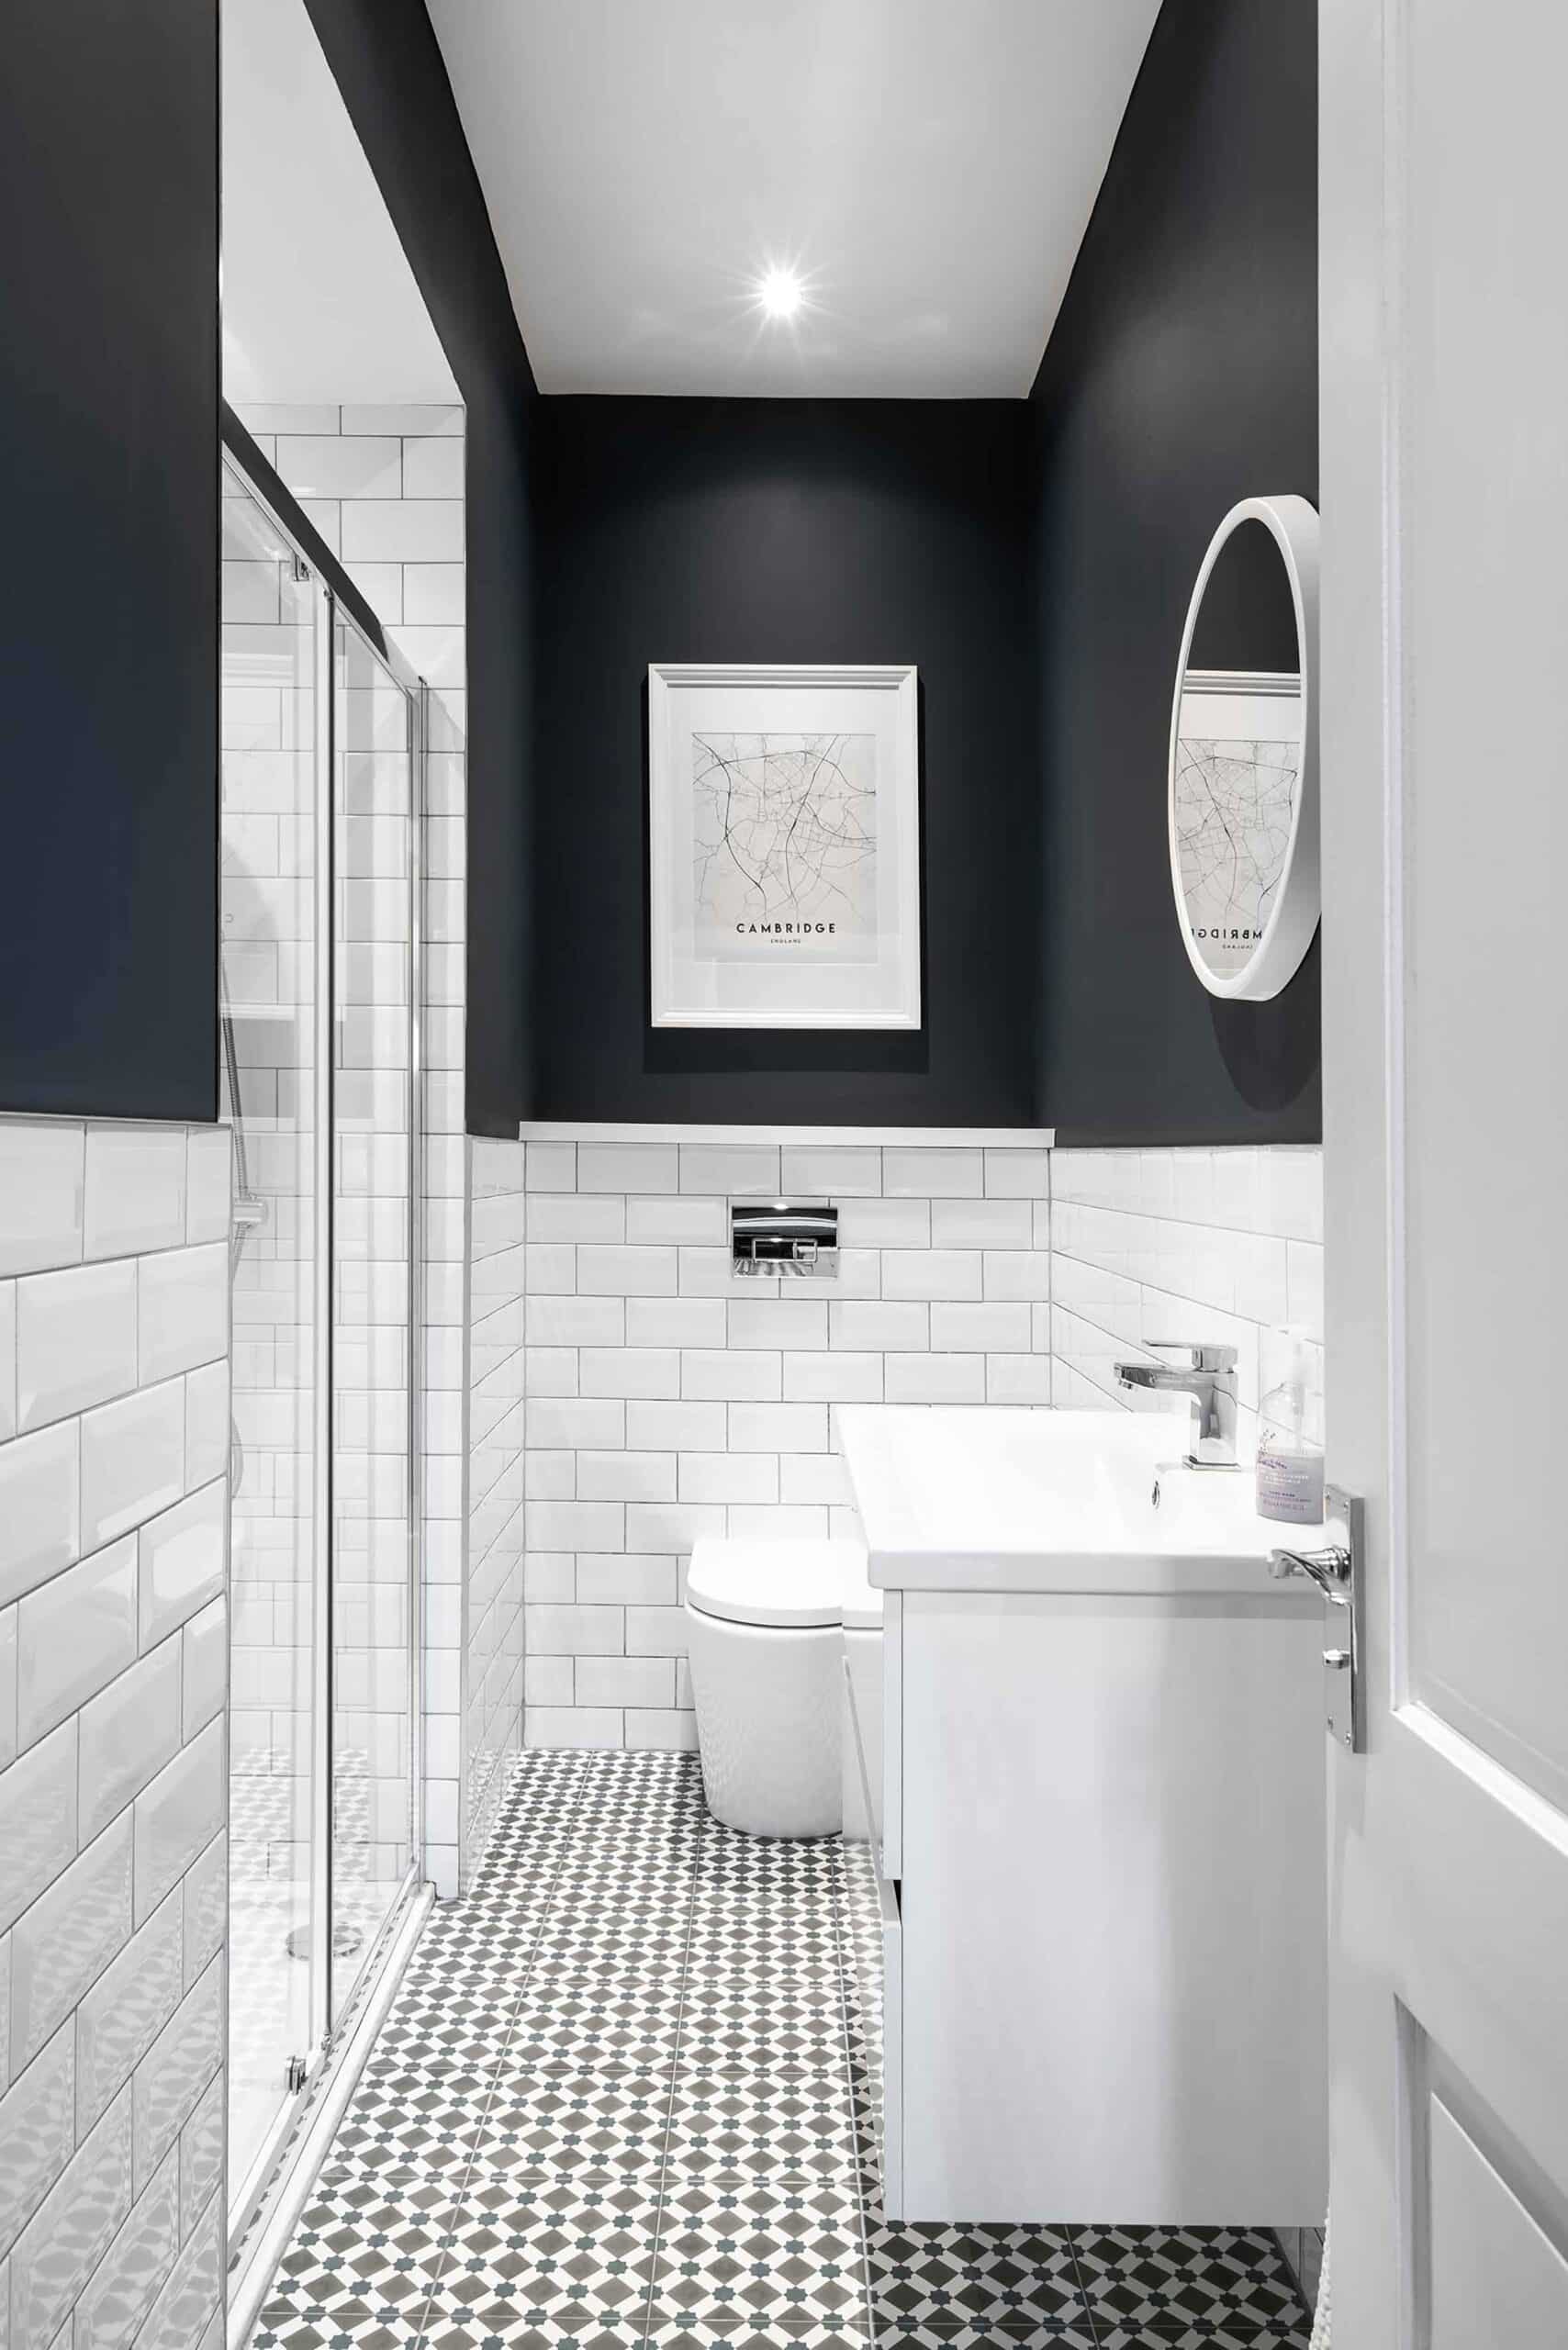
The new downstairs toilet and utility room were included in the budget through a PC sum, meaning they set a notional budget for those items. Unlike most self-builders, they stuck to that allocation. “We went around to suppliers our builder recommended and we chose what we wanted form there, tiles and so forth. We chose what we liked within the confines of our budget,” says Jonathan. They found their lighting supplier through recommendations and knew what they wanted for the floor coverings – “very forgiving” sandy grey wood effect tiles for the open plan area which are easy to clean and work well with underfloor heating. And unusual as it may be, Emma and Jonathan were disciplined. Apart from the windows, the only add on to the budget overall was damp-proofing one of the rooms downstairs in which they’d added a wood effect gas burner.
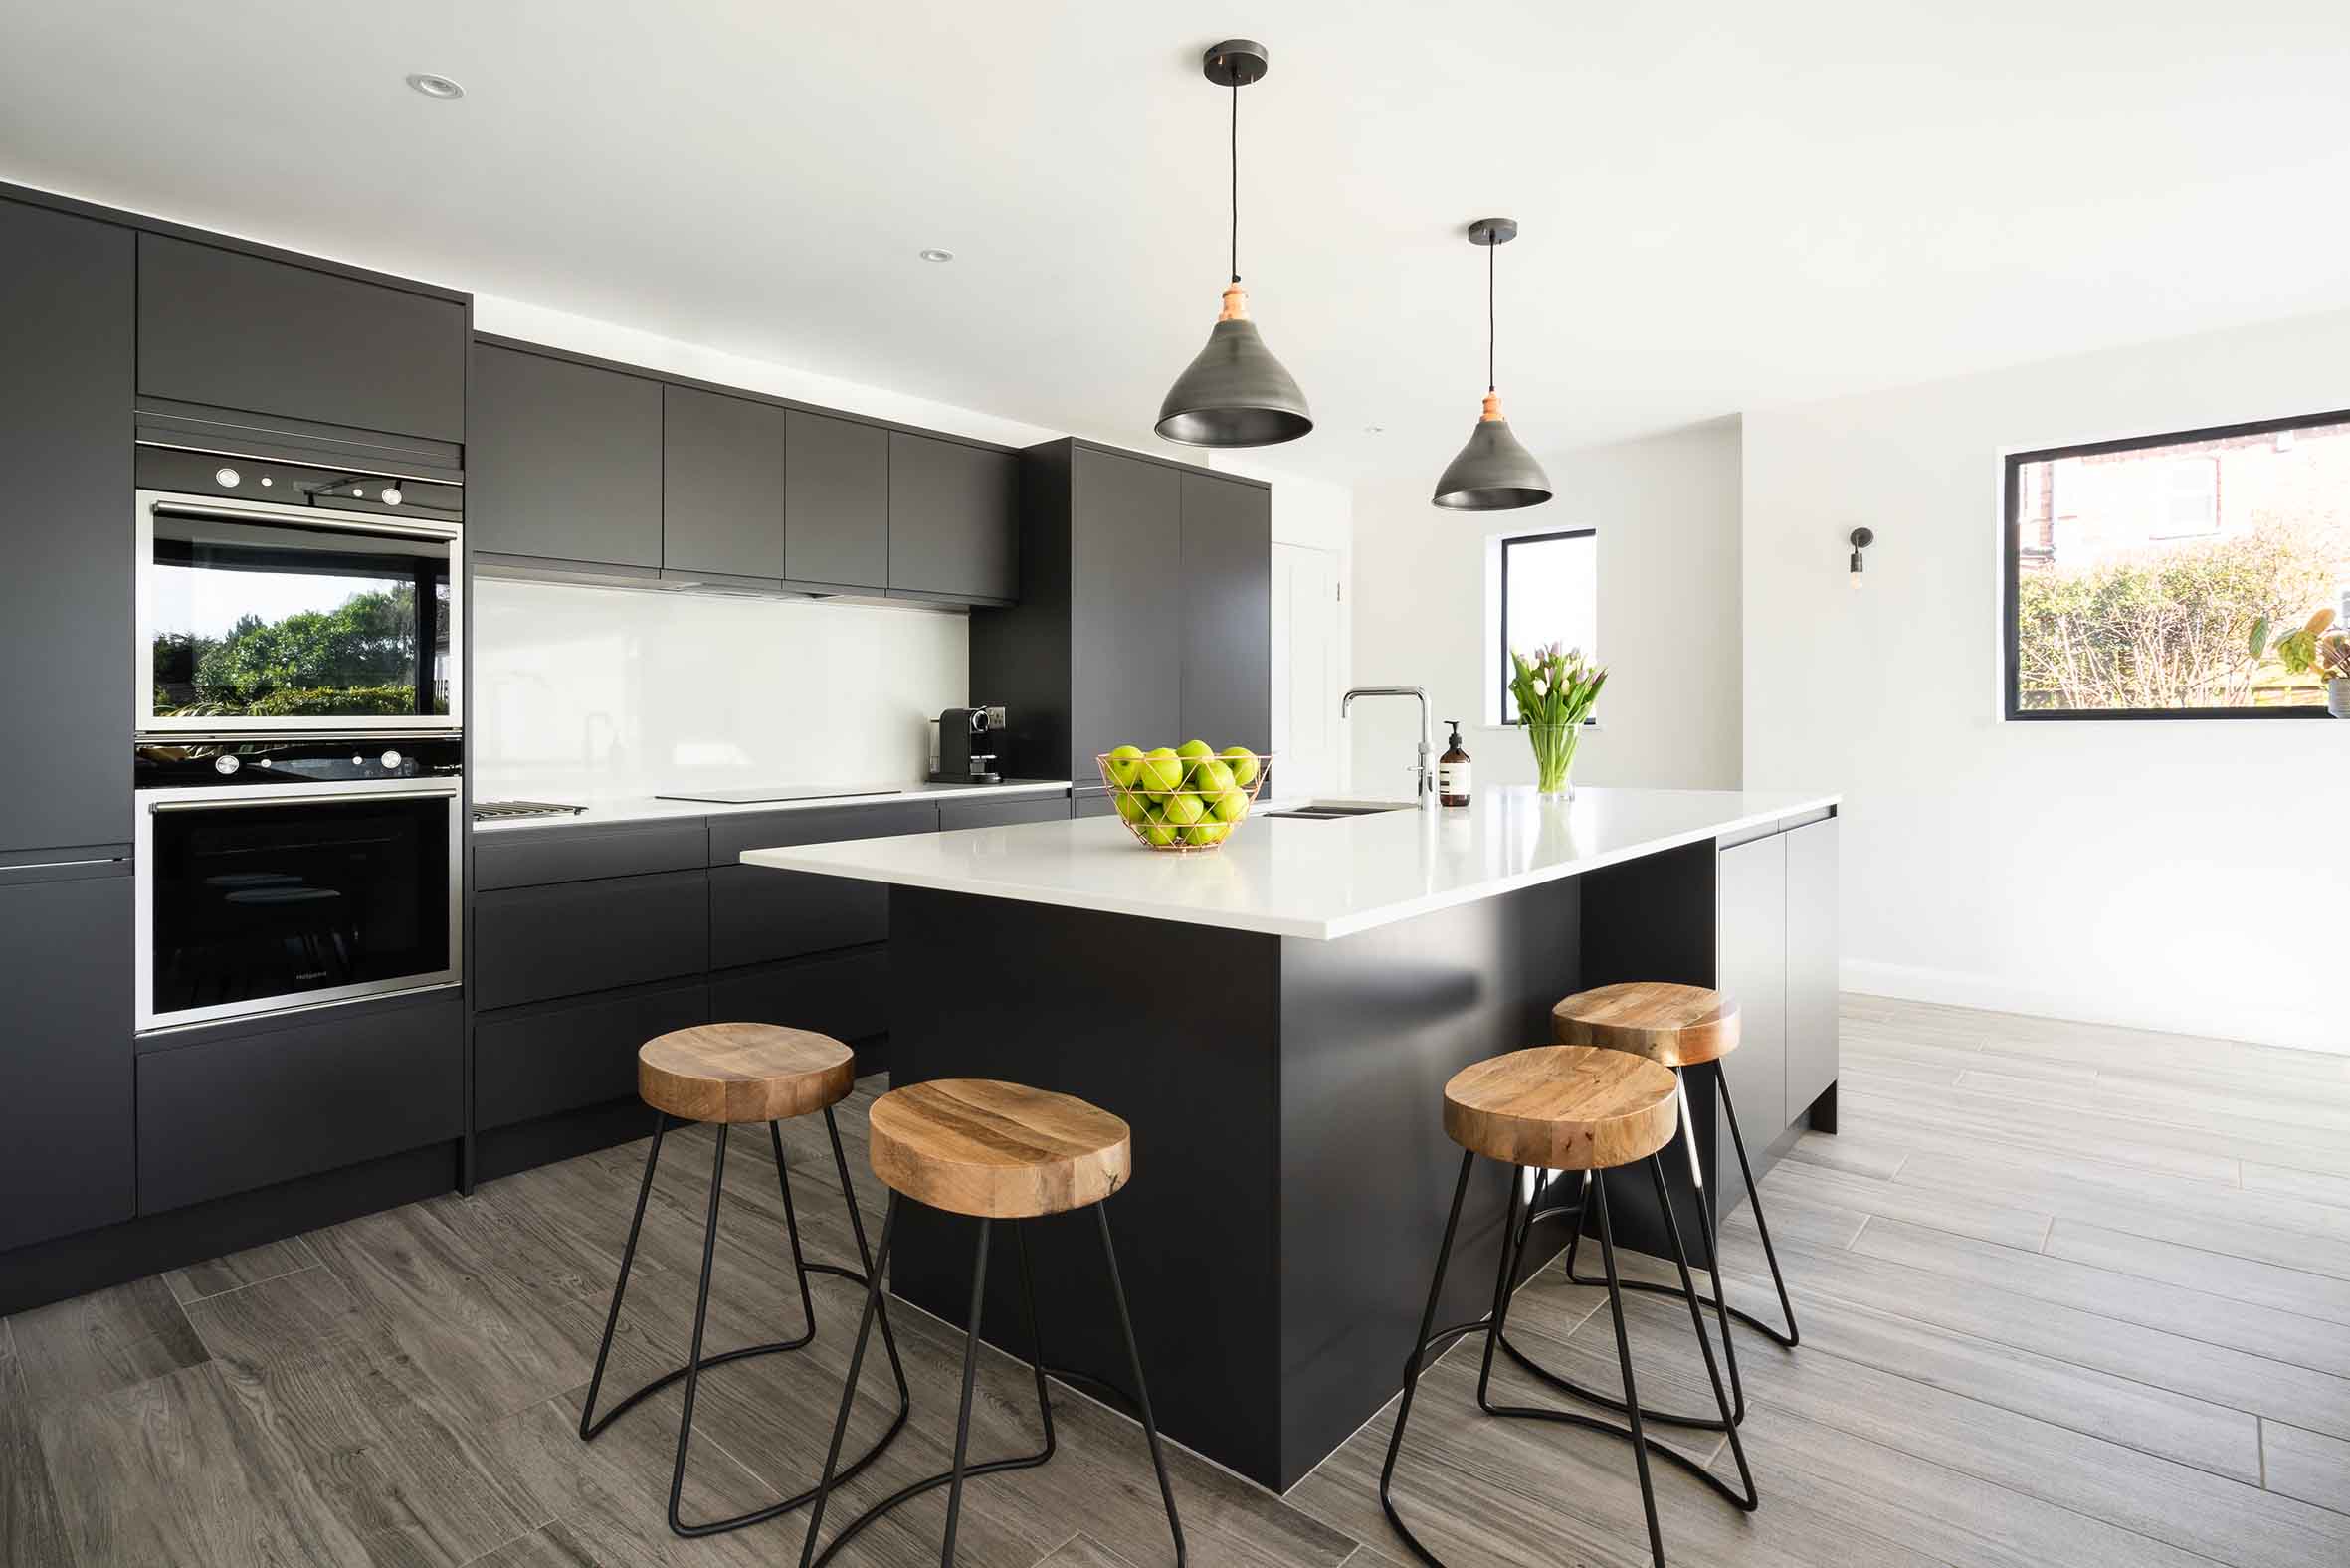
For the kitchen they shopped around and got inspiration from different suppliers. “There was space on the plans for a decent sized island with stools around,” says Jonathan. “There was an area for a big dining table so that was all worked out beforehand. Then we went to the kitchen companies with those plans. We did the naughty thing of getting ideas from the more expensive manufacturers.”
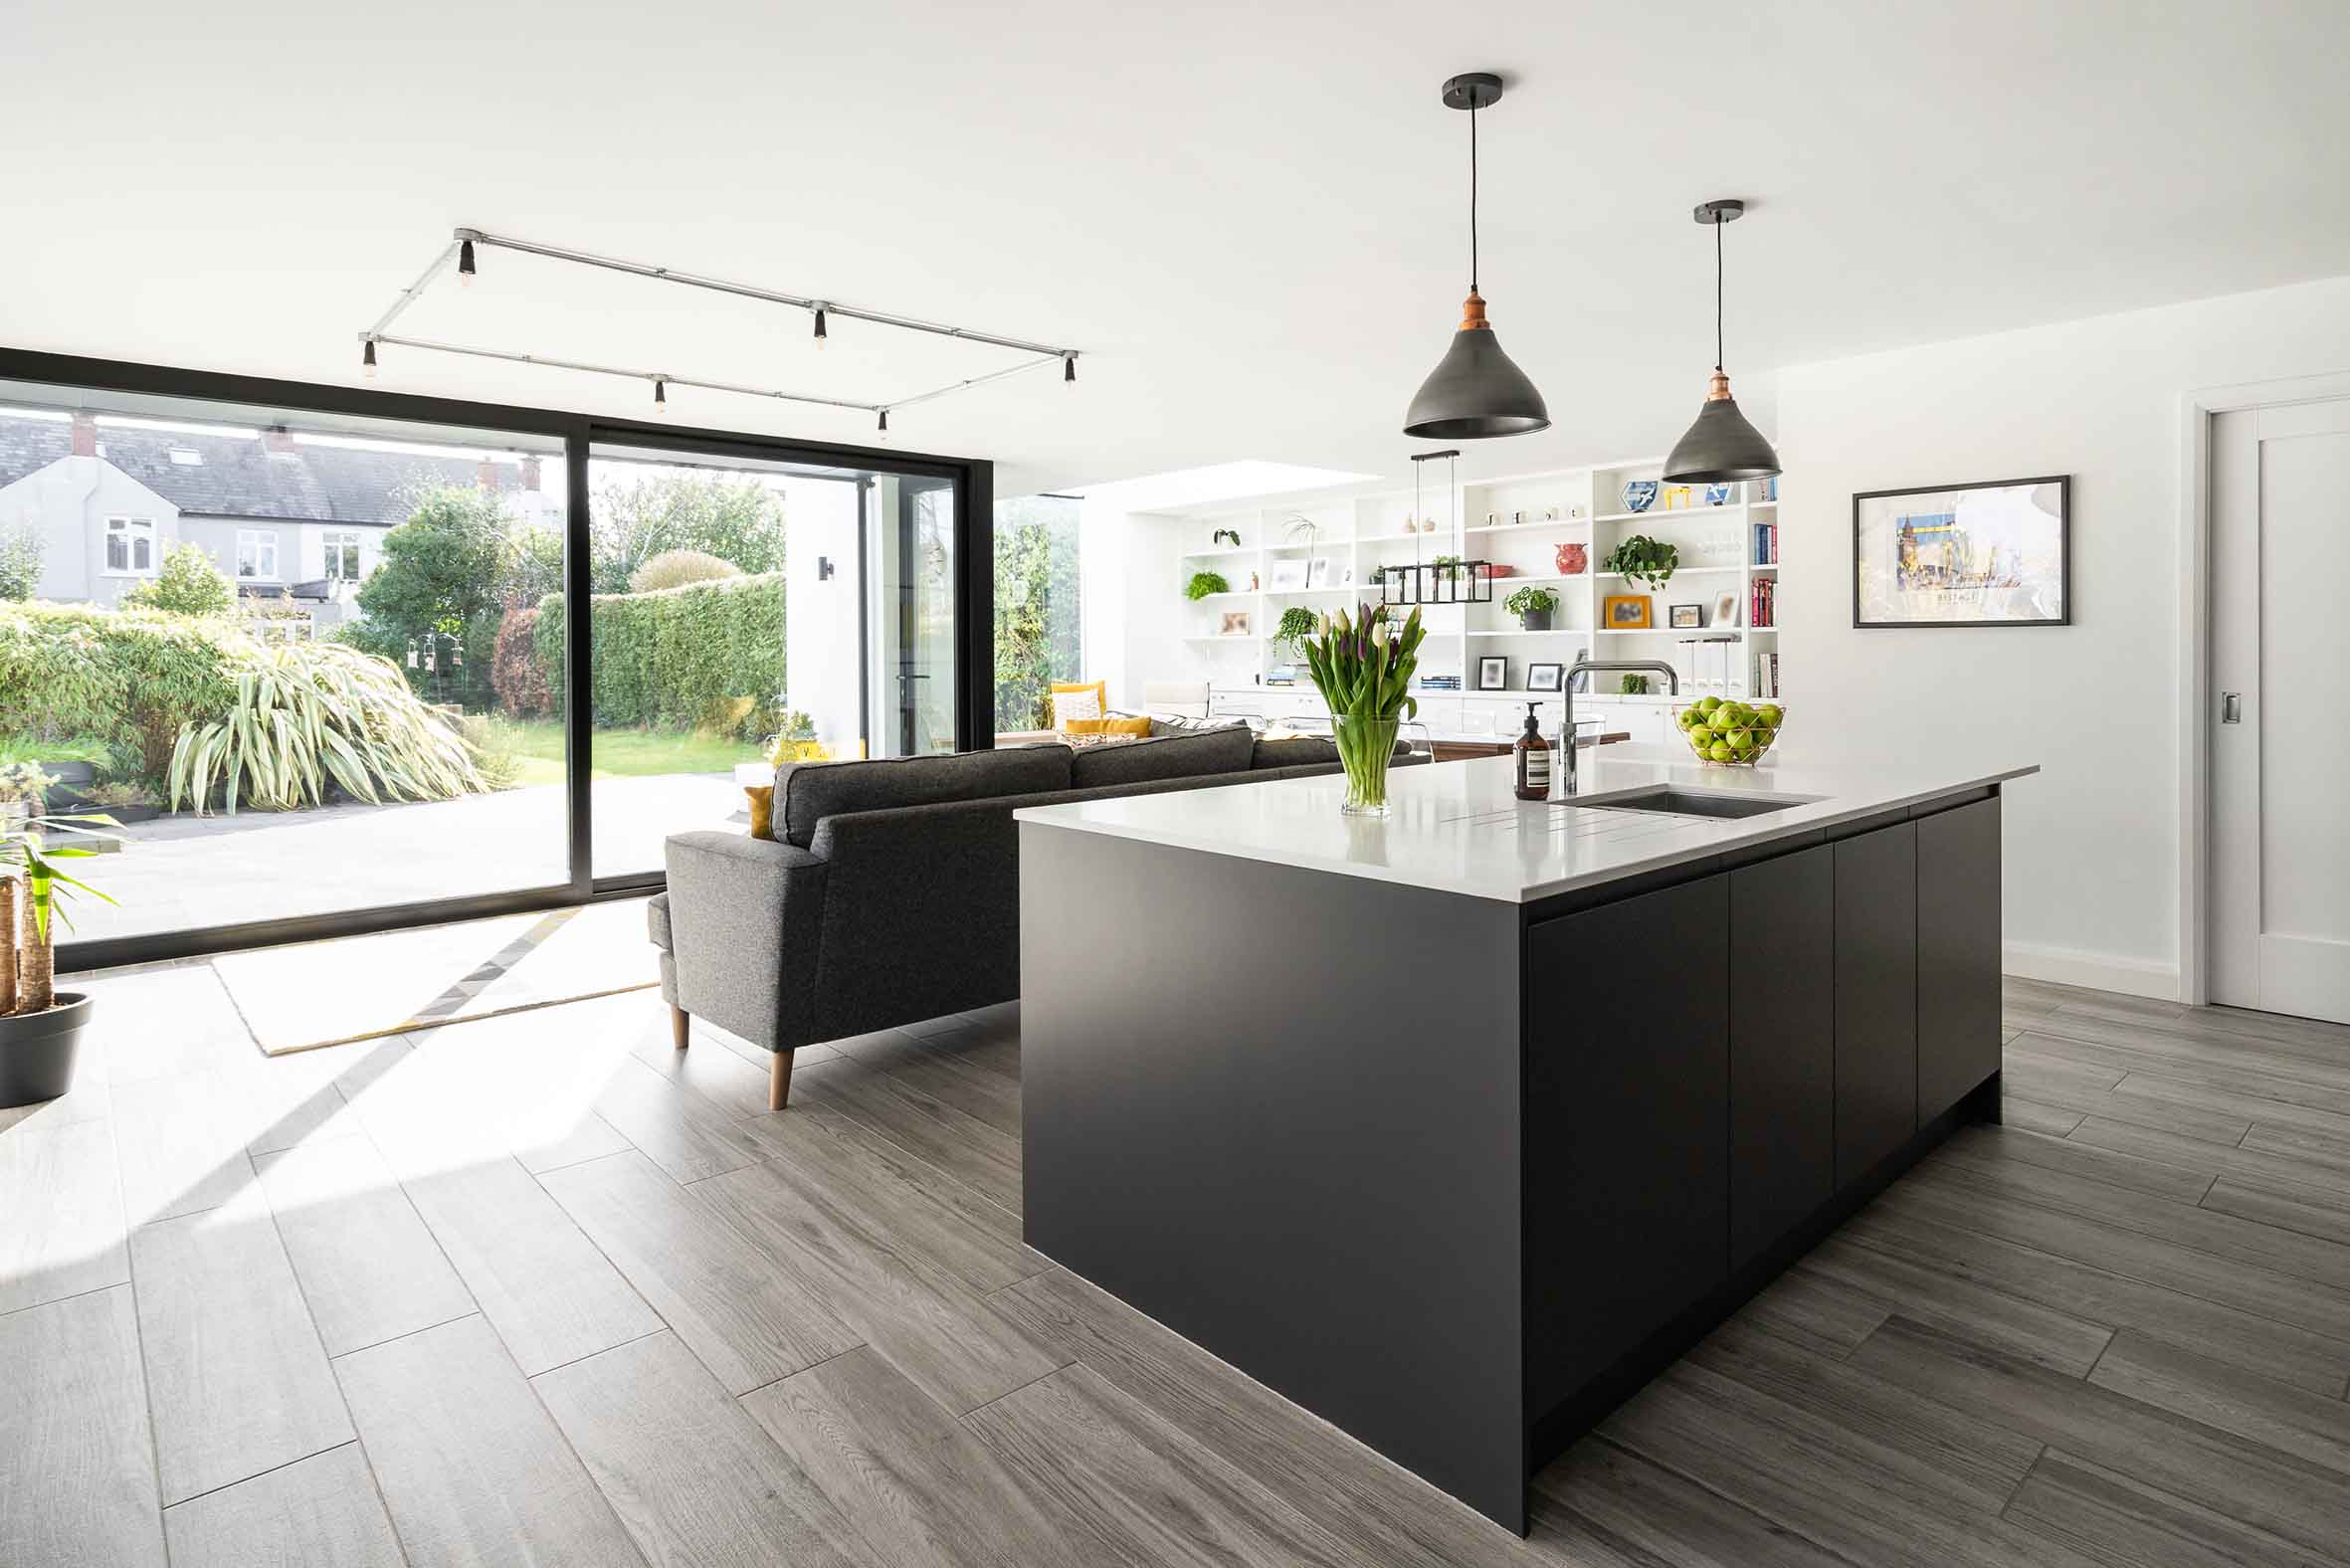
“All the kitchen places were selling that kitchen island living concept with the hob on the island,” adds Emma. “We quickly realised we couldn’t have that because we couldn’t vent it, as it was in the centre of the room and we didn’t have the ducting in place for it. So the idea of island cooking got quashed by ventilation.”
“We’re pleased that’s the way it worked out in hindsight, having the sink at the island. And this might sound really silly but I love that we stuck to our guns for how to configure it. Aisling and the kitchen company felt we should have a neat line of chairs on the island because it’s aesthetically pleasing.”
“But I didn’t want us to eat beside one another and not see each other so I had this idea of sitting around the corner at right angles, two and two. It’s much more conducive to family conversation.” “It does work,” says Jonathan, “when it’s just the four of us we always eat at the island, it’s only when we have people over that we use the big dining table.”
Practical as ever, Jonathan and Emma made sure there would be nothing on the countertops. “We have a hot water tap so no need for a kettle and we put in a toaster drawer. It pulls out when it’s in use and is hidden away when not.” They also have two ovens for entertaining, including a warming oven.
But it’s the pull-out bins that Jonathan likes the most. In particular, doing away with the compost caddy. “I love having compartmentalised bins: recycling, food waste, all hidden away in a drawer.” Despite all of this, their kitchen came in under £10k all in. “Aisling couldn’t’ believe that, but we went with a keenly priced basic kitchen. We wanted it to be simple.”
The verdict? “From an insulation point of view it’s hard to know how much we’re saving with recent price increases, but in terms of daily living it’s fantastic,” says Jonathan. “Before this one of us might have been making dinner in the cold kitchen, with someone watching tv in another room. We can now all do that together, which is brilliant.”
“And it means we’ve become a hub of entertainment for our family. We comfortably had 18 for Christmas dinner, in there all in one room. We do have very big family group, and it’s the perfect entertaining space.”
Emma & Jonathan’s Tips
Keep your neighbours on side. Especially when you’re living in a semi-detached house, building work is messy, dirty and can cause structural issues.
Move out. We were lucky to
be able to move out, to Emma’s parents’ house. Not everyone can do that but it’s the most efficient way to do it – we’re not quite sure we’d have been able to cope with the dust either. If we’d been trying to live in the house at the same time, there’s no doubt in our minds that it would have taken longer. We thank our lucky stars we moved in right before the Covid lockdown.
Q&A
What was your biggest splurge?
The windows were hugely expensive when you compare them to our finished kitchen for example. And we wouldn’t of gotten large windows if it hadn’t been for Aisling’s guidance but we’re so glad we did. The flush glazing brings so much light in, going up and over.
Aisling was right in saying you’re better off pushing your budget on glazing because at the end of the day the kitchen might only last a few years but the bones of it is what really makes the room. I’d say whatever window you think you can afford, try and get as much glass as you can.
What surprised you?
We’d done our two upstairs bathrooms a few years before, and we had a lovely big family bathroom. When we did the back of the house, the building work shook the house and with the vibrations, everything moved. As a result, there was quite a lot of tile breakage up in the beautiful new bathroom.
The builder was slightly cursing us, why do people always do this, they do their bathroom before they do the extension, it always causes problems. But he fixed it all – retiling, tidying up the upstairs, the plumbing was affected too. We didn’t pay anything additional for that.
What would you change?
We moved the gas boiler to the garage. The flue for it is sticking out of the side of the garage and you can see if from the window. If it were on the other side of the garage, we wouldn’t see it.
What single piece of advice would you give a renovator?
You need a builder and an architect that you get on well with on a personal level. That’s really really important. No matter what happens it will be a stressful time and you need people you can sit down with and say “how are we going to get around this, what are we going to do?”.
So go ahead and meet the builder. There are always problems and snags, you have to expect that, factor that into your timeframe. Things will go wrong but if you have a supportive team you’ll find a way to fix it.
Spec
Extension walls: Dense plaster and skim finish to internal block walls over 100mm dense concrete block over 150mm cavity injected with blown fullfill Ecobead insulation, installed strictly in accordance with manufacturer’s instructions by approved contractor over 100mm dense concrete block over smooth cement render, U-value 0.2W/ sqmK.
Flat roof: Proprietary uPVC fully adhered single-ply membrane and zinc standing seam, 150mm phenolic board, proprietary VCL, with vapour resistance level at least equal to the Trocal, to be taped and jointed as per manufacturer’s detail and specification, immediately above the supporting structure, 18mm exterior grade plywood deck, on treated softwood firrings to achieve 1:40 fall, C16 timber joists @ 400mm centres, 12.5mm plasterboard, U-value: 0.15W/ sqmK.
New floors: 100mm 35N poured screed with A-193 mesh and underfloor heating, to BS 8204 Part 1 2003, 500 gauge vapour barrier, 150mm phenolic board rigid insulation, 150mm ground bearing concrete floor slab, Continuous 1200 gauge polyethylene Type A DPM radon barrier as defined by BS EN13967:2004 laid in accordance with BS 8215:1991 lapped and sealed to DPC in perimeter walls, 50mm blinding layer of sand, min.225mm thick well compacted hardcore sub-base.
Windows: black aluminium framed, argon filled low-e, double glazing with a max. U value of 1.6kW/sqmK
Suppliers
Architect
Studio idir, studioidir.com
Photography
Peter Bruce, peterbruce.uk

