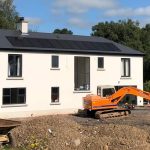
How Robbie Ingram and Ciara Ryan built themselves a storey and a half ICF home in Co Tipperary with a hefty dose of DIY.
In this article we cover:
- Why they chose ICF and how they picked their supplier
- Issues that cropped up on site during the build
- Top tips for a smooth ICF build
- How much DIY they did and
- What to check for on site
- Watchpoints and top tips for a budget ICF build
- Full detailed timeline of each of the steps for ICF
Overview
Site size: 0.6 acres
House size: 2,500sqft
Bedrooms: 4
Heating and hot water: air to water heat pump
Ventilation: centralised mechanical with heat recovery
Provisional BER: A2
Why did you choose ICF?
I worked in construction for four years in ICF. I had good contacts with our ICF supplier so I used their block on my own house. The block I used is made up of 75mm polystyrene on the outside 150mm cavity and 75mm polystyrene on the inside with an overall U-Value of 0.2W/sqmK.
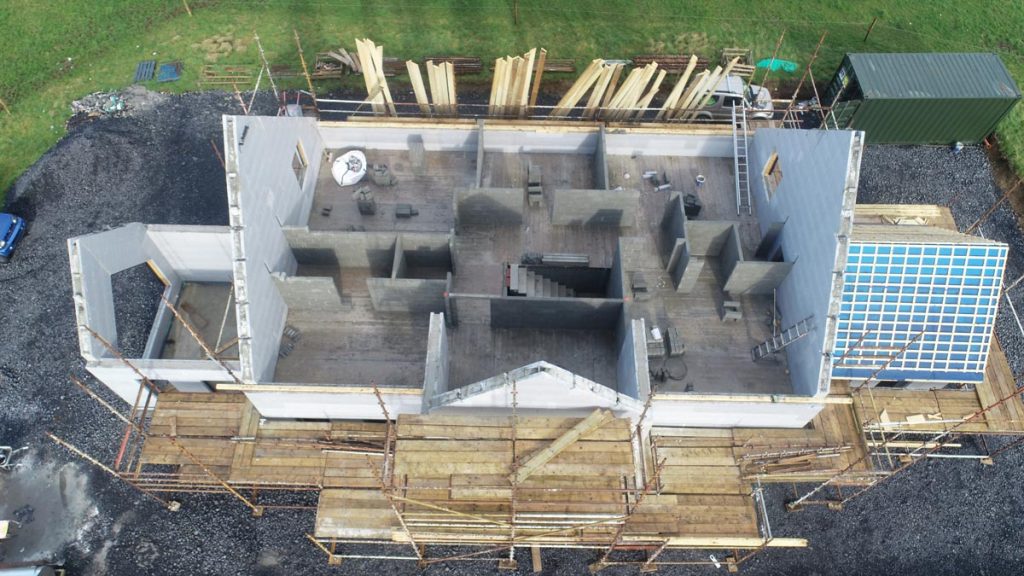
The block is Irish made with the webs being made from 100 per cent recycled plastic.
[adrotate banner="57"]For me it was a no brainer to build with ICF as I would have no labour costs and I had access to the bracing system plus I had experienced colleagues to help on pour day. It’s so important to have experience there on pour day so if there’s a problem, it can be dealt with quickly.
ICF also achieves a far higher thermal, sound and fire performance standard. It has a much lower cost for comparable performance than any other building system available today. A house built with ICF easily meets building regulations requirements for airtightness, junction and thermal bridging.
What are your general tips for a successful ICF job?
The first thing is to get an engineer that has experience with ICF. Otherwise they’ll over-spec everything to cover themselves. Such as specifying too much steel for example. The problem with too much steel is concrete will find it hard to flow through walls.
I’d also advise not to take on ICF yourself if you’ve no experience. I’ve seen it go wrong/blowouts and it gets messy and you lose a lot of concrete. You only get one chance with concrete.
Also if walls are wavey, your plasterer will have to make up the difference to get a flush wall. Plaster for ICF isn’t cheap.
When you’re on site, there are a few things to keep on top of, including:
When ICF is delivered be careful how you store it. It’s safer not to have the bales stacked as they can blow down and get damaged.
Don’t unwrap too much ICF at a time as weather can change quickly and wind can take it.
When moving ICF around the site, be careful not to damage the lugs. Every damaged block costs money.
Keep all the off cuts of ICF until the end as you’ll more than likely need them for something. This saves you cutting a full block for the sake of a small bit. A sheltered part of the site or container/shed is best for offcuts.
Use up offcuts as you go, to stop them building up.
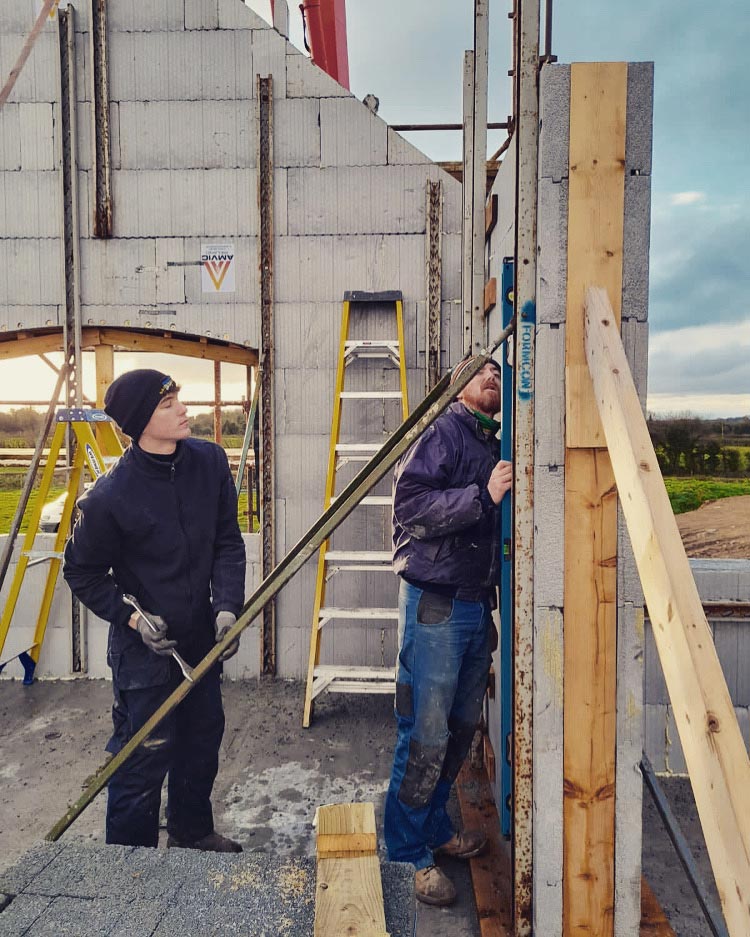
Don’t cut corners when bracing the walls (especially corners, as this is where most of the pressure is). These are the only thing keeping your walls plumb during the pour.
Before each pour, allow walls to lie in slightly as the concrete will naturally push them out. It’s much harder to pull the walls back in than to push them out with your braces/push pulls.
Make sure you know your heights for scaffolders. The last thing you want is to be at an uncomfortable height pouring.
Don’t order the concrete too wet. Water can be added on site if needed. If it’s too wet, it can cause bursts and it’s impossible to pour gables with watery concrete.
Make sure have a concrete poker/vibrator on site. If concrete comes right, you might not need it but I’d always advise poking over window and door openings where you have plenty of steel.
I’d advise getting concrete into the walls as soon as they are ready. I’ve heard of gables falling down in heavy wind and insurance not paying out.
Follow Robbie & Ciara’s build on Instagram @icf_newselfbuild_graffin
ICF new build in Co Tipp Timeline
August 2020
Foundations, ICF rising walls built, first concrete pour, waste pipes in floor, concrete blocks laid externally to carry stone, whacking under subfloor, sand, radon barrier, subfloor poured, shipping container storage unit arrives on site, concrete block delivery for internal walls, ICF block delivery, ground floor ICF walls start going up.
September 2020
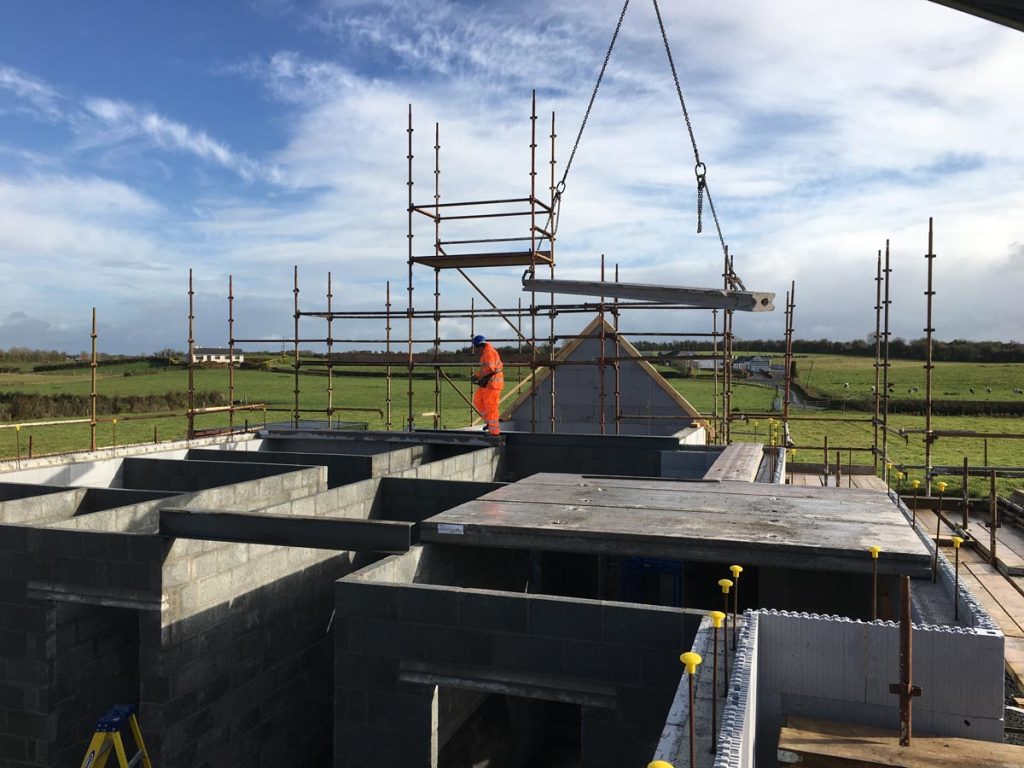
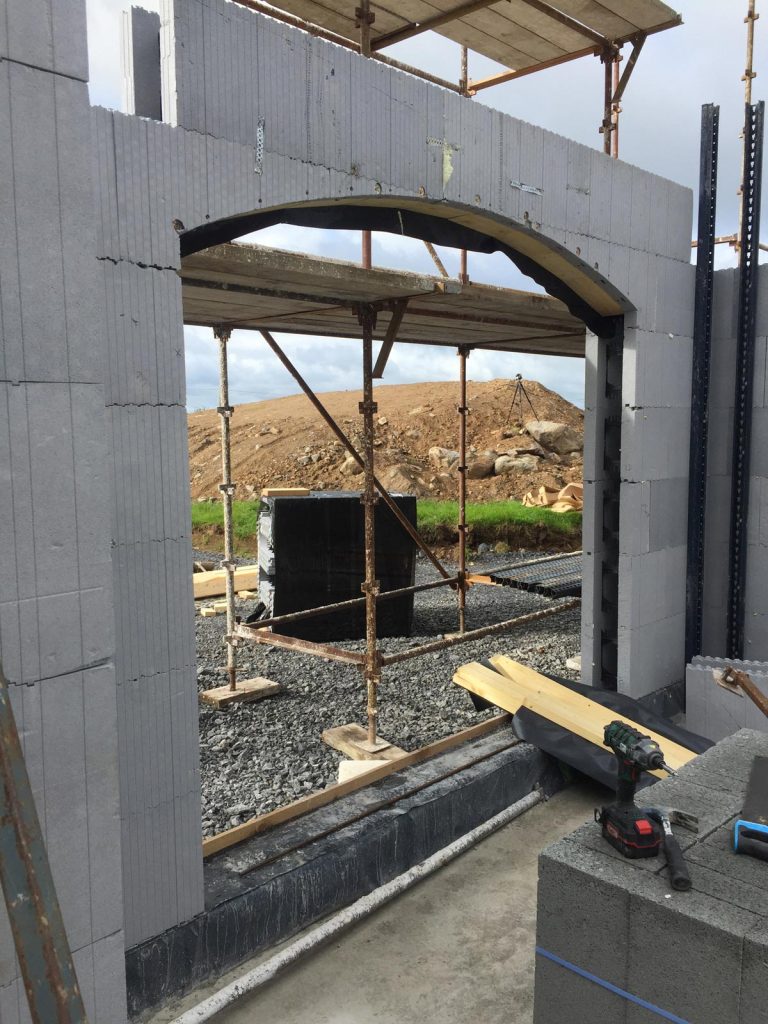
ICF blocks up to first floor level in three days, top block cut down for upper floor concrete slabs, scaffolding goes up, ICF window heads and front door arch (20mm reinforced steel over the front door arch – when poured it forms a lintel), bracing, second concrete pour from three loads of concrete, hollow core slabs sit on top of the floated concrete with the 12mm steel bars acting as starter bars to link the ground floor and first floor, internal block floor walls go up (four inch slot cut out of the ICF to take blocks).
October 2020
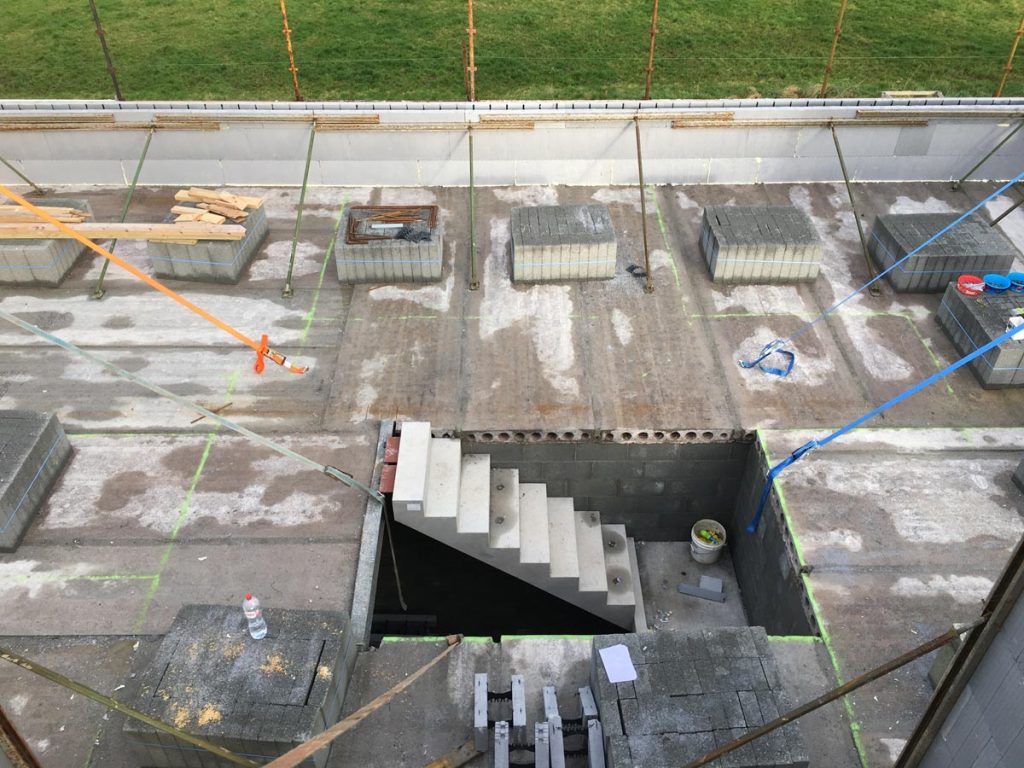
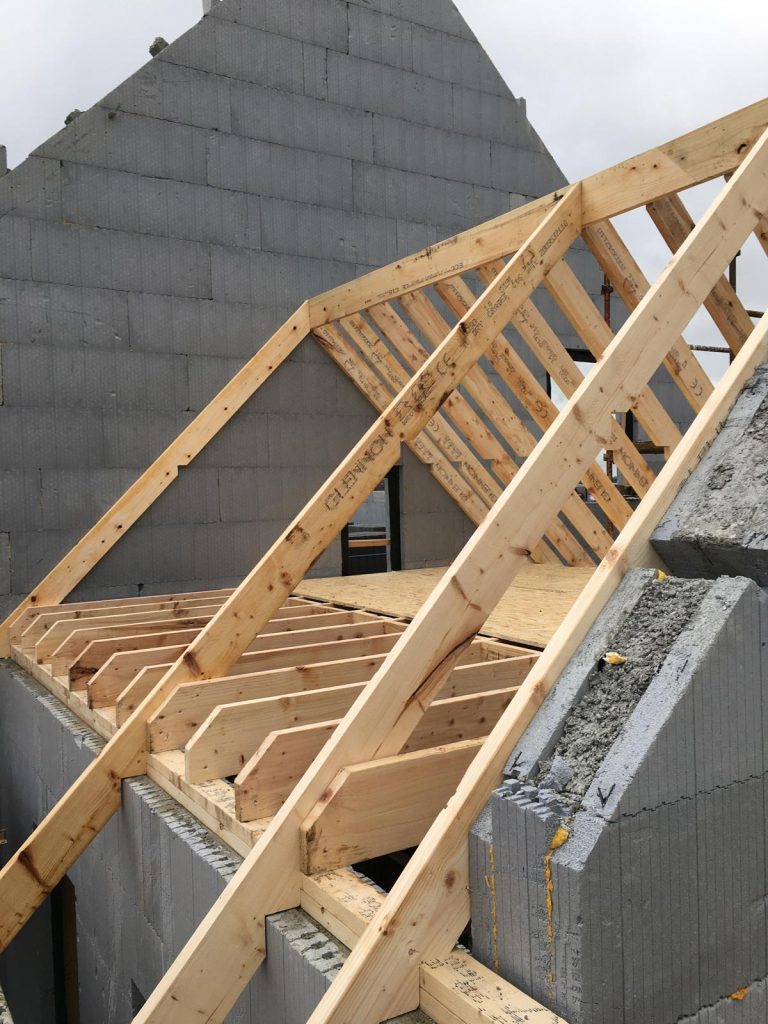
Single storey gable wall goes up, guide rafters go up to build up feature window, removal of temporary window sills to measure up the sills, stairs and concrete slabs arrive on site, RSJs lifted into place to carry the gable and the slabs, stairs and 25 slabs installed, electricity poles arrive on site.
November 2020
Joints between the upper floor slabs filled with concrete, ICF second storey walls go up, upper storey gable rafters and ICF walls go up, feature window ICF walls fully built and reinforced by placing 20mm steel bars into the cavity before the concrete goes in. Walls braced ready for pouring.
December 2020
Third concrete pour, upper storey walls now ready for wall plate. ICF work is done.
January 2021
ICF braces off and all timber strapping off. ESB poles installed.
March 2021
ICF stops hacked out of the external wall to allow for bridging for the gable rafters, window sills fitted, upstairs internal concrete block walls go up, roof timbers arrive on site. Started the roof over the downstairs bedroom to allow the block layers to finish upstairs. Formed a small door in the ICF before pouring to allow access into the small attic over the room, to save on putting in attic stairs. This small door is hidden in a wardrobe in the upstairs back room. Rafters cut for main roof, steel goes in to carry the ridge in living room which has a vaulted ceiling.
April 2021
Main roof is up, scaffolding up in the main house to get the ridge up and rafters on. Chasing wall with hot knife. Plumbing started and ducting in for the mechanical heat recovery system. Priming the support steel in the window.
2021
Slating completed on main roof, single storey ends of the house to be slated after the walls above are plastered. Suspended ceilings go up. Stonework (dark limestone) starts, base coat of external plaster. Windows and doors in.
June-September 2021
Rafters spray foamed, final coat of plaster on the front of the house along with the plinth done in a grey colour similar to the sills. Stonework and external plaster complete, scaffold down.150mm PIR floor insulation installed, plastic laid, underfloor heating pipes laid. Floor screed poured over pipes. airtightness membrane on attic ceilings and all the windows and doors taped. Electrical conduits sealed. Wastewater system installation, storm water pipes with soak pit.
October 2021 to July 2022
Internal work including kitchen and bathrooms, moved in at the end of it.

