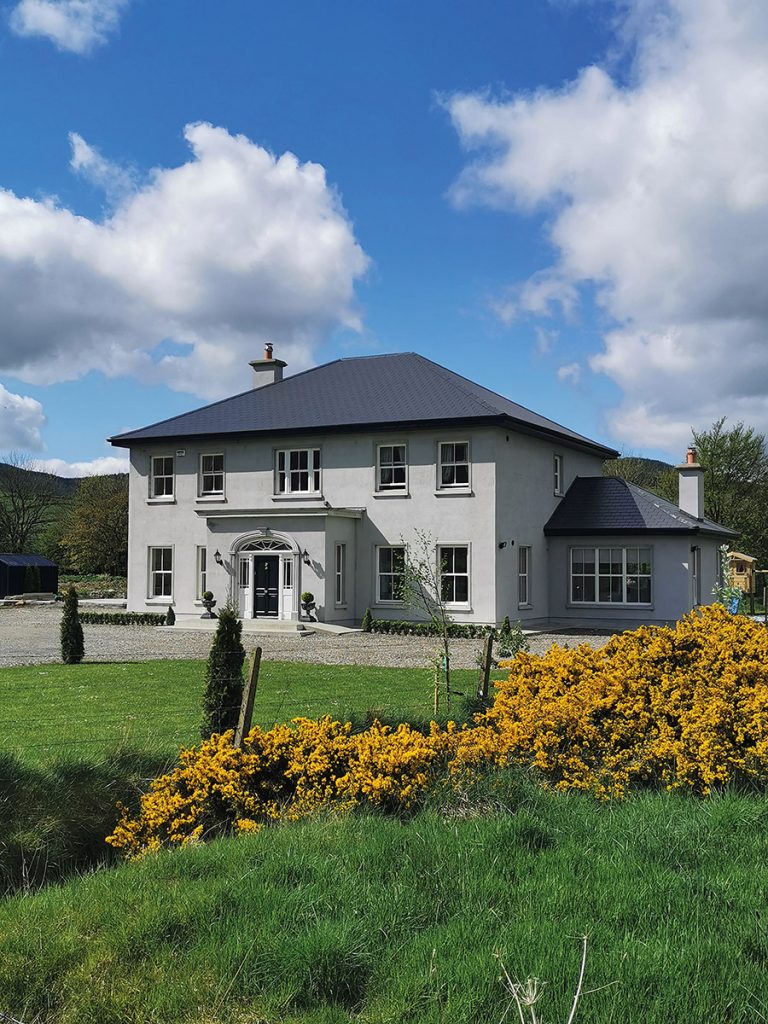
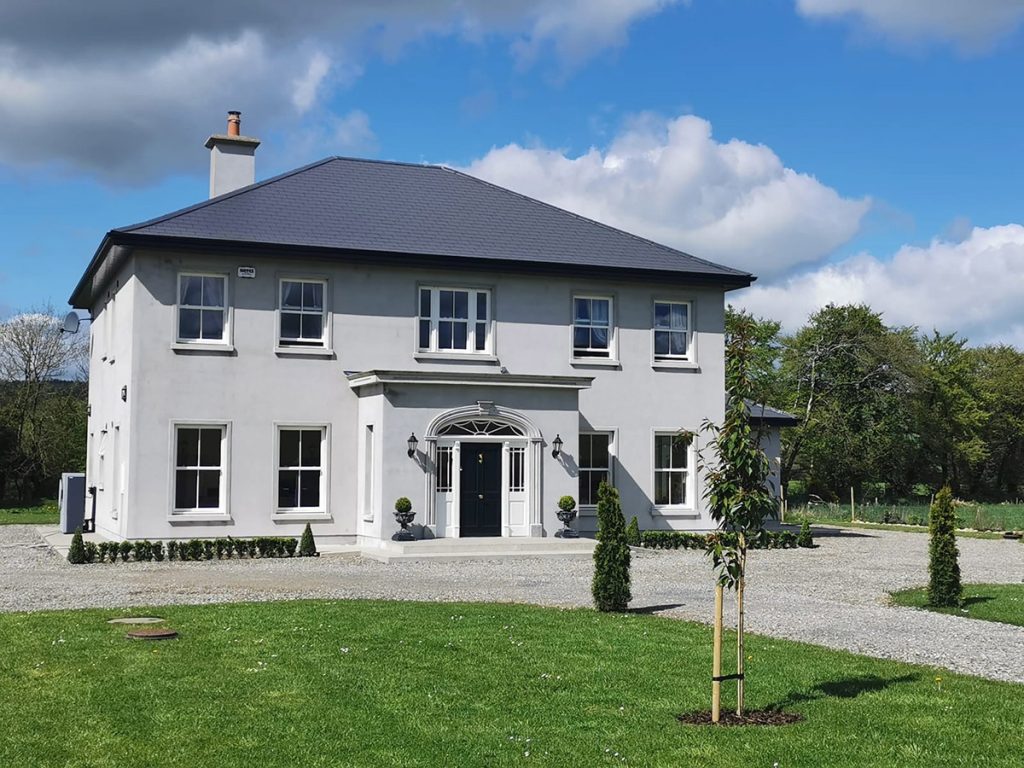
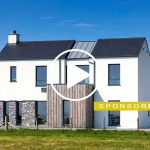
Instagrammer Samantha Smith explains how she and her husband, with the support of her father in law who helped with the project management, constructed a budget friendly Georgian home from scratch.
In this article we cover:
- Finding the site and designing the house
- Unforeseen costs due to the planning application process
- Direct labour route: top tips
- Choices for the fit-out
- How they reduced the overall cost of the house: from kitchen to windows
- Well design and costs
- Running costs and how the house is working out
- Specification and full timeline
How did the project come about?
We always wanted to build our own home but due to work commitments, it took us a while to decide where to try and build. We were ultimately drawn to an area close to family in a beautiful scenic location.
There was a very limited supply of sites where we would qualify for a local planning need, and we were lucky enough to be able to agree to buy a one acre site subject to planning permission.
[adrotate banner="57"]There was planning permission for a two storey house nearby and one built not far from the site so we were silently confident that planning for a two storey house would be approved. A Georgian inspired two storey build was the style we aimed for.
House size: 3,100 sqft
Bedrooms: 4
Plot size: 1 acre
BER: A3
Heating: Air to water heat pump
Ventilation: natural
Build method: blockwork (cavity walls)
How did the planning process go from scratch?
The planning process was probably the most stressful element of the build. We were buying a site subject to planning and had to achieve this within a reasonable amount of time. The planners came back asking for a hydrology assessment of the site.
This delayed the project and added a significant additional cost to the planning process we were not expecting.
However, luckily, the findings of the report were approved by our local council and ultimately our planning permission was granted four months after we had submitted the application.
The drawings we had submitted were put together by a local architect. We had given him our own sketches of what we wanted the house exterior to look like, and rooms to the scale we wanted them. Our architect then advised us and we came up with a sensible design that was in line with the County Development Plan.
From the beginning we tried not to add elements to our design that our architect felt would not be in keeping with the local planning authorities’ criteria. This worked in our favour as there were no design changes required as part of our conditions of planning.
How did you come up with the design?
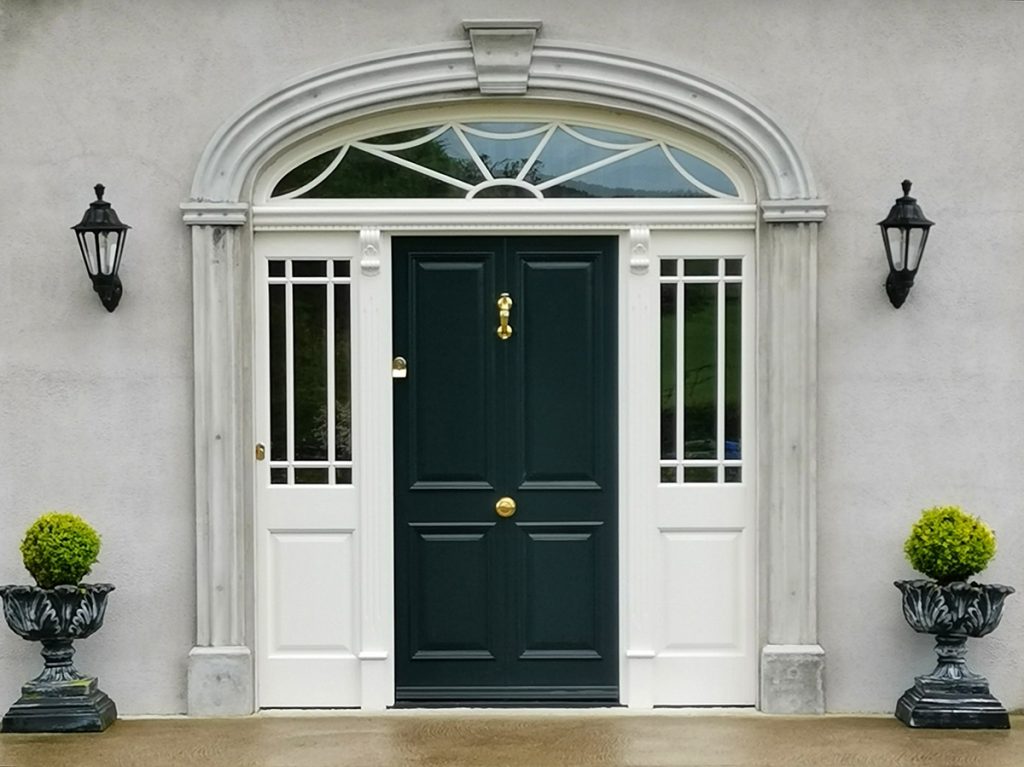
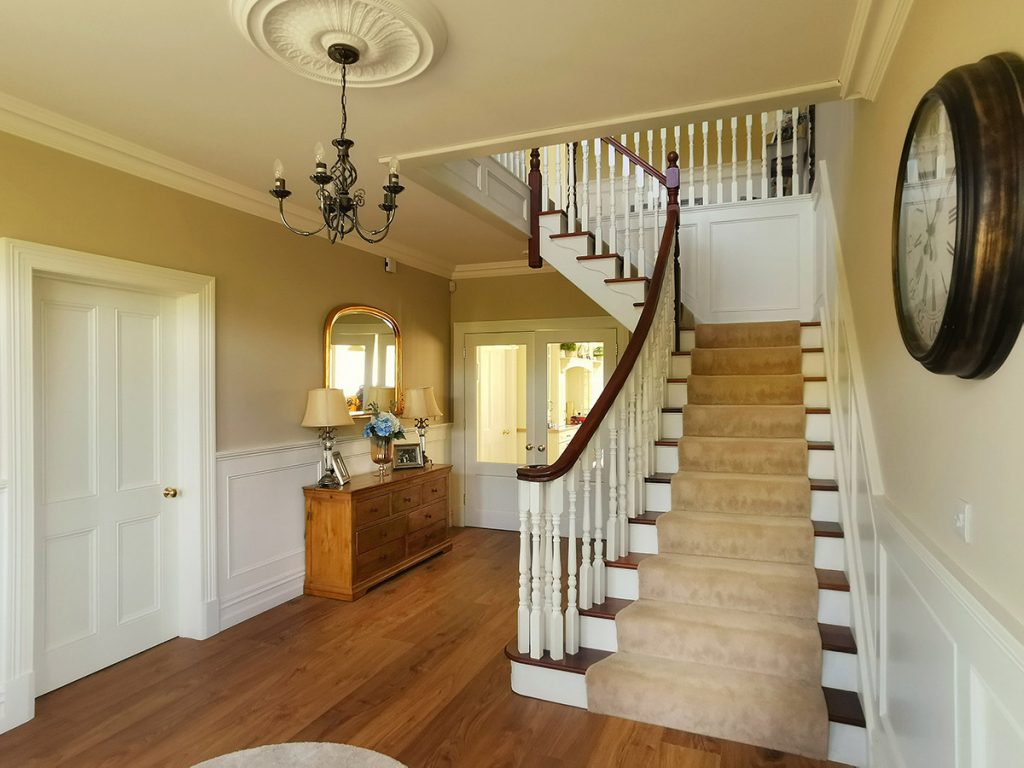
Between us we had lived in several different houses in our lifetime and had a good idea of what worked in terms of function and style. Top of the wish list was a two storey home with as much Georgian character as we could afford and were permitted to have, including a front door with a fanlight encased in a flat roof porch along with large sliding sash windows.
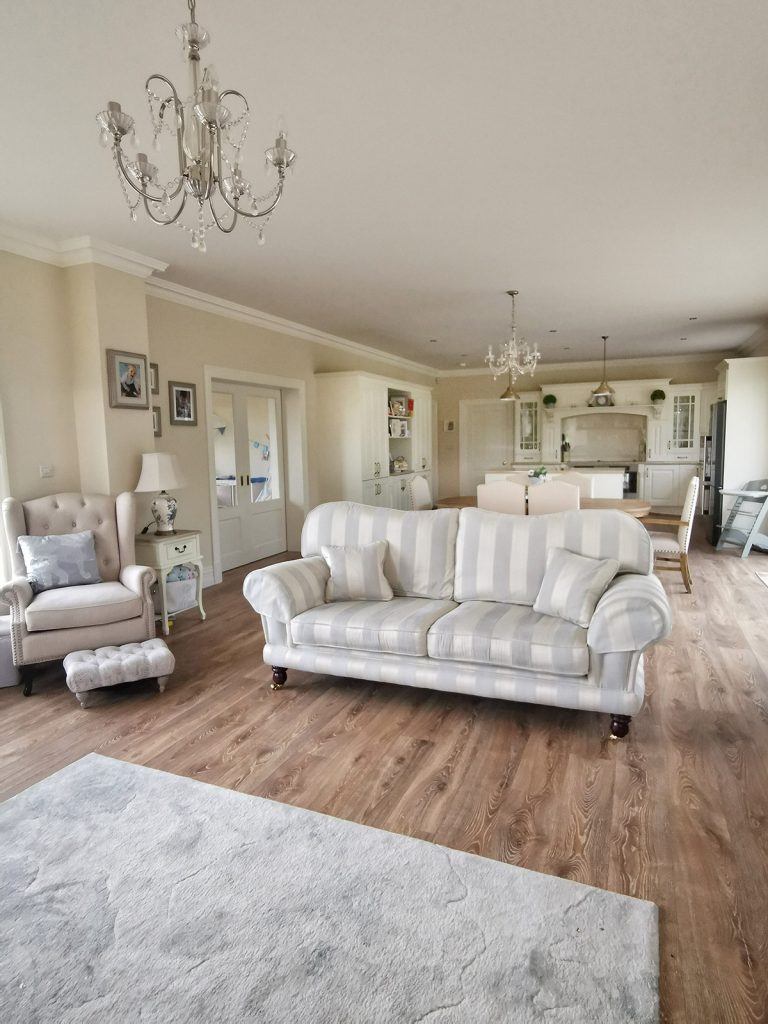
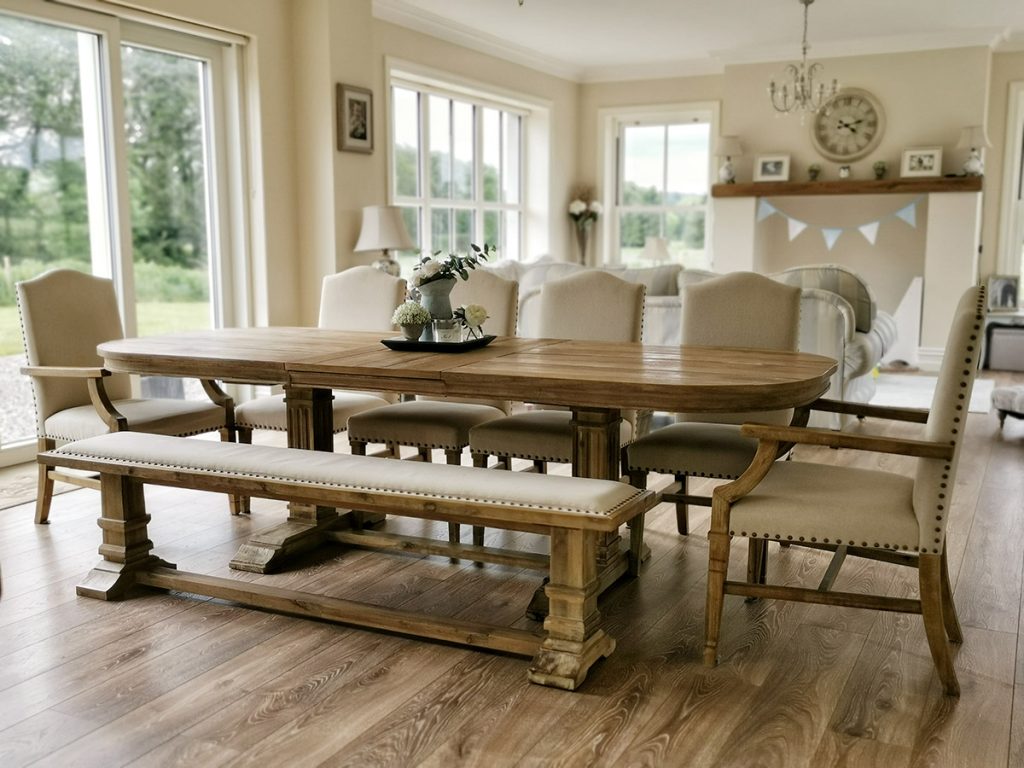
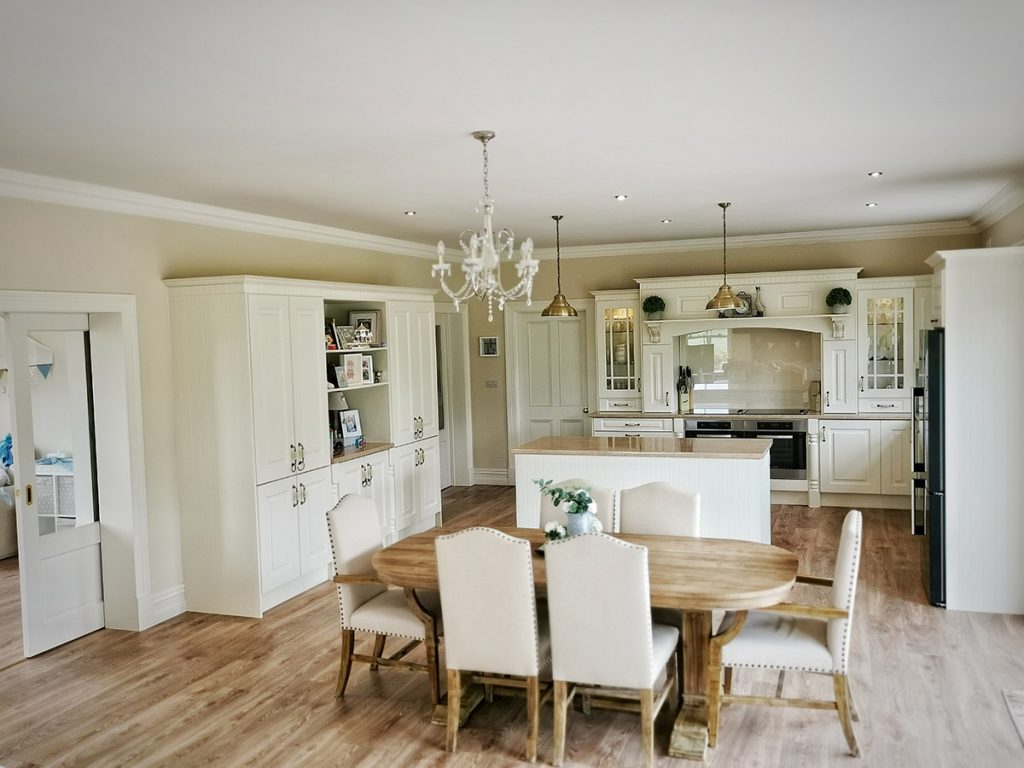
We knew that we would mostly use the open plan living, dining and kitchen area with the playroom adjacent to it, and as we wanted these to be spacious spaces we allocated 970 sqft to them.
We had always hoped to have a large master suite with walk in wardrobe and ensuite bathroom, and managed to carve out 500sqft for it.
From a practical point of view, we included a back hall servicing the utility area and plant room, a separate living room, and an upstairs storage laundry press. We also have black fascia and soffits with all downpipes angled to the back of the house, with the exception of the flat roof porch that has a pipe internally in the porch blockwork at the front of the house.
How the project was managed and built?
This was a direct labour self-build which means we employed all tradespeople directly and sourced all of our own materials. My father in law had a solid knowledge of the building trade and he supported the project management. We were in charge of the build timeline and the scheduling of people to come and work on the house along with the sourcing and delivery of materials.
An architectural engineer signed off on elements of building compliance at each relevant stage and this documentation was used to draw down the mortgage stage payments through the work of our solicitor.
One thing that was of vital importance to keeping on top of all the build elements, was the use of a detailed spreadsheet that we updated weekly. It included all the building works and tradespeople required in order of when they were required, along with quotes for materials and labour, amounts paid, etc.
TIMELINE
August 2015: Met with architect with sketch and wish list
October 2015: Submitted for planning
December 2015: Further information request from the planners
February 2016: Planning approved
April 2016: Start of groundworks
June 2016: All foundations and blockwork complete
August 2016: House weathertight (roof on, windows and doors in)
September to December 2016: First and second fix plumbing, heating, and electrics, internal and external plastering, insulation, finished floors, airtightness procedures, electricity switched on, well sunk, sewage system installed
January 2017: Final fix plumbing and heating, final fix electrics, painting, internal joinery, kitchens, bathrooms, stairs, flooring, tile and other finishes
February 2017: Moved in, interiors complete
What choices did you make for the interior fit-out?
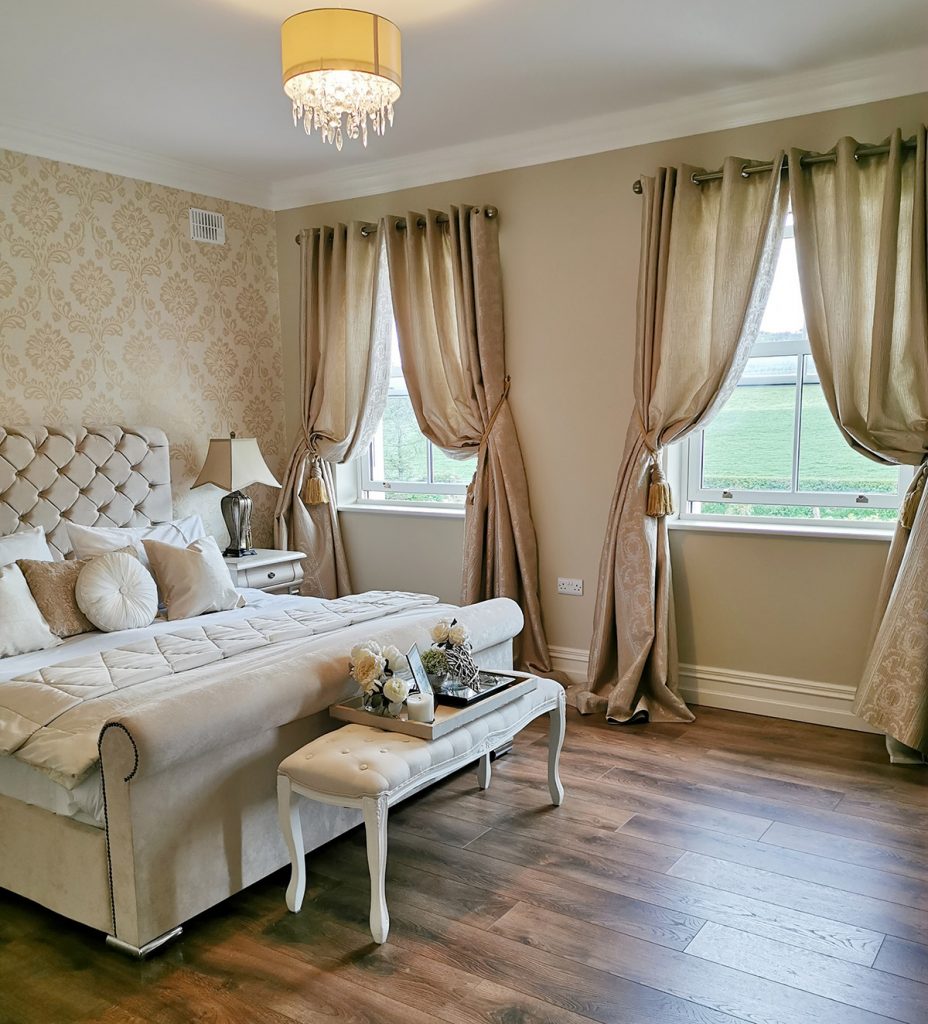
The finishes are a common reason for the budget to run away with itself. But there were key elements we needed to include for the purpose of establishing the Georgian style, others we felt we could make compromises on. The key, non-negotiable elements were a bespoke front door with timber dressing made of accoya timber, wall panelling for the hall, stairs and landing, extra high and wide skirting and architraves, laminate timber floors in most of the house, 10 inch coving along with ceiling roses in all main living areas and in the master suite, four panel extra wide white internal doors with brass knobs and fittings, a curved mahogany stairs with extra wide steps and carpet runner, a roll top bath for the master ensuite and double vanity unit, and a laminate antique fireplace for the living room
To reduce the overall cost of the finishes, with the aim of achieving the character we liked, we did the following:
- Out of a total of 29 windows, only 17 are sliding sash (we chose a uPVC white woodgrain effect). We invested in these to feature at the front and side of the house. We saved considerably by specifying 10 of the windows to be traditional double glazed casement windows plus two tilt and turn fire safety windows with mock Georgian bar.
- The kitchen worktops are laminate even though we wanted a bespoke timber kitchen with natural stone counters. The savings made here enabled us to fit out our bathrooms and do the wall paneling in the hall and landing.
- We used concrete window cills and capping for the entrance piers instead of a natural stone finish, which were coming in five times more expensive.
- In order to finish the inside of the house, we abandoned any landscaping plans until 18 months after we moved in.
What was the well design and installation process like?
We applied for a private well as part of our planning permission. We didn’t apply for a quote from Irish Water as we were not close enough to a service point for it to be cost effective. The well cost us approximately €3,000 including drilling, lining (it is steel lined), submersible pump and installation. We went down 100ft due to the water table in our area and we met the required flow per minute at 100ft. Which was lucky for us as you are charged per foot for the lining so the deeper you go the more expensive the well is.
How about heating and hot water?
We have an air to water heat pump. The house is quite warm and we have no stoves or open fires. Following a recent service of our heating system we were given a report of the units we had used to date. On average we’ve been spending approximately €800 a year for all our heat and constant hot water. For a 3,100sqft house, we feel it is economical to run.
Further information available through the Instagram page @home.at.ashfield
Planning Permission Tips
Get an idea of costs from trades or a quantity surveyor to identify whether you can afford to build and finish the size of house you are planning to build. This is important at the other end, when it comes to the final mortgage drawdown.
Buy a site in a suitable area, one that tends to give permission to the style of home you are hoping to build. In our case, knowing that there were other two storey houses nearby supported our application.
Attend a pre planning meeting to ascertain what style and size of home would be in keeping with the local council’s criteria. Adjust the design accordingly in consultation with your architect prior to submitting your application.
In ROI beware of the local need clause. Gather as much information/documentation as you can to show that one or both of you have lived previously in the area, and/or work in the area, have family in the area or attended local schools/clubs in the area. We were told this would help our application supporting our local need for housing.
Design Labour Tips
Have money saved up so as to pay suppliers and tradespeople between the stage payments of the mortgage.
Avoid delays by picking out finishes in advance and giving tradespeople plenty of notice of when you will require their services.
It helps to start in the spring. It was beneficial for us to start as soon as the frost was gone so as to be weathertight in the autumn. This meant the interior could be worked on straight away and we were not dependent on the weather to proceed.
Spec
Walls: 150mm block cavities filled with 100mm phenolic insulation board, internally lined with 62.5mm insulated plasterboard. External nap plaster finish with 3in frame around each window and door with the exception of the front door which has a bespoke concrete and plaster cast mould.
Floor: standard build up with 150mm phenolic board insulation with a 70mm concrete mix on top. Roof: 150mm open cell spray foam insulation, fibre cement slates, flat roof porch with fibre glass sealed finish. Ceilings have 62.5mm insulated boards.
Glazing: all double glazed uPVC; the open plan area 4m long lift and slide door is aluclad.

