Pauline Millar’s downsizing project in Belfast shows what can be done with a small property and a limited budget.
In this article estate agent Pauline explains how she went about renovating her 1960s semi-detached house in Belfast, including:
- House hunting tips for a renovation project
- Maximise small footprint by designing the extension and garden at the same time
- Budget friendly decisions
- How to use ever inch of space: storage tips
- Split level design both inside and out to maximise light and views
- Hidden drainage details and concealed washing line
- Full kitchen design with island storage
- Stripping back the bathroom to add a bath
- How to configure the floor to ceiling windows for least cost, ventilation and maximum visual impact
- How to increase water pressure
- Choice of gas boiler and wood burning stove
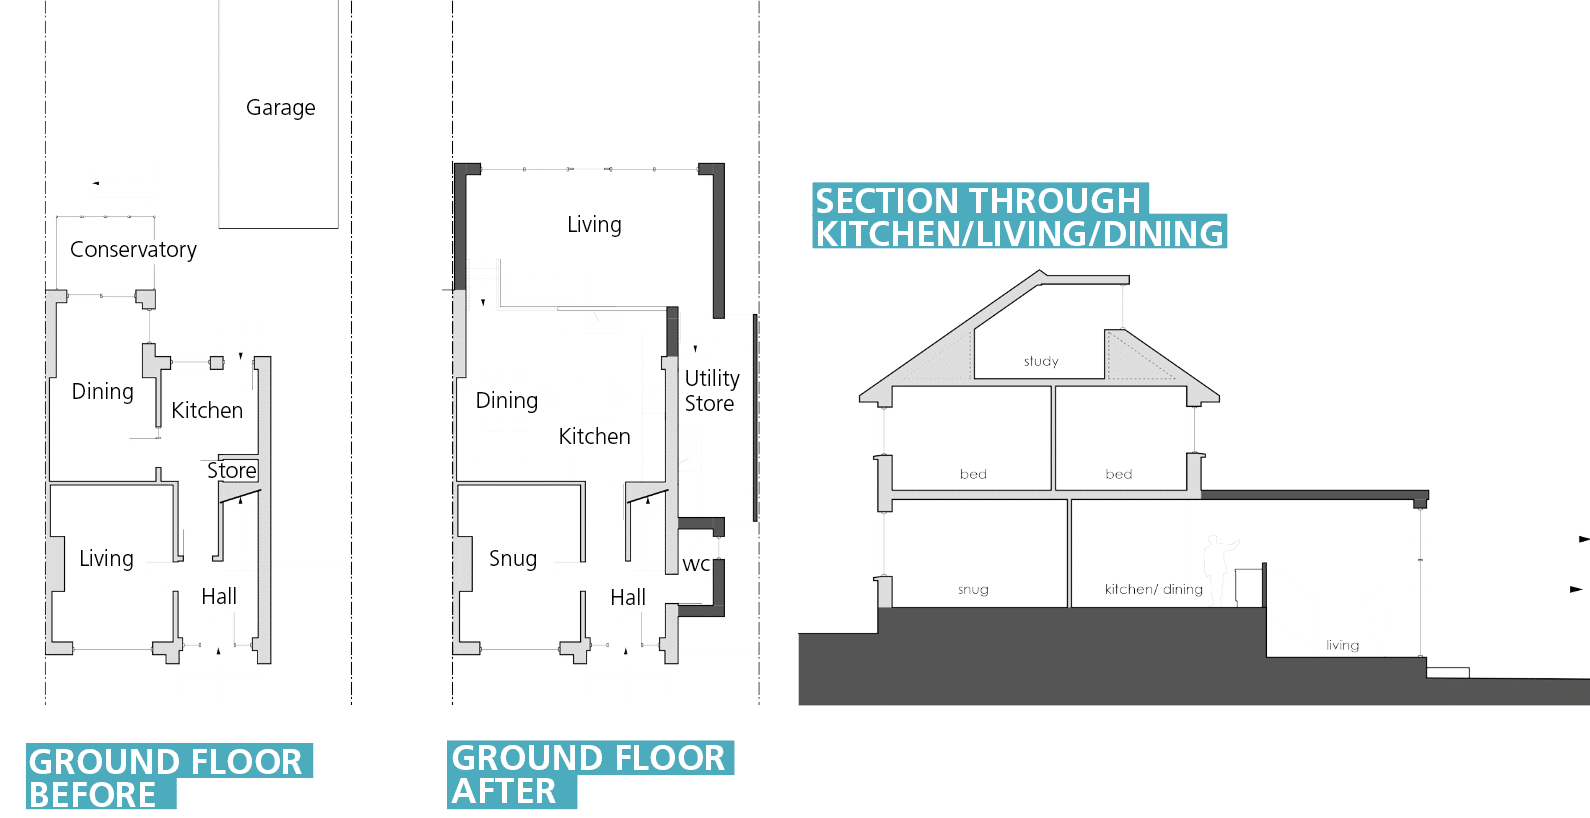
- Before and After floor plans
“We bought our family home 19 years ago, but with the children grown up and away we had many rooms not being used. The property also needed some modernisation and we had a very large garden,” says Pauline.
“We were ready to move on with our lives. The work or garden didn’t frighten us, it was the property that was just too big, so we decided to downsize.”
“We started looking at houses that were ready to move into but we realised that for us to put our own stamp on it, without cutting corners, our preference would be to buy something that needed work.”
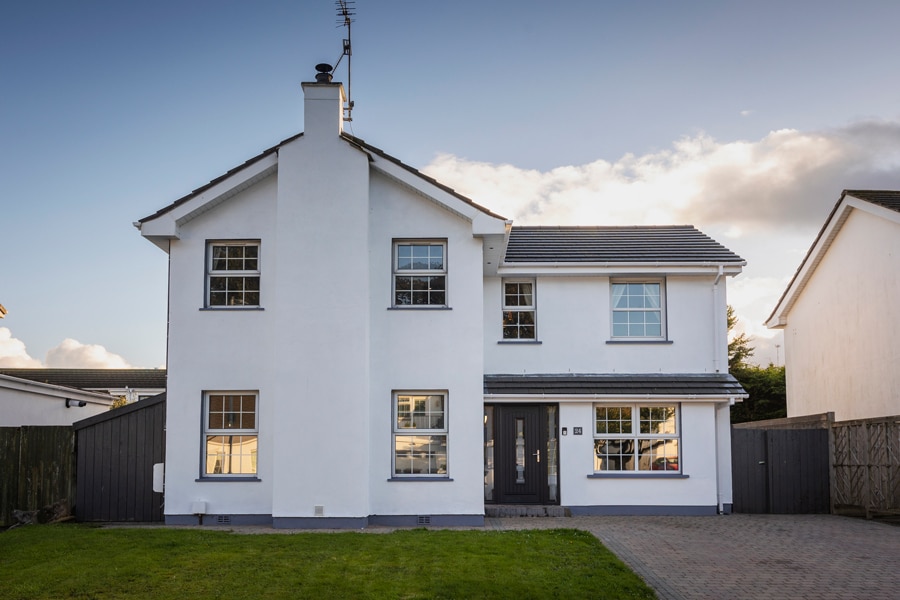
“The determining factor became the location. We were also looking for a garden with sun, car parking, and a spare bedroom for the children to visit. We eventually came across a 1960s semi detached house; barely anything had been done to it apart from the windows.”
Having worked as an estate agent for 17 years, Pauline knew what to look for and what to add to the house. Practicality, she says, is key for resale value.
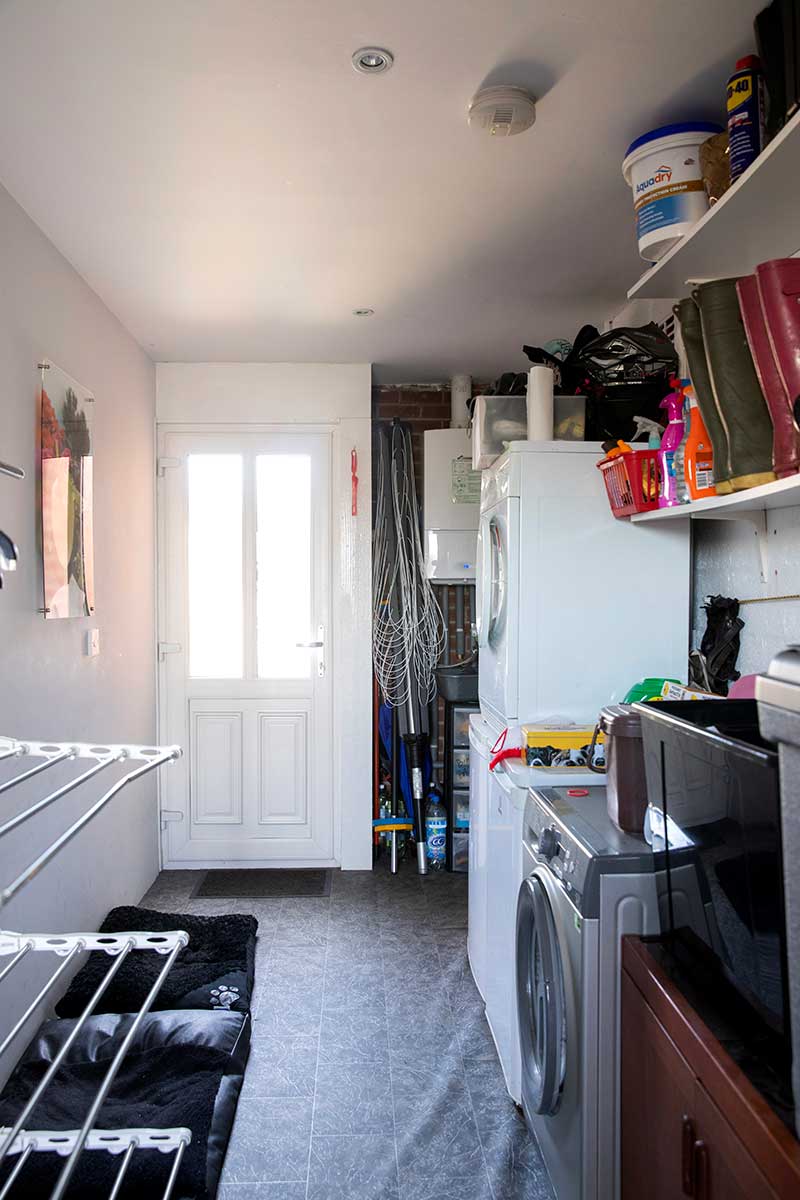
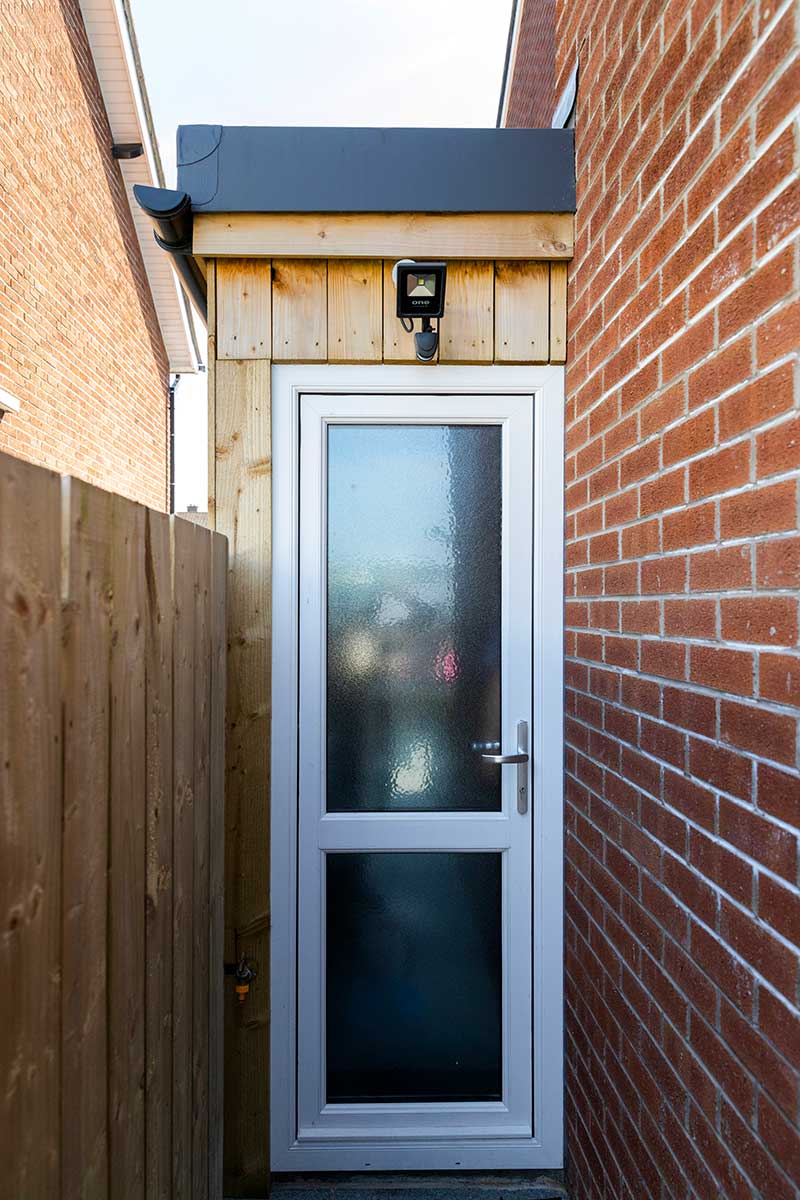
“We didn’t want a shed but needed a utility / boot room / bike storage space. So we demolished the garage in the back garden and extended to the side to create our utility room. This meant we lost access to the back garden from the side but gained so much more indoors.”
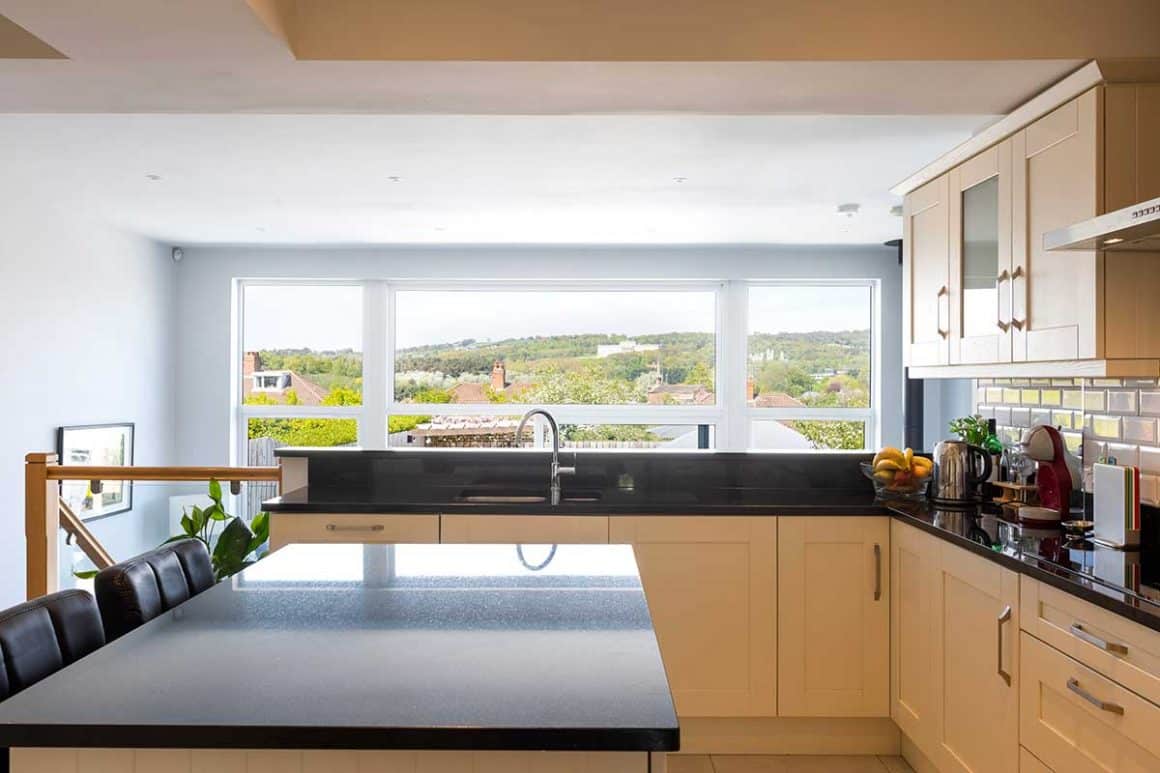
“We lived in the house for a month, without doing any work, before we got the architect out. From that short period of time we knew we wanted to add a flat roof extension to pick up the view we have of government buildings.”
“The architect was in synch with our ideas and that’s what we did, we built the back of the house with the view to Stormont in mind. Planning permission was very swift, we had no issues. The changes we made to the design were much more of our own making.”
From the outside in
“We spent considerable time observing the house and garden, to identify where natural light flooded in at different times during the day.”
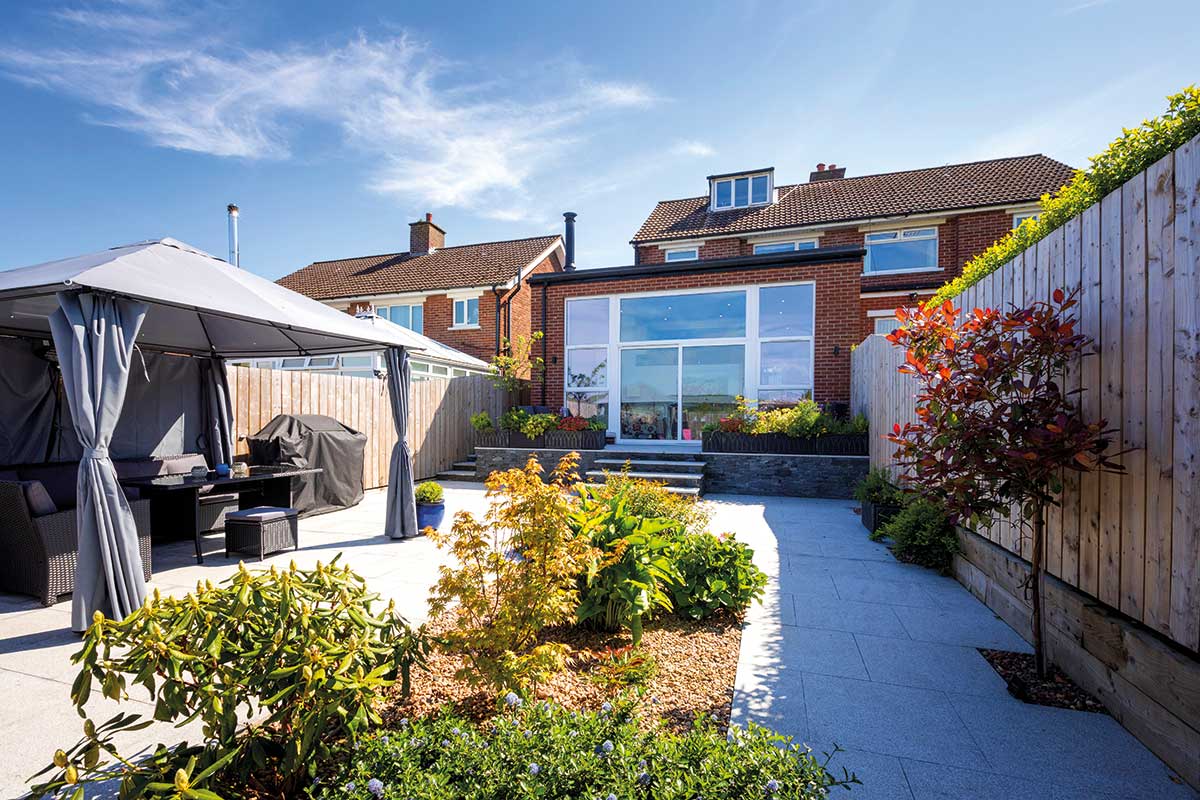
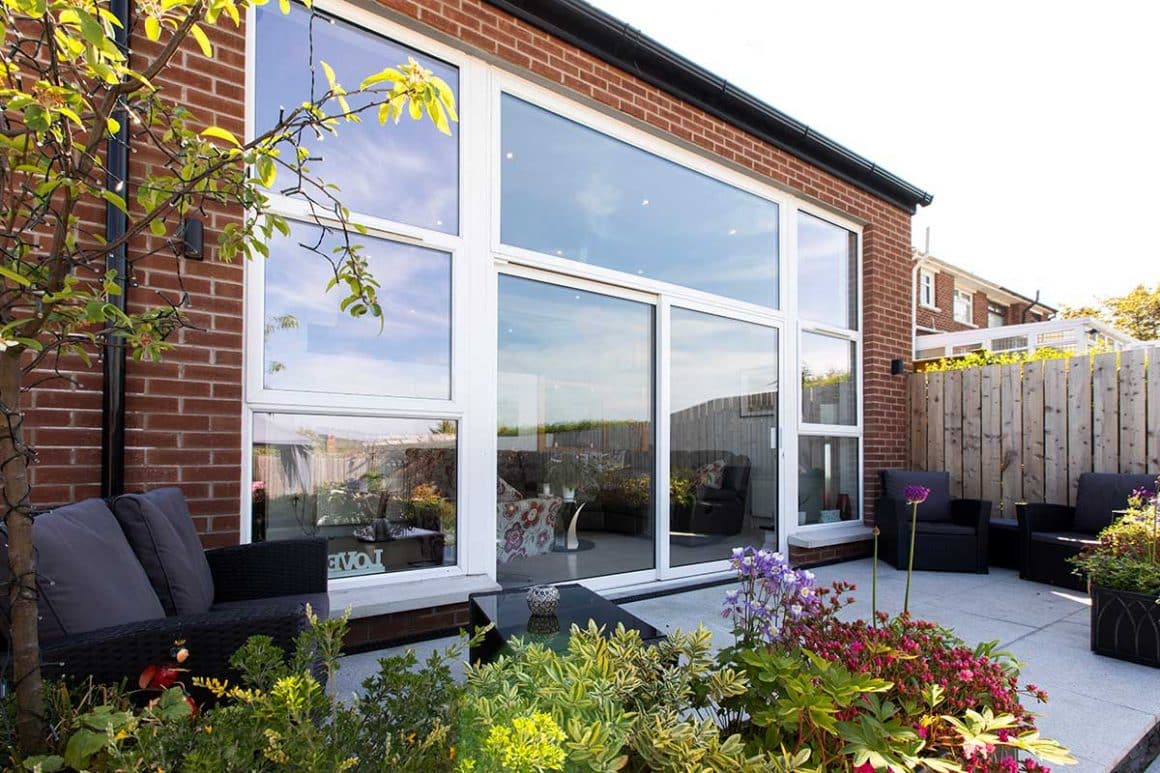
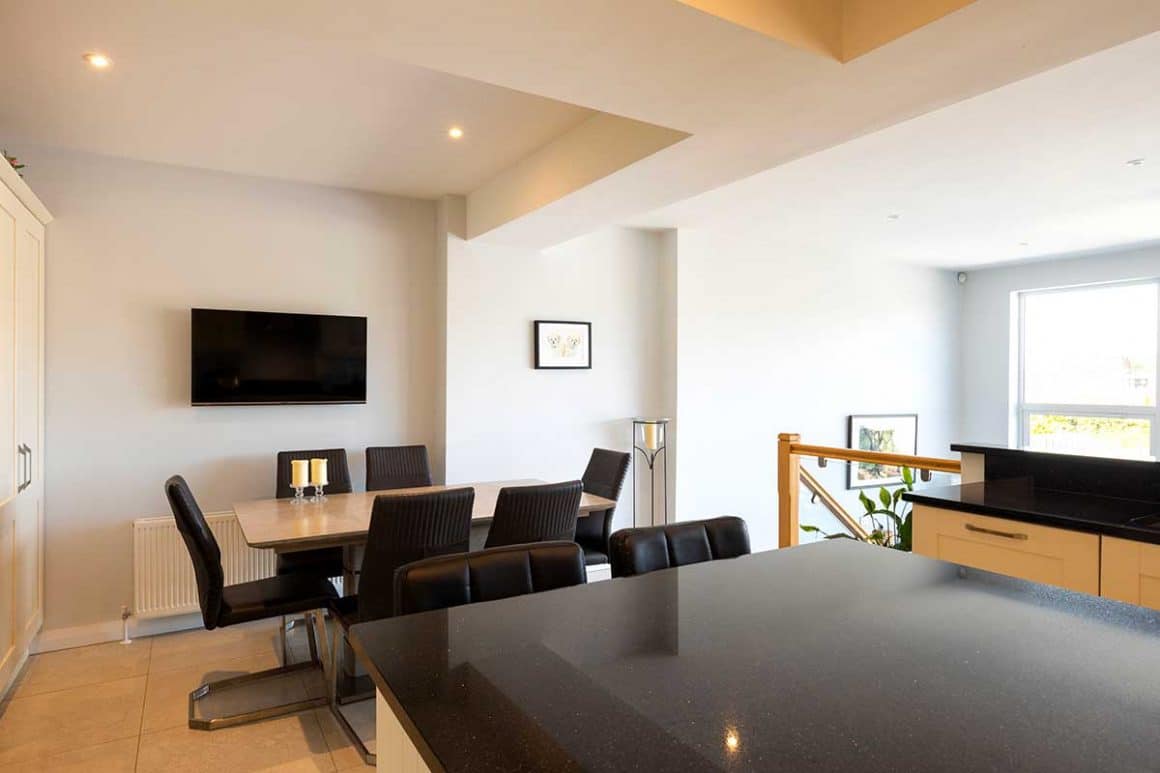
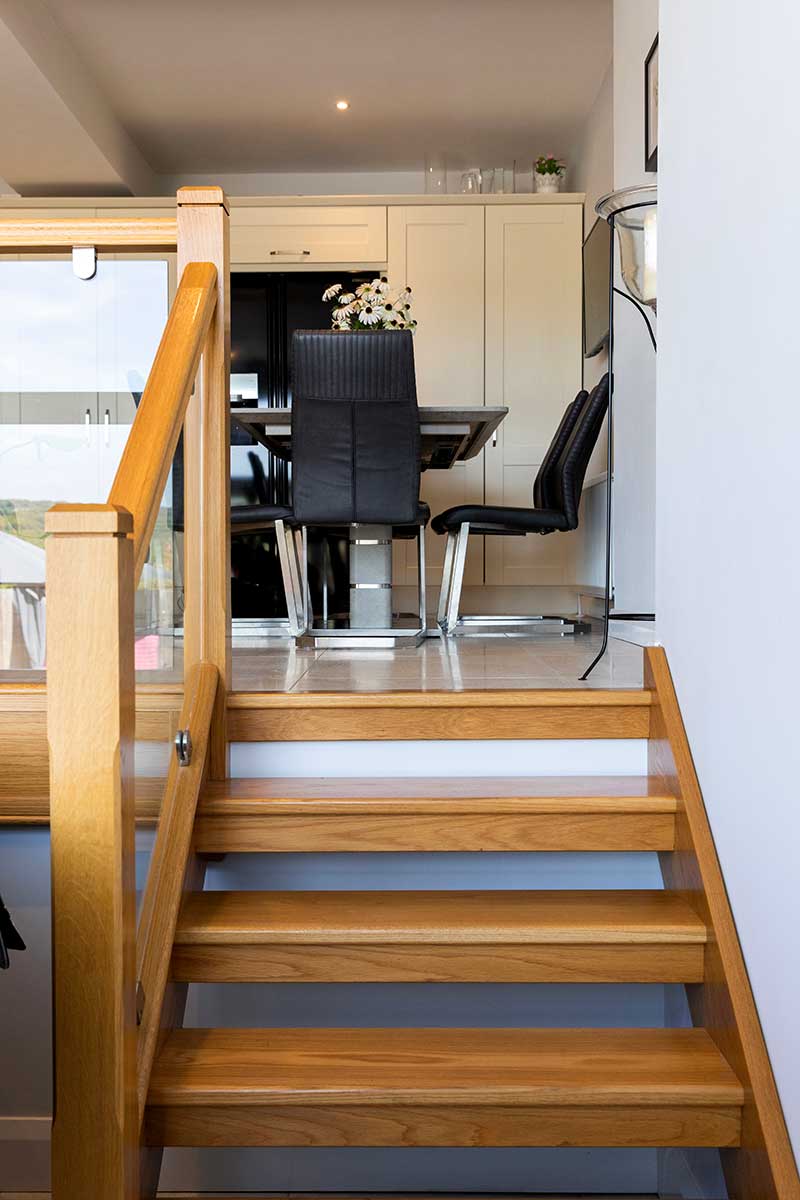
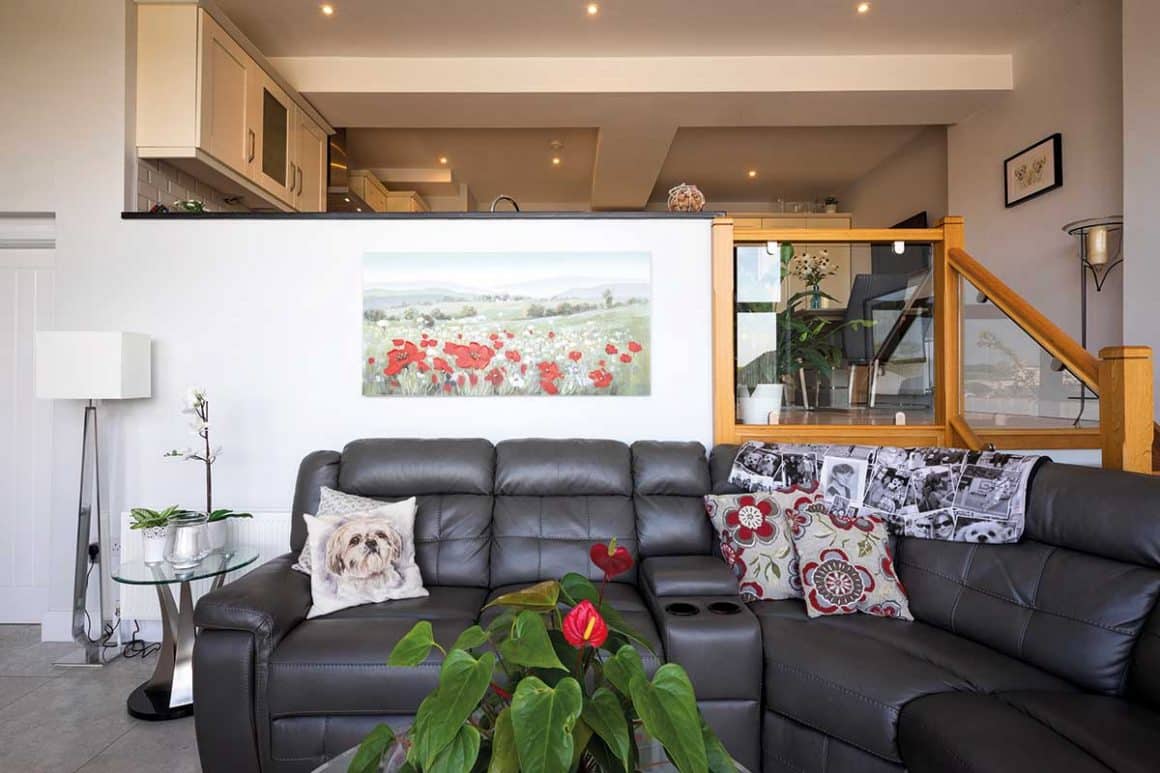
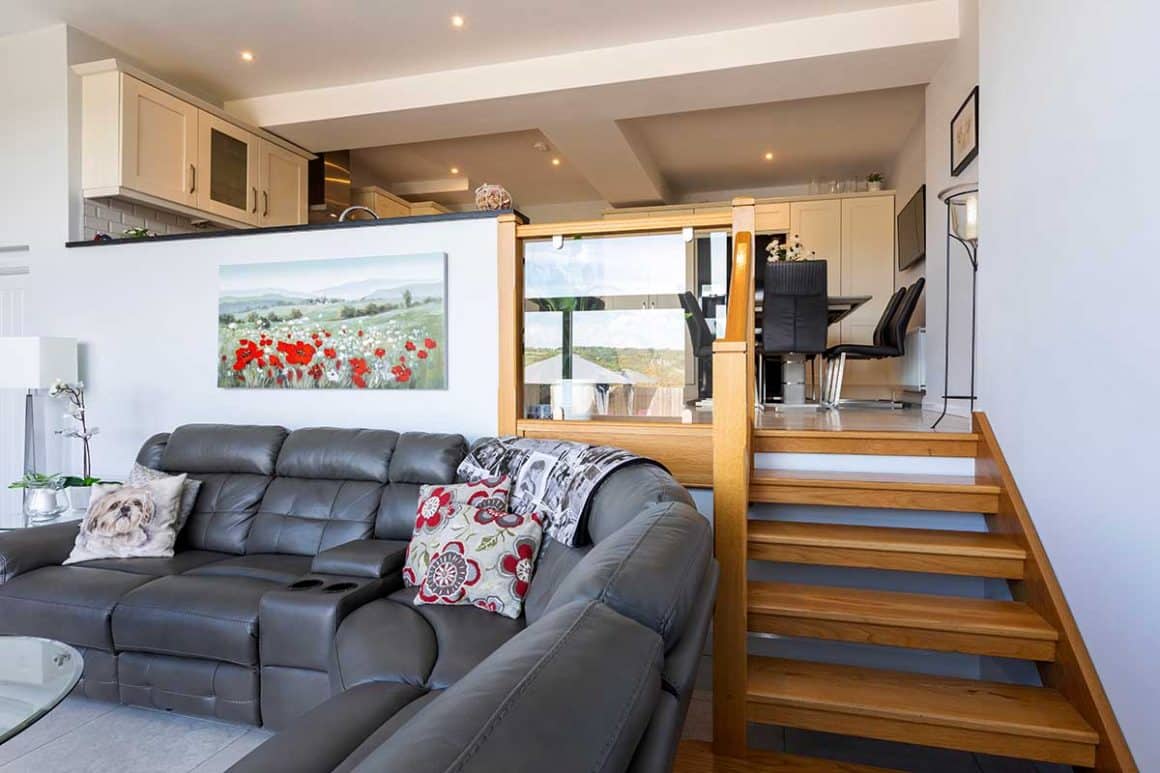
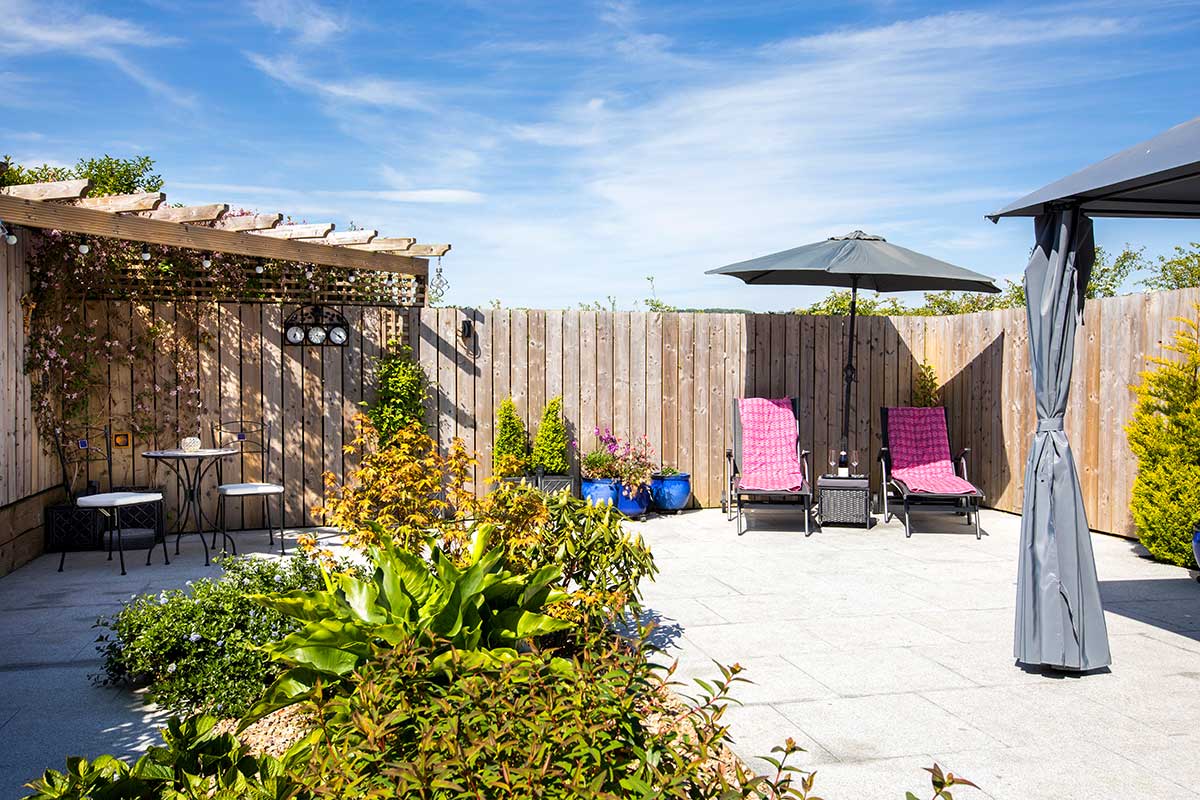
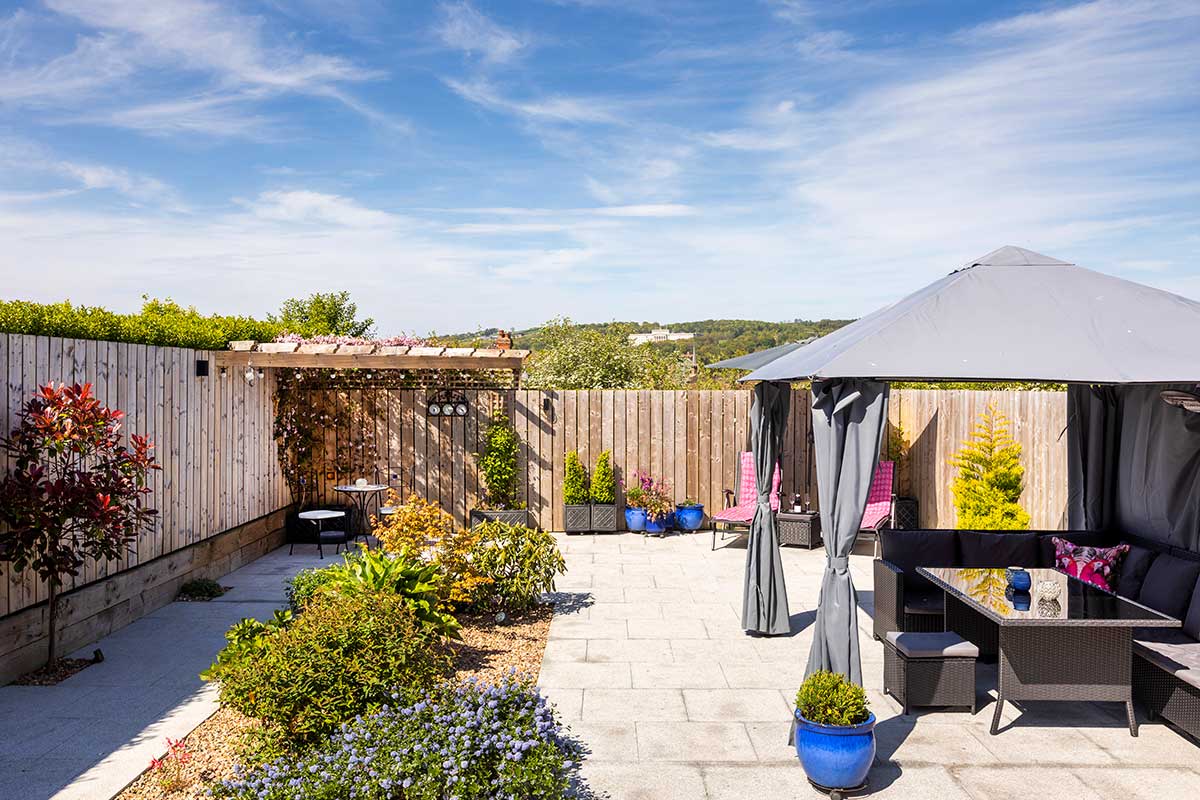
“The quirk was that there was a split level inside with five steps down to the bay windows. We knew we’d have to get the living room to garden level and so we chose to have the kitchen up on a higher level with the views. The garden as a result is also on two levels.”
“At the weekends we would sit out and visualise where to put the pergola and sketch out the options on paper. Because the garden is such a feature, we made sure the drainage was sunken in the flower bed.”
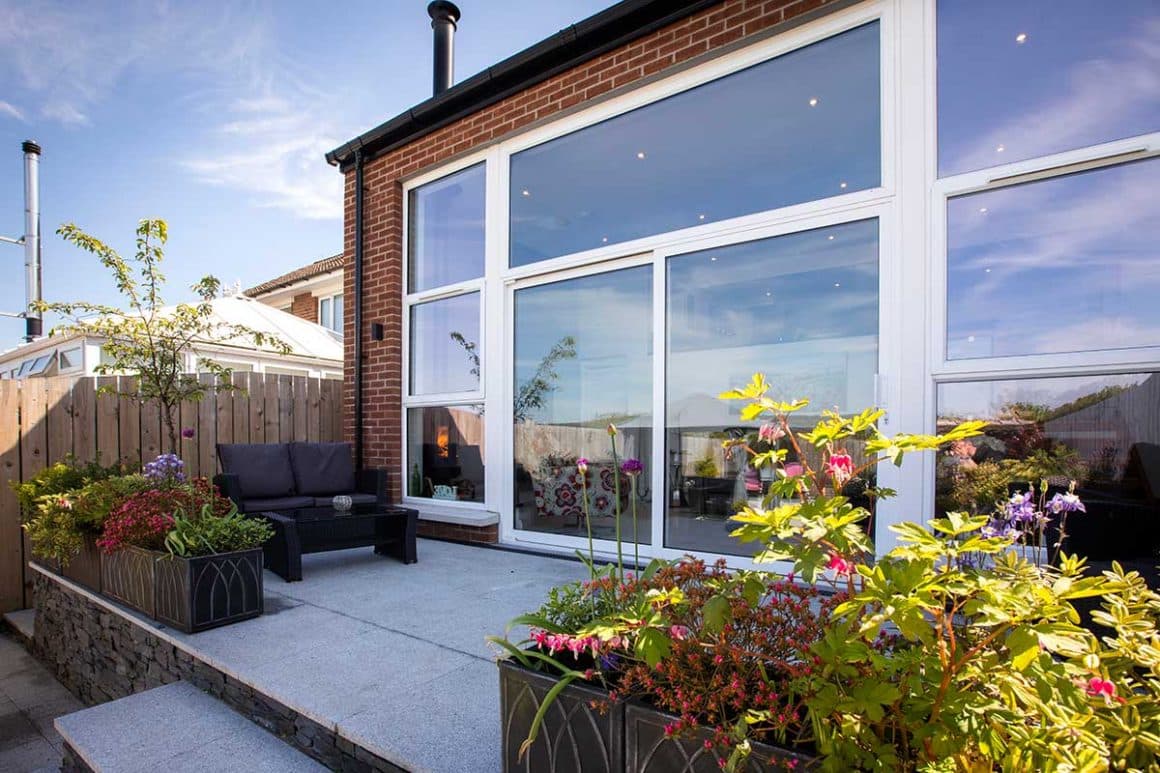
‘What took up most of our time was how to configure all the glass at the back of the house.’
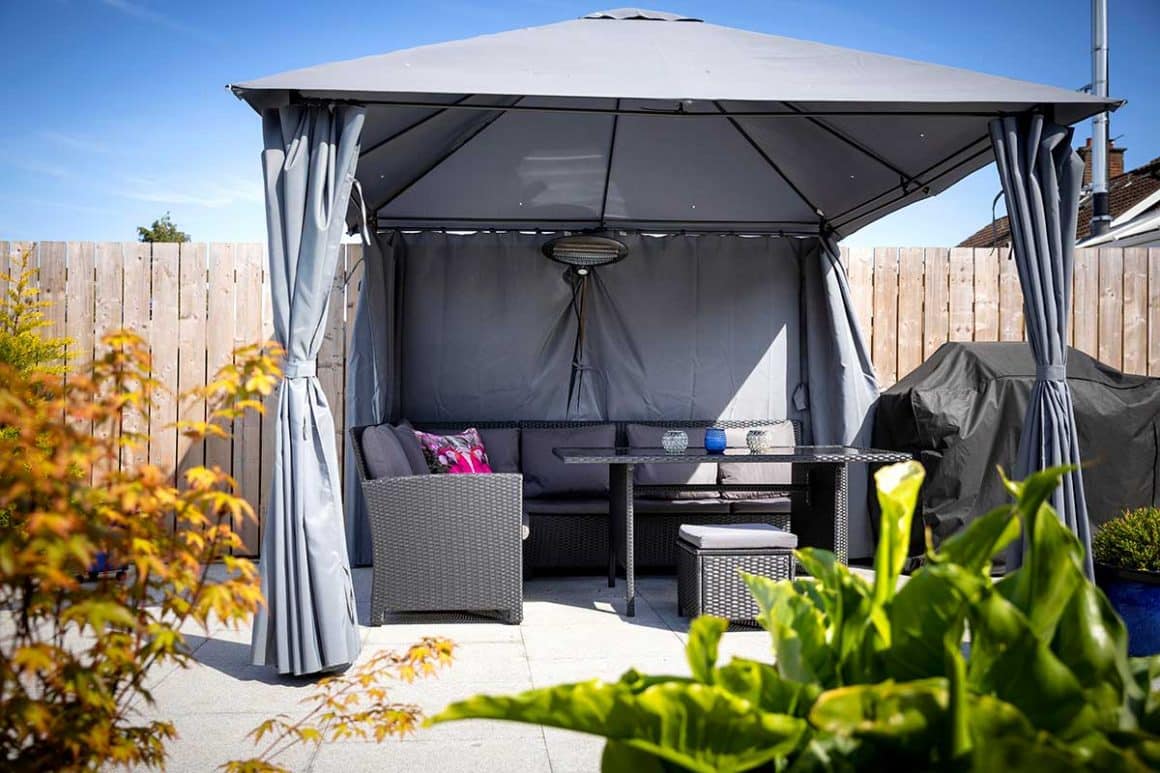
“Originally we were going to center the flower bed, but through our observation of the sun’s path we realised we needed to off center it to ensure the gazebo, and our outside dining area, would catch the evening sun.”
“We also created a breakfast area with a self-designed pergola as the sun hits that spot from early morning. Forward planning of the garden was vital as we had hard landscaping so had to know where to put the fixings in the ground in advance, including outside light sockets for feature lighting.”
“Also crucial to the practical aspect of keeping house was where to put the washing line, I had one with rotating arm and wanted it set into a proper base. It’s a 30 second job to set up but it’s a massive thing to be able to hang the laundry out in the summer and have the instant option to take it away so we can enjoy the garden and view unhindered.”
The kitchen came next. “We contacted three kitchen companies and they all gave us some ideas. We spent a lot of time in our old kitchen visualising how we would use the new one – it was an exercise that told us where things had to go.”
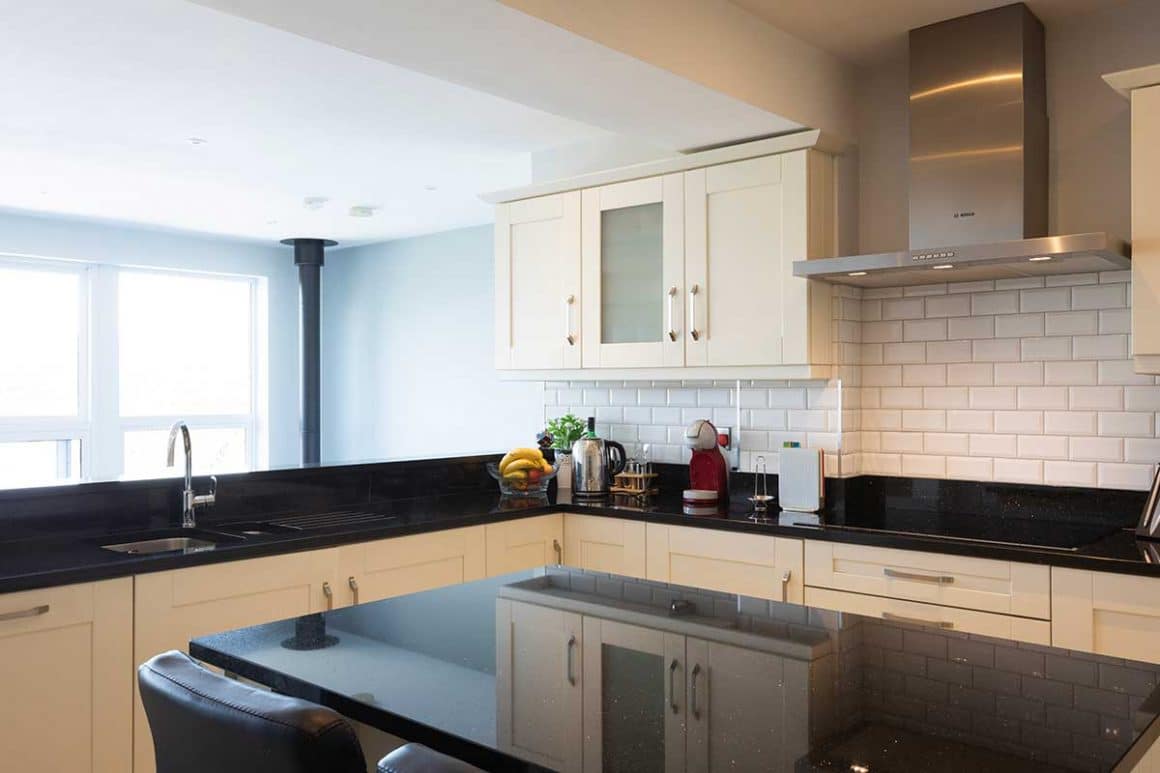
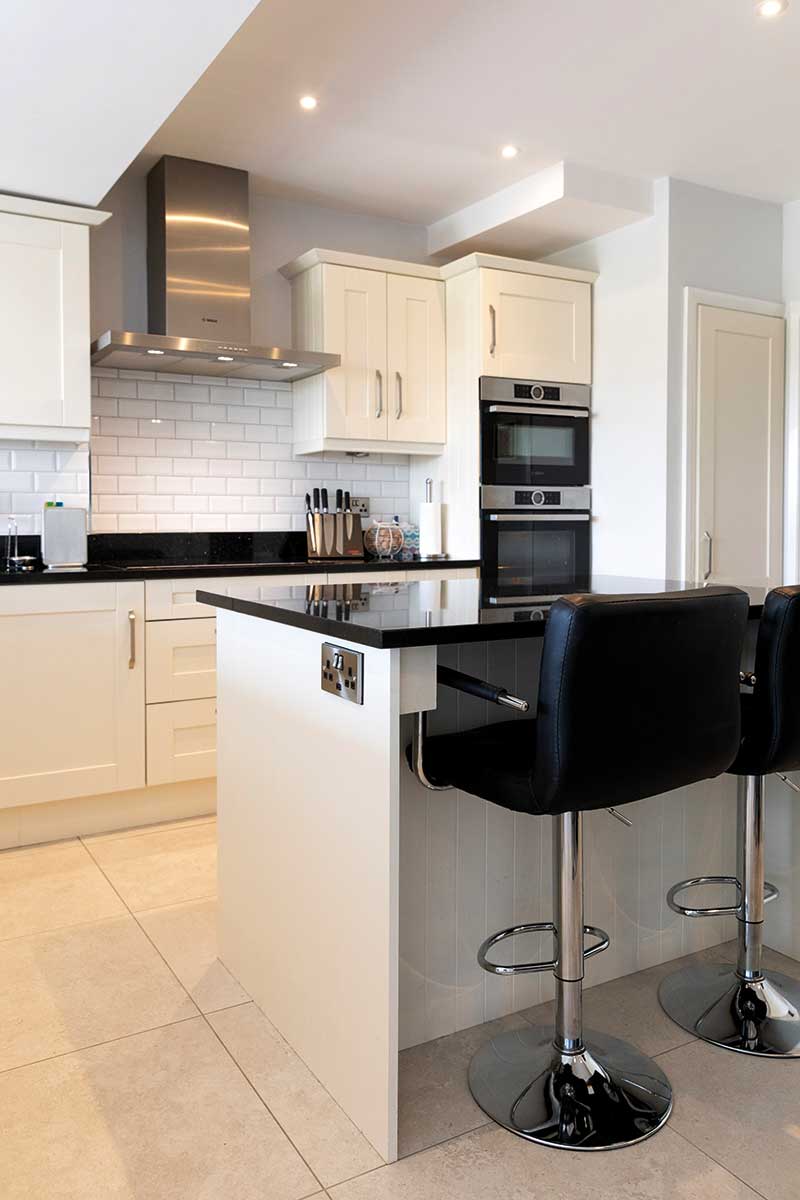
“We went with the triangle fridge, sink, cooker layout, learned back in my Home Economics classes at school and thought of where we would do our everyday food preparation right down to where to put the cutlery. ‘Keep everything where you need it and everything in its place’ is my motto!”
“The island is so functional and houses everyday cutlery and crockery, double recycle bins, a breakfast bar, feature lighting and power sockets. We considered a dropdown extractor over the island but it would have restricted the view.”
“We have soft close cupboards and the hinges go the full way back. I love to cook and installed an induction hob – which is just like cooking on gas. We also have a TV in full view from the cooking area and James Martin frequently guides me through recipes. He’s welcome anytime!”
“After the work was finished the one minor change was to add shelves to one cupboard for additional storage; the kitchen fitter re-shelved it for £75, as I couldn’t quite decide what I need that space for until we were using the kitchen.”
Living with the builders
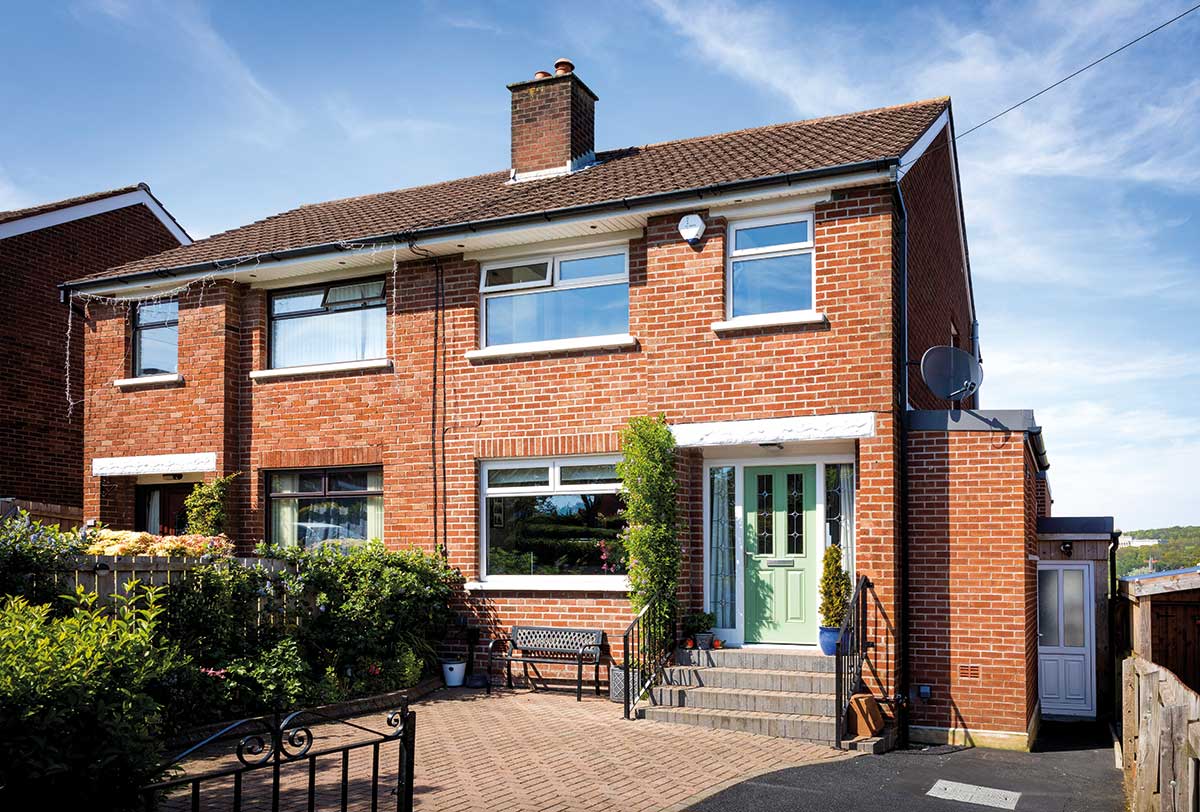
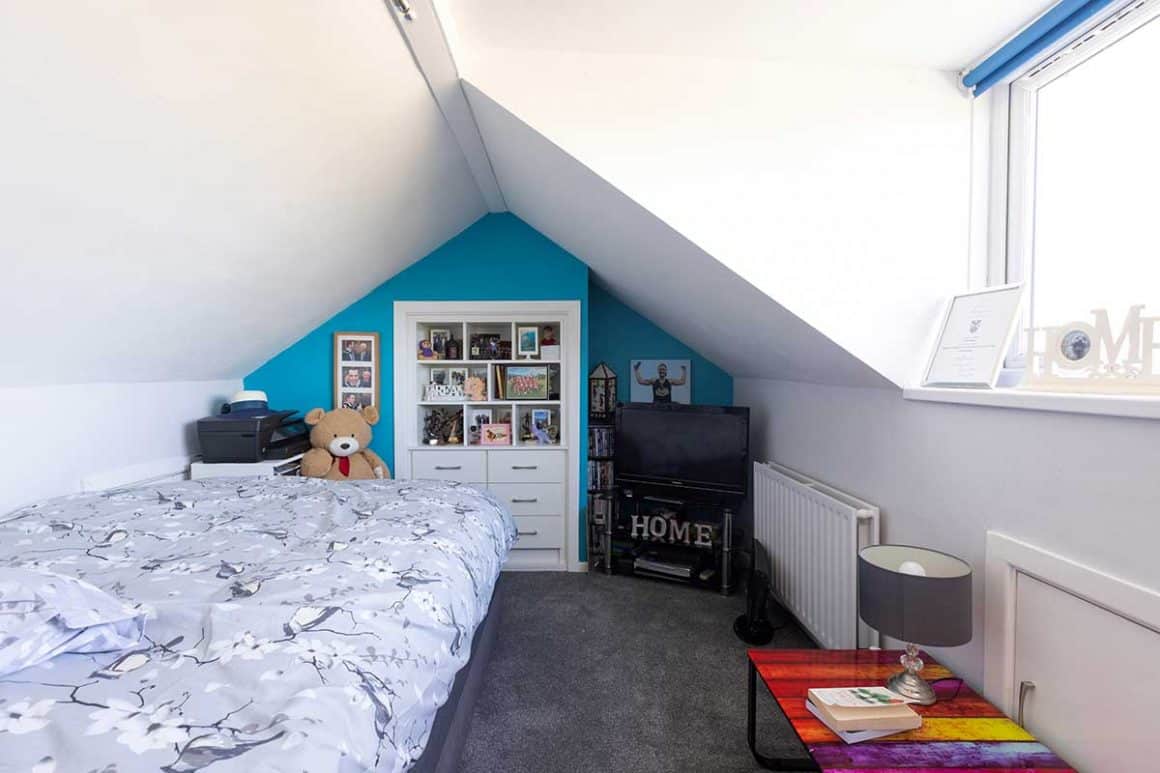
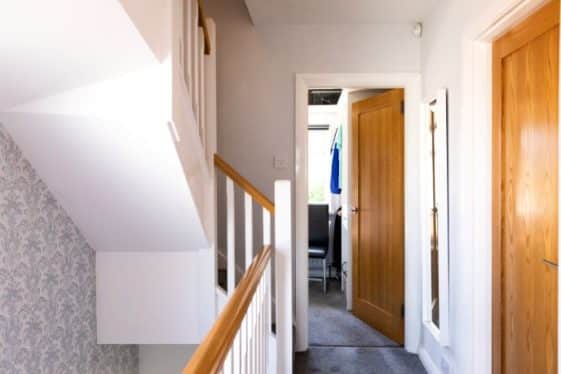
“Most of the work we did was at the back of the house; we kept the front façade and all of the bedrooms upstairs were essentially left as they were, although each one had all the woodwork including skirting and architrave, as well as the doors replaced. The major changes upstairs had to do with the bathroom, loft staircase and redecoration.”
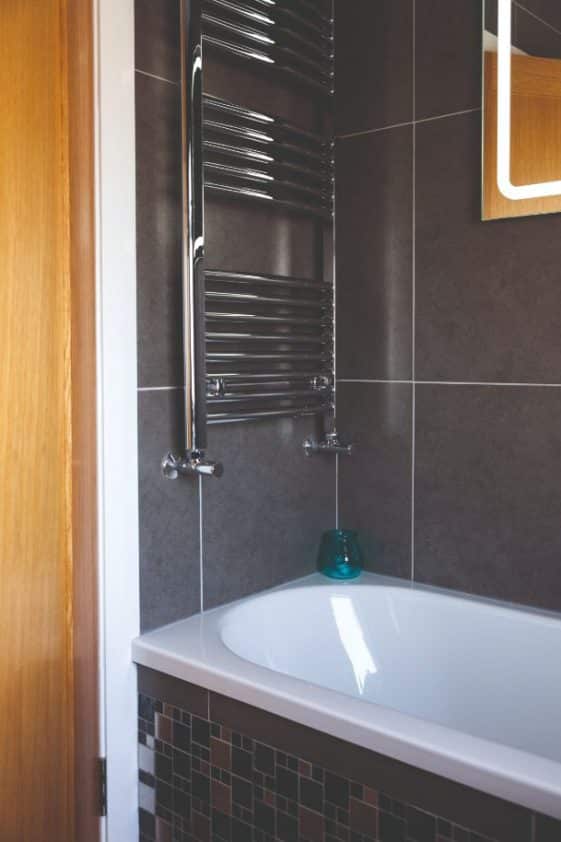
“We wanted a bath upstairs and had to strip the walls back to the brickwork to make space. We measured up the bathroom ourselves – the space was so tight the supplier didn’t want to take responsibility. We measured more than three times to make sure we got it right.”

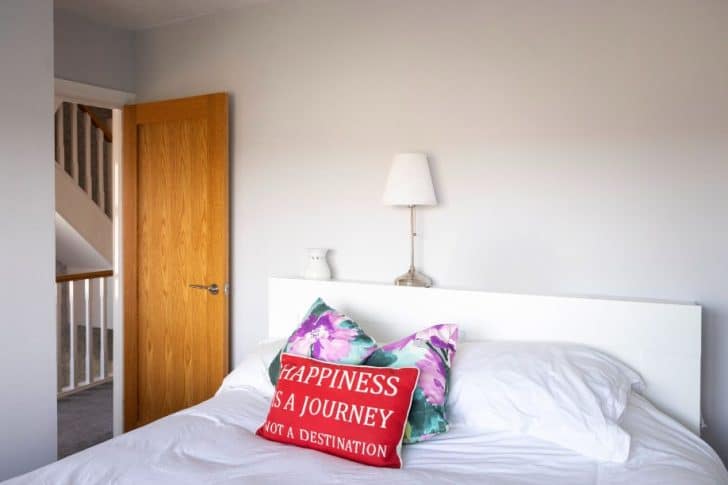
“We also carpeted the entire house, which we did room by room, and we converted the box room into a dressing room. We turned our three-bed semi into a workable family home.”
The couple stayed in the house during the construction phase, moving from room to room as the renovation progressed. “We lived through it for five months; we started on the 6th of June – literally D Day – and finished up on the 25th October 2016.”
“During the build we had one socket and one on-site toilet; to shower we used our gym membership and to cook dinner, we used the gas BBQ sitting amongst the rubble. Of course we could only do this because our children are adults and were happy to be part of the mess when they were home during breaks from work or uni.”
“We viewed the work as an exciting adventure, the five months went by really quickly, and it was during the summer months so the long nights helped us get what we needed to do in regards to redecorating in the evenings and weekends.”
“We were working full time and have two dogs, so we had to drop them to friends and neighbours most days.”
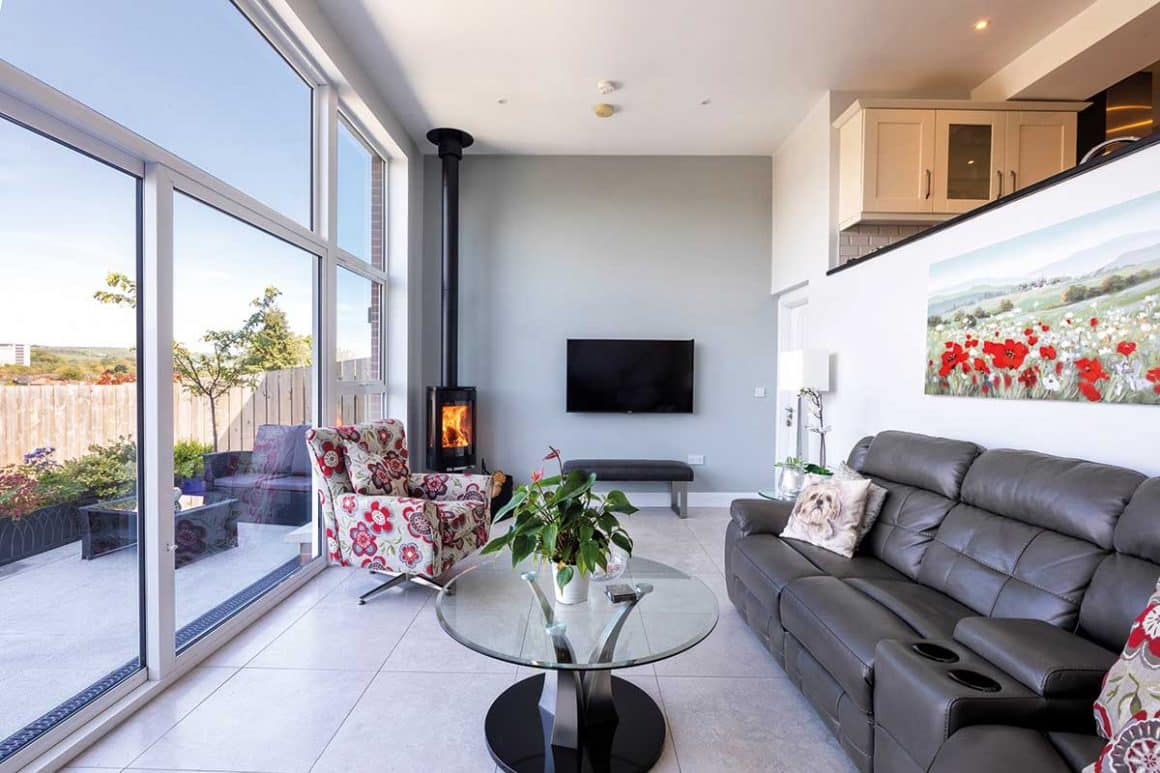
“Because it’s an older house we had to redo the wiring, but the plumbing was ok even though the water pressure in the area isn’t great. We did research this aspect and installed a new pipe from the mainline to ensure we could make full use of both showers. We chose a gas boiler, this had the added benefit of not needing a hot water tank, and we did investigate underfloor heating but instead invested in the wood burning stove. Most of the flue is internal to keep the heat in.”
Of plans and changes
“Our architect helped organise the space and made sure there was a provision for a downstairs bathroom with shower for future proofing; he also helped with the structural elements. He had the core ideas and the builder went back to him for technical questions.”
“Getting the right builder is obviously so important; we were lucky in that we had one before we started. He had worked for us on two previous extensions and we knew he was the person for the job. It’s a process of trust with the person you choose; you have to know they are reliable and will stick to the budget agreed. When we got to the final snag list it was mostly us asking our builder to hang lights and mirrors as opposed to him fixing things we were not happy with.”
“What took up most of our time was how to reconfigure all the glass we were adding to the back of the house. The panes were originally too large to be practical to use. The architect had five panels, each 3m high, but it would have been hard to open the glazed sections so we had to reconfigure the windows and in doing so, we worked in granite window sills. The builder suggested we install sills in granite to match the kitchen and stove base. This advice certainly added to the flow and feel of the whole back living space.”
“The other big change had to do with maximising the use of the space we had.”
“With five steps leading down to the lounge below we realised there would be a big void under the kitchen. One day staring at it I thought, what about putting doors on it? The builder said we could so we did.”
“We have the couch in front of the doors and now it’s a store for Christmas decorations. It’s a huge add-on in terms of storage, especially considering most of the Christmas stuff is used in this part of the house. It saves us having to go to the attic and only cost us an extra £200 to do.”
“As the house has three sets of stairs it is definitely better to have Christmas hidden downstairs.”
“We are grateful we lived on site throughout the build for that hidden gem alone. Also when the gas company came to fit the meter, they wanted to put it where the downstairs shower room wall was to be. Thankfully we were there and got them to put it in a corner so we wouldn’t lose that valuable amenity.”
There was one building control issue with fireproofing the extension to the side for the utility and storage area. “We had to get a product shipped from England, wich delayed things a bit in July, and we painted it on. But it didn’t delay us by too much,” says Pauline.
“There are always problems, however small, and the compromises made are rarely going to become game changers when you’re keeping an eye on the build along the way.”
Pauline’s downsizing tips
Plan your sockets We planned the sockets down to the last one and nothing is on show, including for the TV. To avoid extension leads we put in sockets everywhere we knew we’d need them; for feature lighting, music and cooking. We even have a plug for a speaker for music in the kitchen. The one thing we didn’t do is put USB sockets everywhere – we only have the one at the island and everyone fights over it!
Floor to ceiling tiles When tiling a small bathroom, use the same tile floor to ceiling and join up the grout lines.
Q&A with Pauline
What’s your favourite part of the house?
I love everything, the kitchen, the stove, the living area. We live at the back of the house and the garden feels like an extension. We use it so often it’s part of the house.
Would you do it again?
Yes although it was tough at times living through it. We did take breaks to stay with friends and had a short holiday – but seeing the project take shape and being part of each decision has made the home what it is today.
Any surprises?
Apart from finding an unexpected Christmas storage area, we hadn’t anticipated the need to repoint the brickwork outside the house but as we had the builders on site the cost was less than expected.
What would you change?
I can’t think of anything; the house is so easy to keep tidy and the garden is wonderful with minimal upkeep as well. All it takes to keep the paving clean is a power washing once a year.
What single piece of advice would you give a budding renovator?
Live on site and get involved in every stage; at the end of the day it is the home you will be living in, no one else.
Spec
Extension walls: Cavity wall construction with 100mm cavity. Outer skin 100mm thick, inner skin 100mm thick. Both skins tied together with 250 mm stainless steel wall ties at 750 ctrs horizontally and 450 ctrs vertically. Additional ties at each block course within 225 mm of openings and at corners. Top of cavity closed with 12.5mm fireboard. Cavities insulated with 60mm phenolic board.
Extension floor: 100 mm concrete screed on l000g vapour check on 100 mm EPS insulation on 175 mm concrete subfloor (with one layer of A393 mesh) as per structural engineer’s spec on 1200 gauge polyethylene membrane (as radon barrier). Barrier continued through external walls with stepped cavity tray above. All joints in membrane lapped by 300mm double sided butyl jointing tape. Barrier laid on blinding on well consolidated and blinded hardcore in layers not exceeding 200 mm. Polyurethane board with minimum R-value of 0.75m K/W behind heads, sills and jambs. Polyurethane board with minimum R-value of 0.75m K/W at the edge of screed.
Flat roof: Trocal membrane and asociated flashings on 18mm WBP ply, on tilting fillets (0 – 120mm to give minimum of 1in 80 fall) on 47x220mm C16 @400mm centres. 120 mm of phenolic insulation between rafters with 42.5 mm of insulated plasterboard fixed to the underside of rafters. 50mm ventilation gap above the insulation.
Shed walls: Stud wall sheeted on the interior with WBP plywood, 50mm phenolic board insulation between studs, and breather membrane on the exterior and clad in vertical closed boards fencing boards. Studs 50x75mm.
Structural work completed: Oct 2016
Garden completed: early summer 2017
Suppliers for Downsizing in Belfast
Architect: Robert Gilmour Architects, Belfast, tel. 9064 9098, rgtect.co.uk
Builder: Martin Colvin, mobile 07774 841884
Insulation: Kingspan Kooltherm K8 for walls, Springvale Platinum floorshield for floor,
Kingspan Koolterm K7 between rafters and Kingspan Koolterm K18 insulated plasterboard on underside of rafters, kingspaninsulation.com
Stove: Mournes Fireplaces, mournefires.com
Carpets: Belmont furnishings, belmontfurnishings.co.uk
Kitchen appliances: E&H Services, ehservices.co.uk
Photography: Christopher Hill Photographic, scenicireland.com

