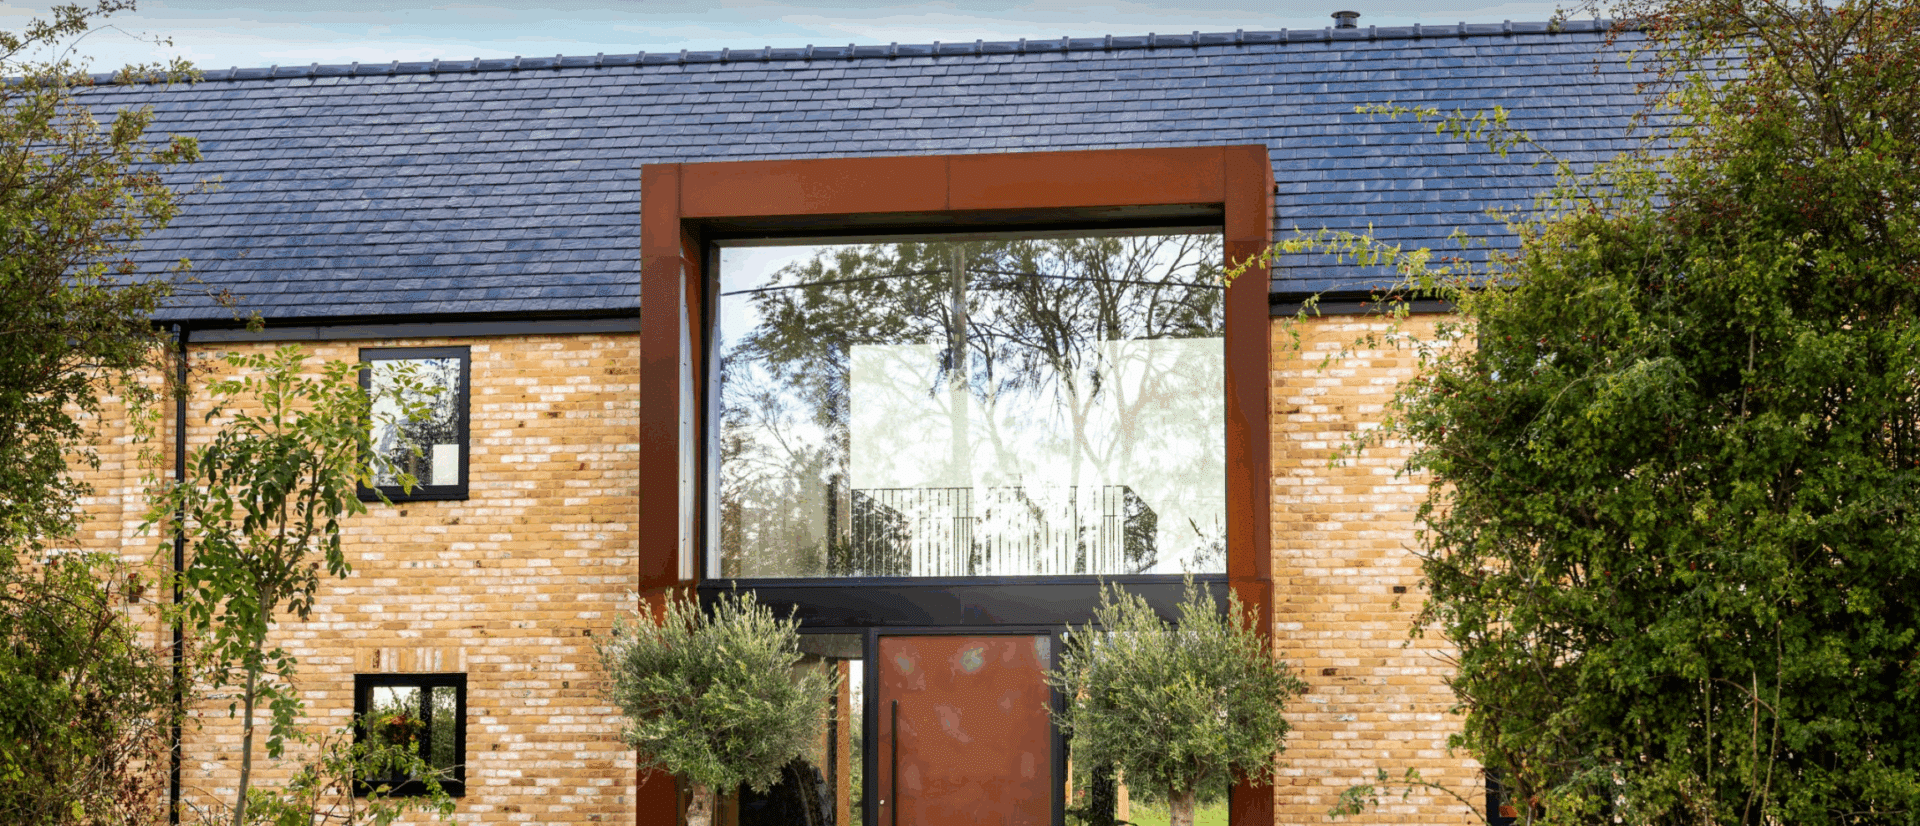
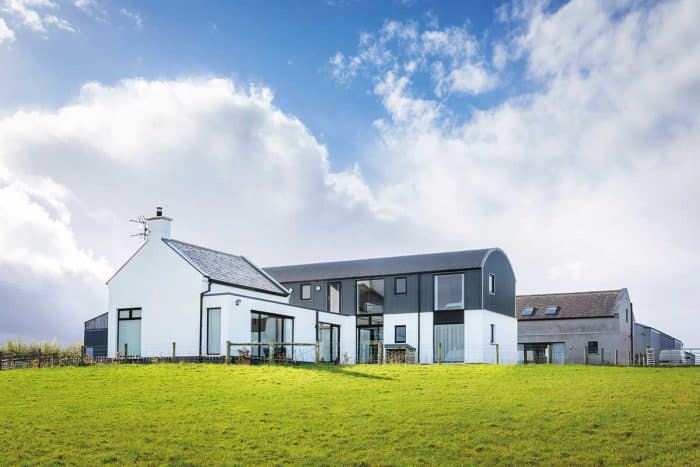
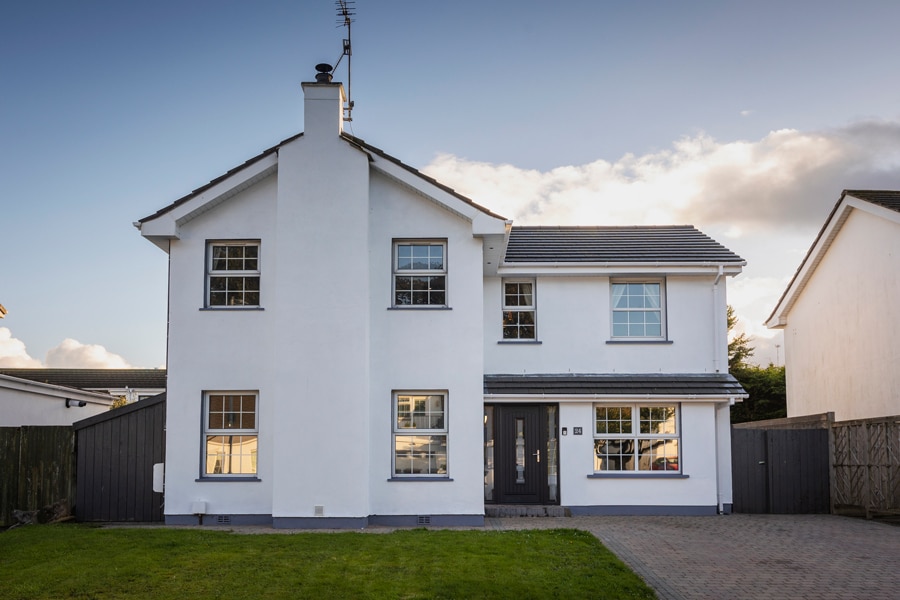
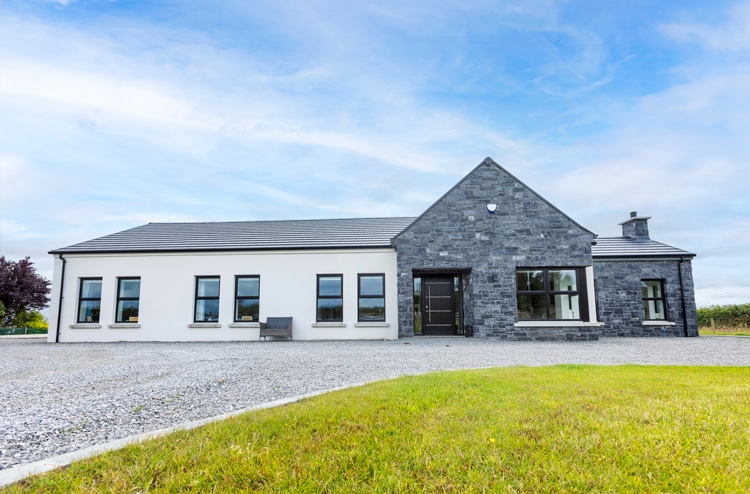
Jason and Mary Taylor built their own home in Co Down through a main contractor because they couldn’t find anywhere to buy. Jason shares what their journey’s been like to date and how he kept on top of costs.
In this article we cover:
- Details of the site and how it impacted on design
- Planning conditions including ridge heights
- Hiring a main contractor
- DIY elements: unskilled work they did to save money
- Day to day on site and keeping on top of the budget
- Issues on site from having steps up from hall to kitchen
- Choosing mechanical ventilation with heat recovery and a central vacuum system
- Full podcast about the project
Why did you decide to selfbuild and how did you find the site?
It’s funny, despite studying architecture and working in the construction industry I was never really drawn to the idea of building my own house.
However after proposing to my now wife Mary we began to look towards the future – a house being part of that. We are very fortunate that Mary’s parents had some family land with active planning permission on it, which was then gifted to us.
It also has some incredible views being at the top of a hill, which is an added bonus. The site itself is in the countryside but only three miles from the local shopping centre and one mile from the local primary/ secondary schools – convenient for the big shop and any future plans we might have down the line.
How did the design come about?
I am a Part 1 architectural assistant currently working for a chartered practice in County Down so I actually designed the house myself; with some very helpful suggestions from my colleague Jenny who is an architect and of course lots of input from Mary. This included producing full construction drawings and details for building control submission and to the builders themselves.
In terms of the design process I followed the same process as I would for any other client, which is to assess wants and needs and establish a brief. I find that fine tuning this will not only produce a building that a client is happy with but will also help define the function within each of the spaces.
I’m very function driven rather than aesthetically driven when it comes to design; no point a house looking nice if it’s a nightmare to navigate and use. Since I’m not charging myself any fees we had the luxury of time when it came to testing designs with it taking around two years from initial sketches to being granted planning permission.
My advice at design stage would be to try and work with an architect whose style you like so you can get the most out of them. Take your time and really be satisfied with the design as most of us don’t plan on ever leaving these builds. The design stage is by far the most important.
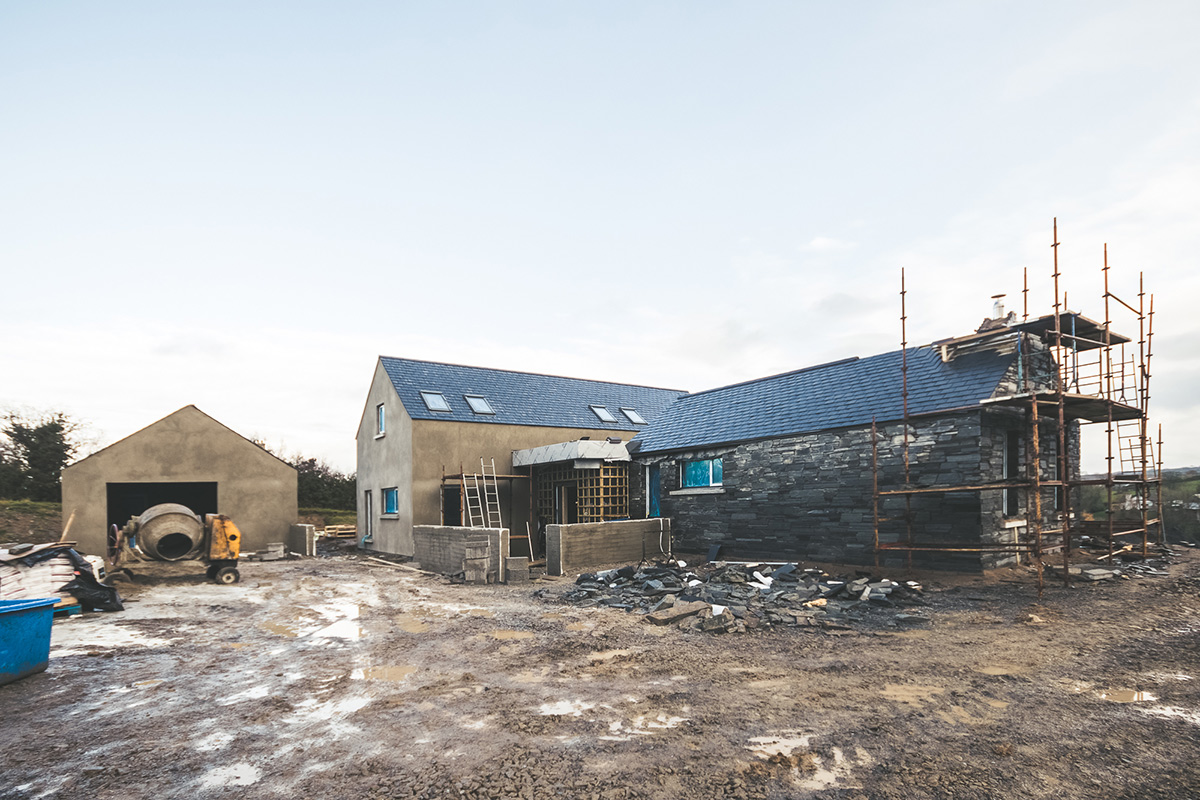
Deciding on a construction method was an easy decision as I typically work with traditional block build rather than timber or modern methods. Whilst this method takes longer to build, in comparison to the likes of timber frame, there is much more choice in terms of contractors, which helps keep costs competitive.
We originally wanted to be as energy efficient as possible by using an air source heat pump but once the quotes started coming back it wasn’t within budget so we opted for a high efficiency oil condensing boiler with scope to upgrade to a heat pump sometime in the future. We also have a mechanical ventilation with heat recovery system (MVHR) and central vacuum system installed as well.
MVHR is a must given the degree of airtightness we wanted to achieve and the need for adequate ventilation. I believe a “fabric-first” approach is key as it is much more difficult to change insulation, airtightness products, etc. once the house is built. Two smaller things to consider if going airtight would be to use a condensing tumble dryer so there are no unnecessary holes for vents and if installing a wood burning stove make sure the unit comes with a direct air kit so this also remains airtight.
How did the planning process go?
Planning was quite easy actually, the only issue was the visibility splay at the main road, which was easily rectified. The site already had active planning but the design wasn’t what we wanted so I submitted a change of house type application with the local council and changed the design to what it is now.
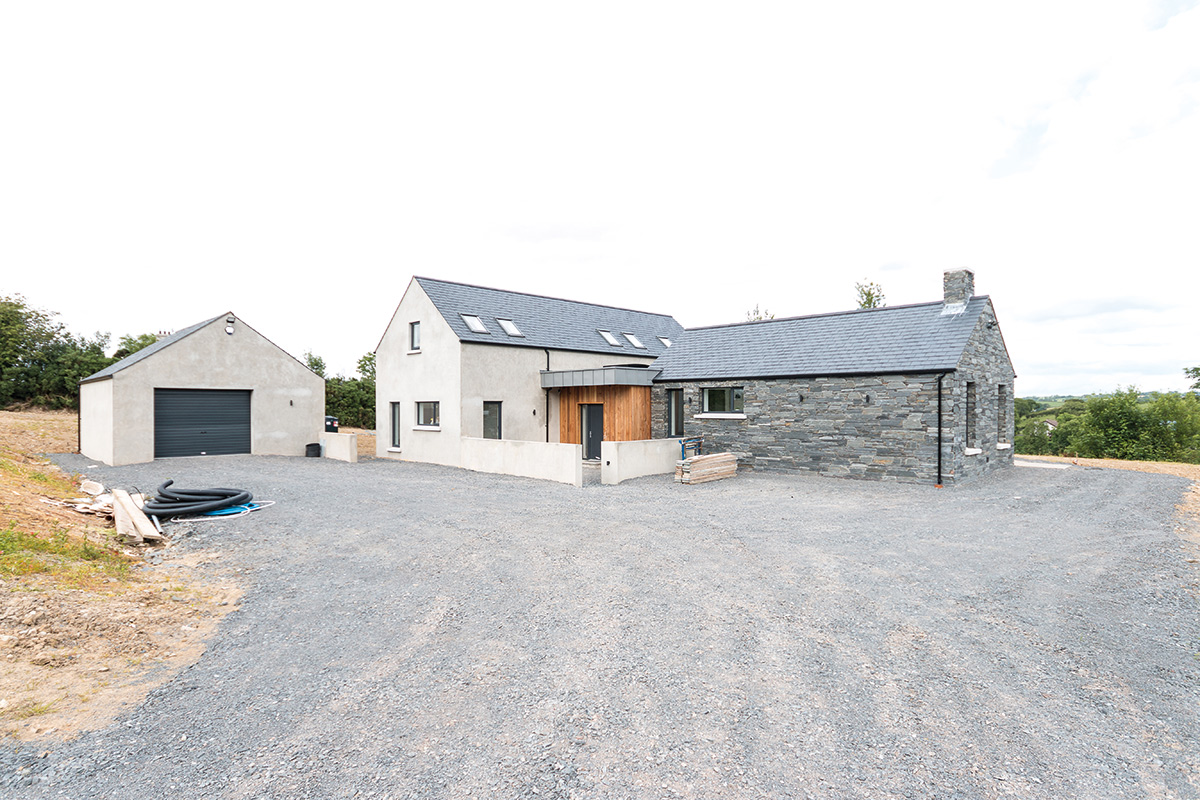
I kept the footprint similar in both location and size to the original application so as to keep the planners on side. We were restricted to a storey and a half due to policies laid out in PPS21 as all neighbouring houses are either bungalows or storey and a half.
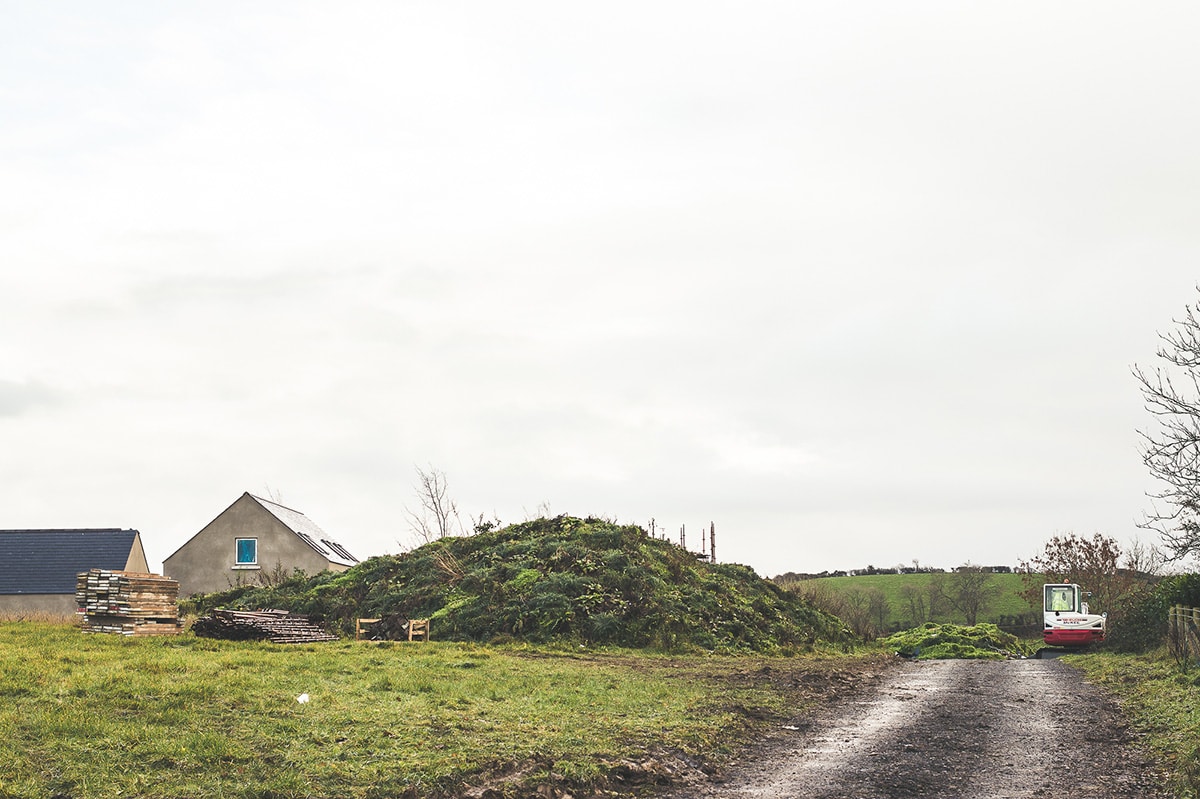
There was also a ridge height restriction as part of the original conditions so we had to reduce the existing levels (dig down) by 0.5m to meet these. I got the levels wrong and we ended up going down closer to 2.5m but at least this was at the start of the build, right? We also decided to increase the living room depth by 0.5m as well and now that it’s built we are very glad to have done this.
Why did you decide to hire a main contractor?
Mary and I are pretty busy and we factored that by the time we spent 12-18 months trying to manage the build, the extra money saved by not hiring a contractor would have ended up being spent in time and additional costs or mistakes. With a contractor you can usually finish up in 12 months for the
same cost. We also moved out of our rented accommodation and in with Mary’s parents to help save some more money, which was very generous of them.
Our builder project managed most of the build with us arranging bathrooms, kitchen, with my father-in-law and his friend, who is also an electrician, helping out massively by doing all the electrical work. I have to say it really took the pressure off so we could focus on more of the detailed aspects and finishes rather than arranging trades and other services.
We only asked one local builder to price up the project for us. We had a finite budget so if they came in on that or below they were top of the list for getting the job. Thankfully they came in right on budget.
Usually I would go to tender with three or four different builders but we wanted to employ someone local and there aren’t too many builders nearby. This is also a great tip to keeping those costs down, if a builder is 30-50 miles away they may factor mileage into their tender price.
What was your involvement?
I was on site everyday checking progress and trying to spot any issues or mistakes, which I’m sure annoyed the builders but we’ve had a mostly problem-free build as a result. Mary and myself would have kept the site clean, moved materials around so builders didn’t waste time moving things but the most involvement we had was the application of the airtightness products.
We used airtightness tapes around windows and openings as well as a paint-on membrane at all floor/ceiling/wall junctions to seal these parts rather than using sheets of membranes. Many late nights in the colder winter months applying these but hopefully that will pay off this winter!
We still have the wooden floors to lay so may try those myself to save some money. The most surprising part of the build was the varying pace. I’m used to project updates every two weeks, not daily. Sometimes it would drag on and other times I could barely keep up with requests for decisions and additional drawings.
How did you keep costs under control?
The budget was basically decided by going to the bank before we even submitted planning and finding out the maximum they would lend. This coupled with savings we both had and money saved from not paying rent really helped define the budget. I’m a fairly anxious person when it comes to finances so tried to plan and allocate money as much as we could for each of the aspects.
Keeping the costs under control is definitely a tough one, but the biggest help was going with a fixed price contract. This meant that any additional costs could be agreed before carrying out works so we could factor it into the budget. I shared a budgeting excel sheet on my Instagram as part of the Selfbuild takeover, which seemed to go over very well with those that downloaded it.
Would you do it again?
If I was asked this a couple of months ago I would have said no haha. Decisions were coming in nearly every day so it was getting pretty overwhelming but now I know what to expect, so yes I think I would do it again.
The experience of building a house is as stressful as it is enjoyable, it is not for everyone but surrounding yourself with supportive friends and family, professionals and great builders certainly makes the reward much higher.
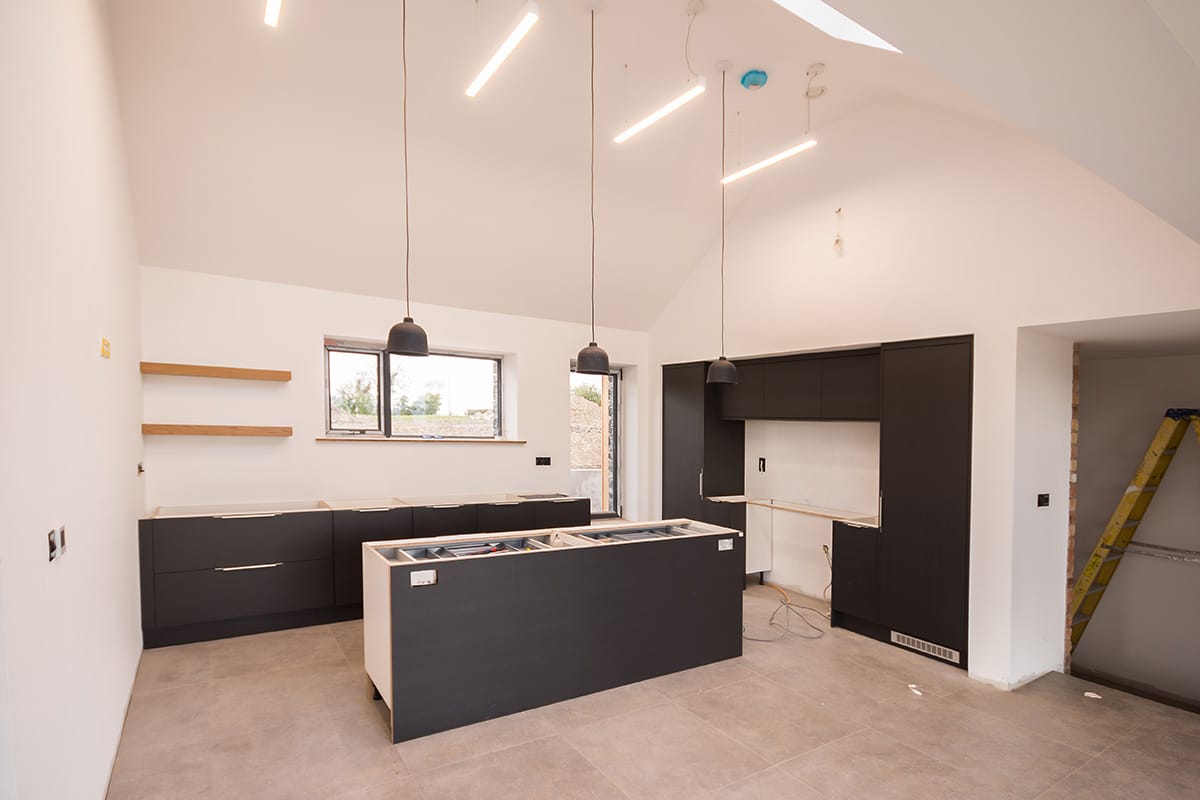
For instance, we have two steps that separate the entrance hall from the kitchen and as much as we love it, it has been one of the biggest headaches. Between forgetting to detail insulation for the edge of the slab, which threw off the hallway wall internally, to the blocks being laid too high and increasing the stair rise it’s been one of the more difficult aspects. Also having to call your neighbour over to help lift a really heavy gas range up two steps could have been easily avoided if we’d kept it all flat!
What’s the Instagram experience like, how did it evolve over time?
I’ve had Instagram for a few years and being interested in documentary photography I’ve always enjoyed sharing photos more than text. It was an organic progression from a personal account to now taking over as my main content, except for the odd skateboarding post here and there.
I tried to find other blogs and Instagram accounts online at the time of building but most were sharing mood boards, inspiration or aesthetic updates. I wanted to delve into the detail a little more; why I designed something a particular way, cost saving measures and even an insight into the process from a designer’s perspective as most clients typically don’t see these stages except for final drawings.
I do get contacted a lot, which still surprises me. I get asked about anything from house specs or systems installed and square meter size to where I bought a light fitting…pretty much all aspects of the build.
The self-build community on Instagram is really great; loads of people sharing ideas, tips and advice which can only help us all in the long run.
I tend to over plan a lot of the time so the Selfbuild takeover was no different. It was more structured than what I would do on my own feed as I wanted to cover as much as possible from both the design perspective and the physical building of the house as well. I was quite nervous to be honest but got more into it as the day went on, I would highly recommend setting up an account to document your build and joining the community.
Follow him on Instagram @grafficar and listen to his tips and advice on the podcast below:


