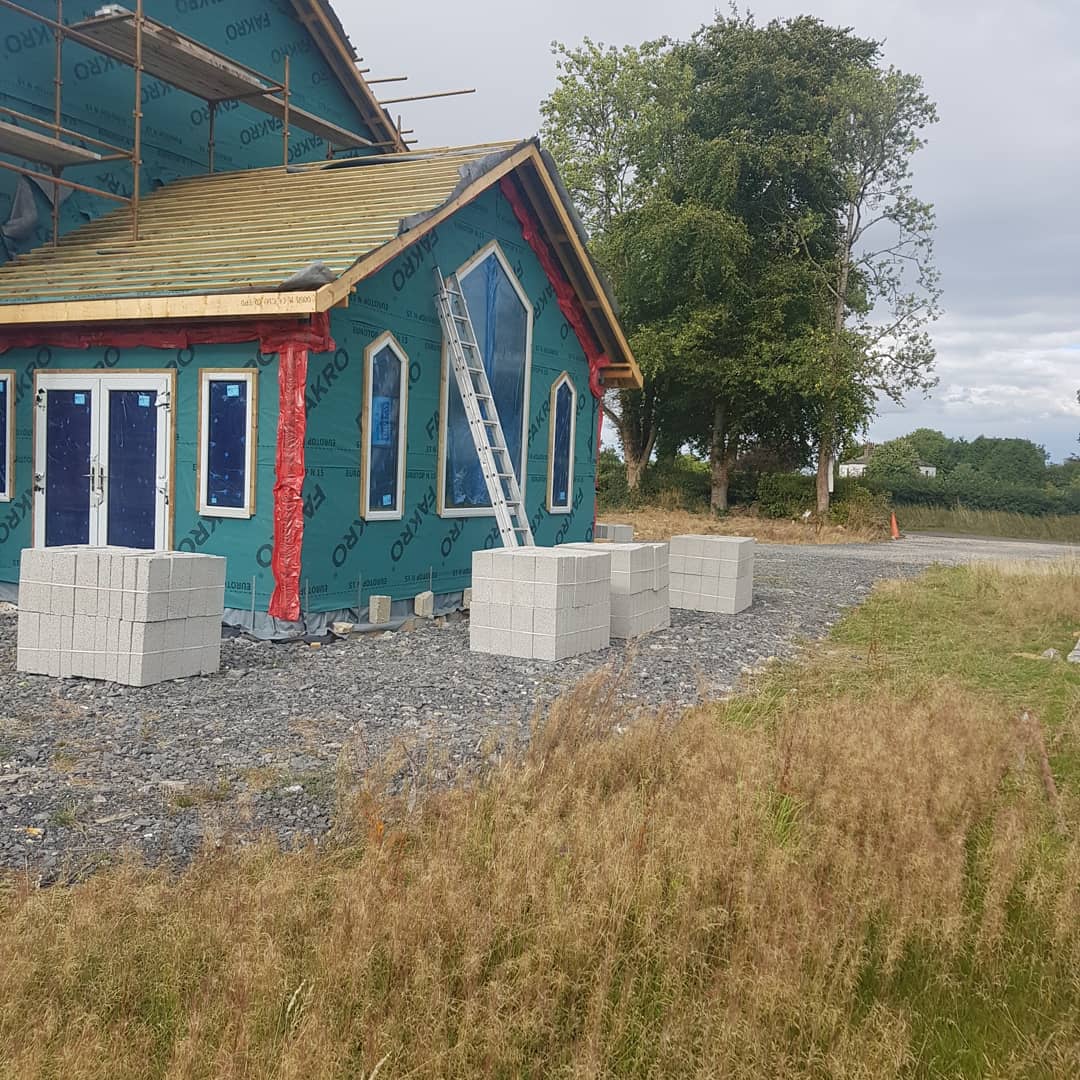
Carpenter Chris Gillick constructed his family home with the “stick built” timber frame method. Here’s how he and his wife Serena did it in County Meath.
In this article, Chris explains:
- What is a stick built timber frame house
- How to design and engineer a stick built timber frame house
- How much the stick build elements cost
- Stages involved in a timber frame stick build, from floor to stud walls
- How to take on a stick built timber frame project yourself
- How the project was managed on a day to day basis, by direct labour
- Services from wastewater treatment to drilling a well, and rainwater management with French drains
- Details of the planning permission stage
- DIY in frame kitchen design and build
- DIY staircase design and construction
- Air to water heat pump cost and specification
- Ventilation system choice: heat recovery vs demand controlled
Why did you decide to stick build the house from standard lengths of timber?
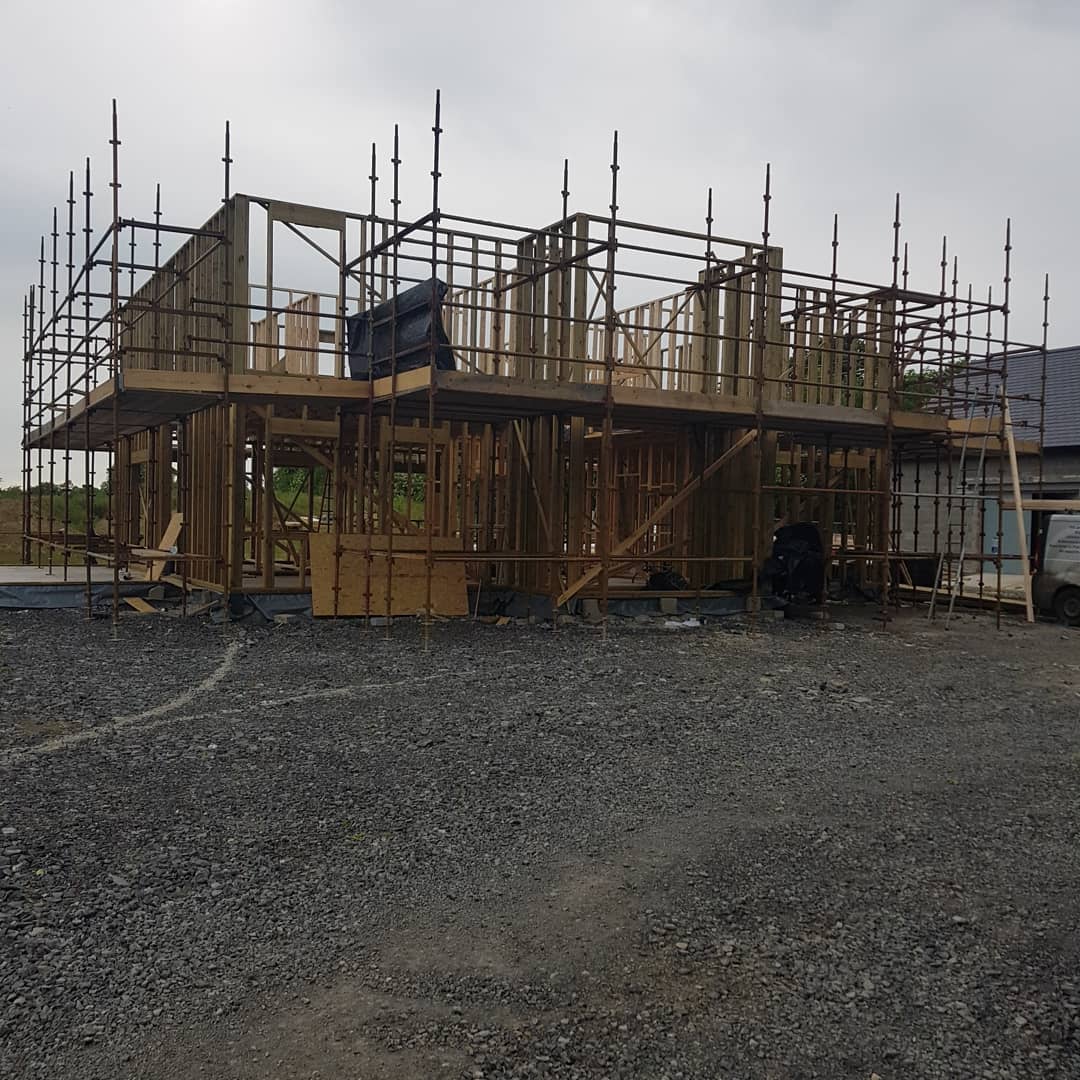
It’s a method I’m familiar with. And to save money, as I was going to do be doing it all myself. I did start off by getting a price from timber frame suppliers [to supply a kit]. But it was too expensive so I ordered a lorry load of wood that came in lengths. All of the timber I used to build the house was cut and built on site.
I’ve built many timber frame stick build extensions over the years, and have a national medal in carpentry so know my way around working with timber.
[adrotate banner="57"]Construction: timber frame (stick built)
Ventilation: centralised demand controlled
Heating and hot water: air to water heat pump
Build cost: €230k
What were the stick built timber frame build stages?
For the ground floor, I started with sand and hardcore all well compacted, then the radon barrier, then the PIR insulation boards on top, then underfloor heating pipes, then four inches of concrete. I chose not to put in a subfloor to avoid bringing out the concrete mixer twice.
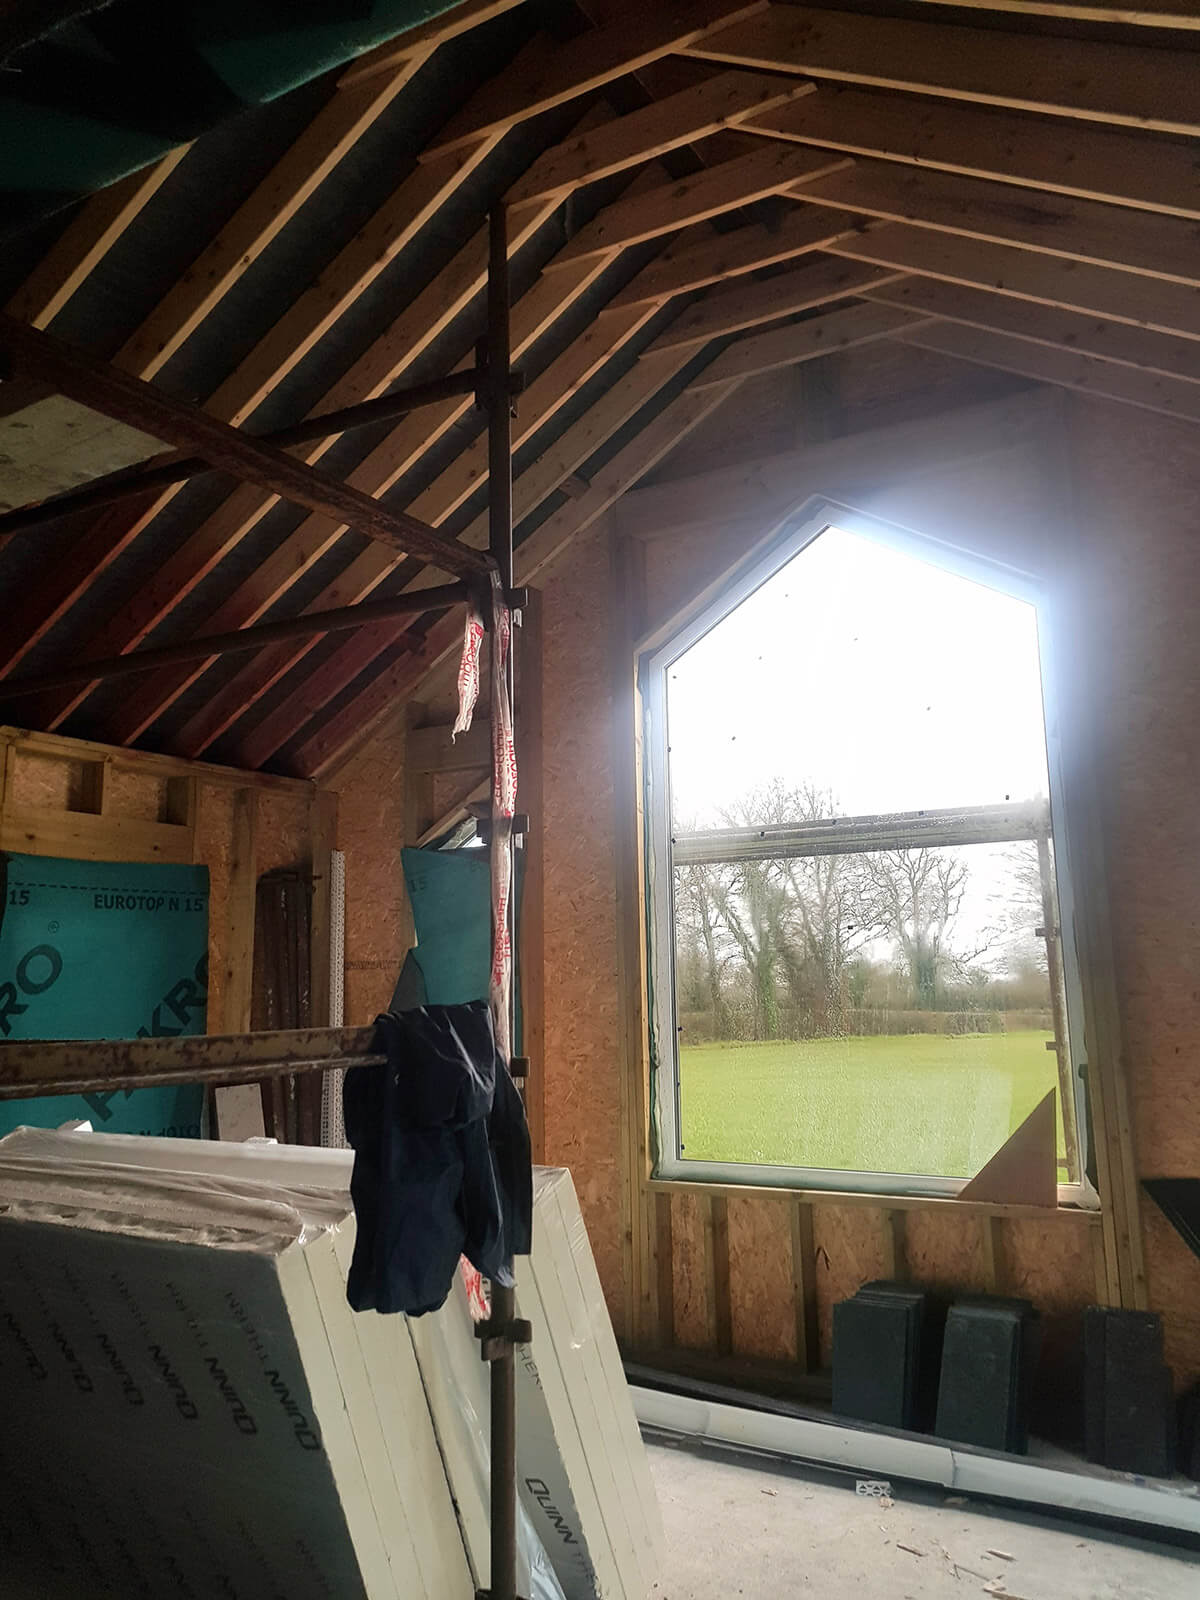
The stud frames of the house are 6’’x2’’, the first floor joists are 9’’x2’’ strengthened by plywood, then I built the roof myself from lengths of timber (cut roof) and slated it.
It took two people working non-stop for three weeks to build the frame; we were aching at the end!
How was the stick built timber frame project managed?
My wife Serena did all of the day-to-day work, she got all of the prices in and was a huge help coordinating the trades. She was also instrumental in the design, particularly the kitchen which is her brainchild.
In terms of building control, we opted out of appointing an Assigned Certifier, and we had the engineer come on site at key stages to sign off on the build as per the mortgage stage payment requirements.
To have a blueprint to work to, we paid an architect to supply the construction drawings, alongside an engineer who over specified the timber frame supports. He had six steel supports, which I argued were unnecessarily adding weight to the structure. From experience, I know it’s better to spread the weight with plywood.
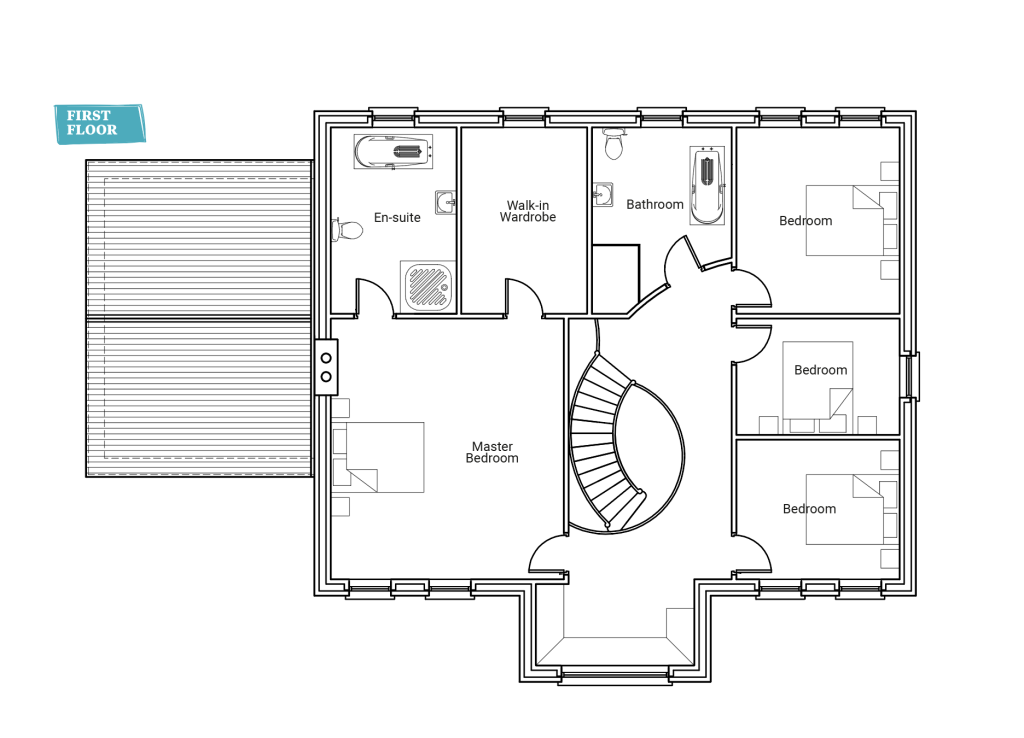
We did agree on the need for two steel beams, one in the sunroom and the other in the middle of the kitchen. Large open spans require steel.
How did the stick built timber frame costs stack up?
The timber frame cost came in at €80,000 which we did including our wages for €25,000. We had €30,000 in savings and wanted a €250,000 mortgage but could only get the very specific sum of €177,500 which is the equivalent of €700 a month to repay. We spent from our own savings as we went along so the total cost for the house now stands at €230,000.
That includes the €1,700 electricity connection and the very expensive council levy, which at our site came to €9,500 although they let us pay it off on a monthly basis over two years, so it was €200 a month. The council said that if could move in within one year, among other conditions, some of the fee could have been waived as long as we had done no damage to the roads.
We also had to get a septic tank for wastewater and a well for drinking water. Because there’s a lot of sulphite in the ground we dug a shallow well. We hit rock eventually and got a good well although it needs a softener because of the limescale.
Could anyone with a bit of DIY knowhow tackle a stick built timber frame?
If you pay for a very good architectural designer and engineer, you might be able to. But in my case, when I checked the engineer’s drawings some props were in the wrong place. So if you get bad drawings and don’t know any better and follow them, you could be in trouble.
I would argue you need to bring someone on board with experience building this way, and make sure the architectural designer and engineer are very familiar with this method as well.
In all cases if you don’t know tradesmen and don’t have experience coordinating this type of thing, I’d advise getting a project manager. You cannot rely on the trades talking to each other, they simply won’t so there will be a lot of time spent coordinating the build as a whole. Serena helped enormously with this aspect; there is are many hours spent on the phone with direct labour.
If you can’t get a project manager, then get trades you can trust. Even at that, getting them to show up can be hard. Some people can be very unreliable; sometimes it’s the ones you’d expect to show up that won’t.
How did the planning process go?
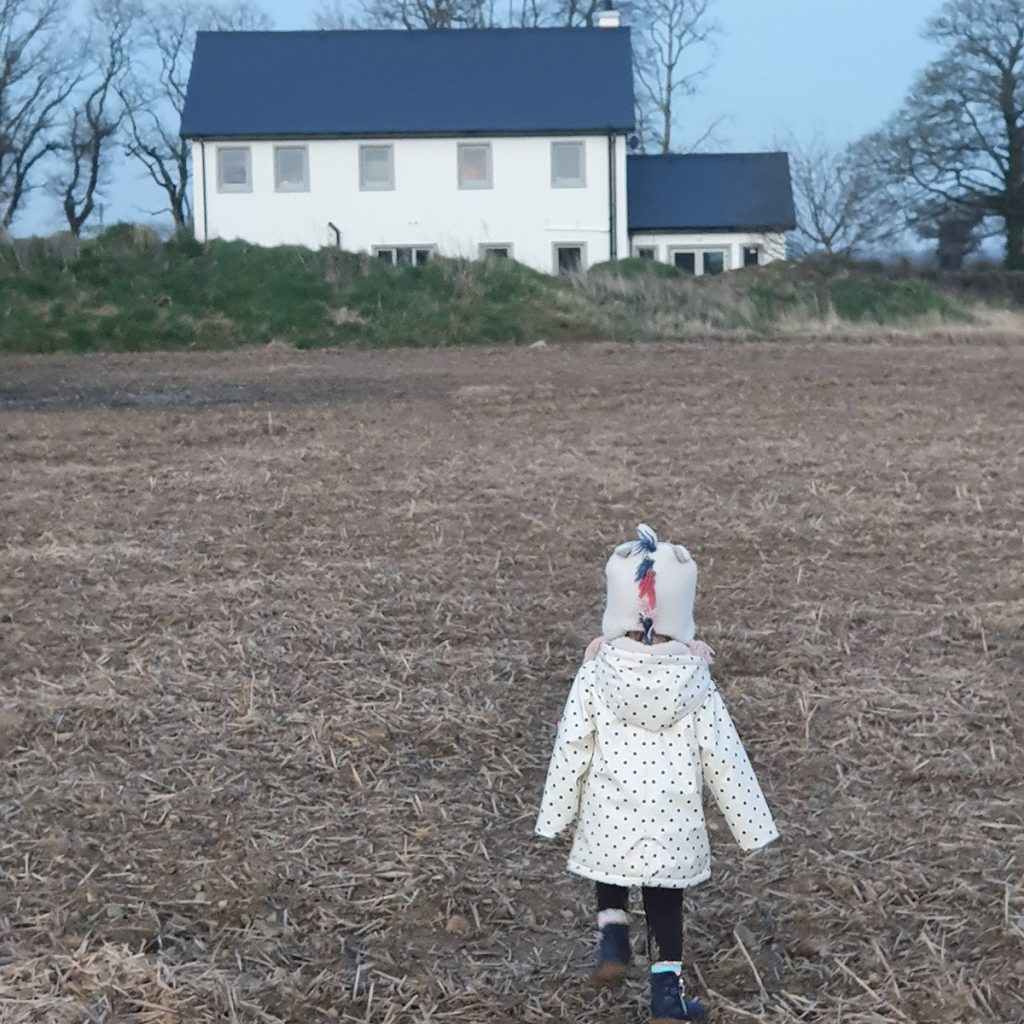
We initially had plans for another house, on another field across from a historical site. It was difficult getting planning permission there so we did a complete redesign and moved the house onto a different site, on a part of Serena’s dad’s farm.
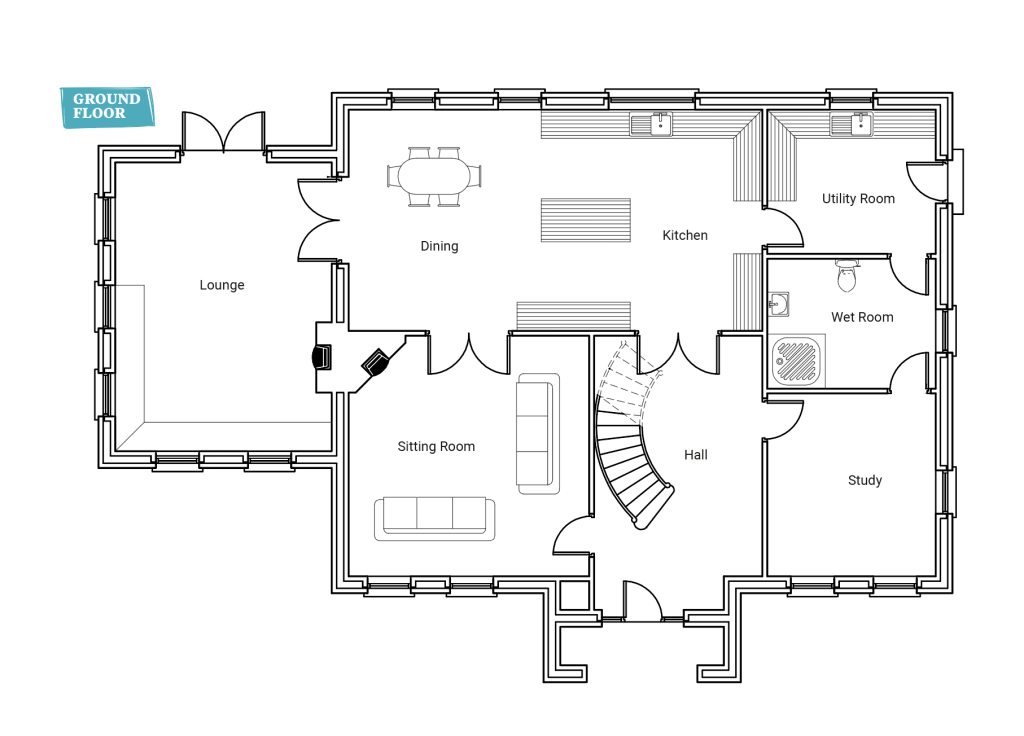
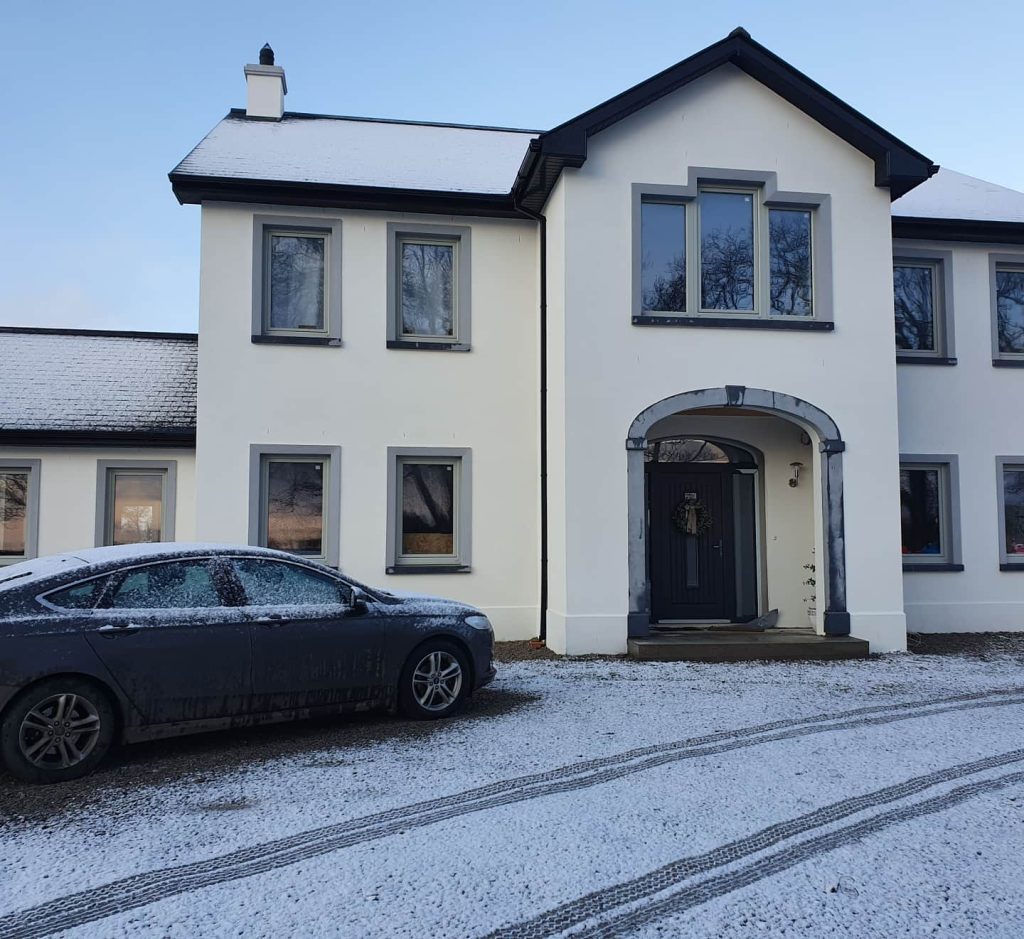
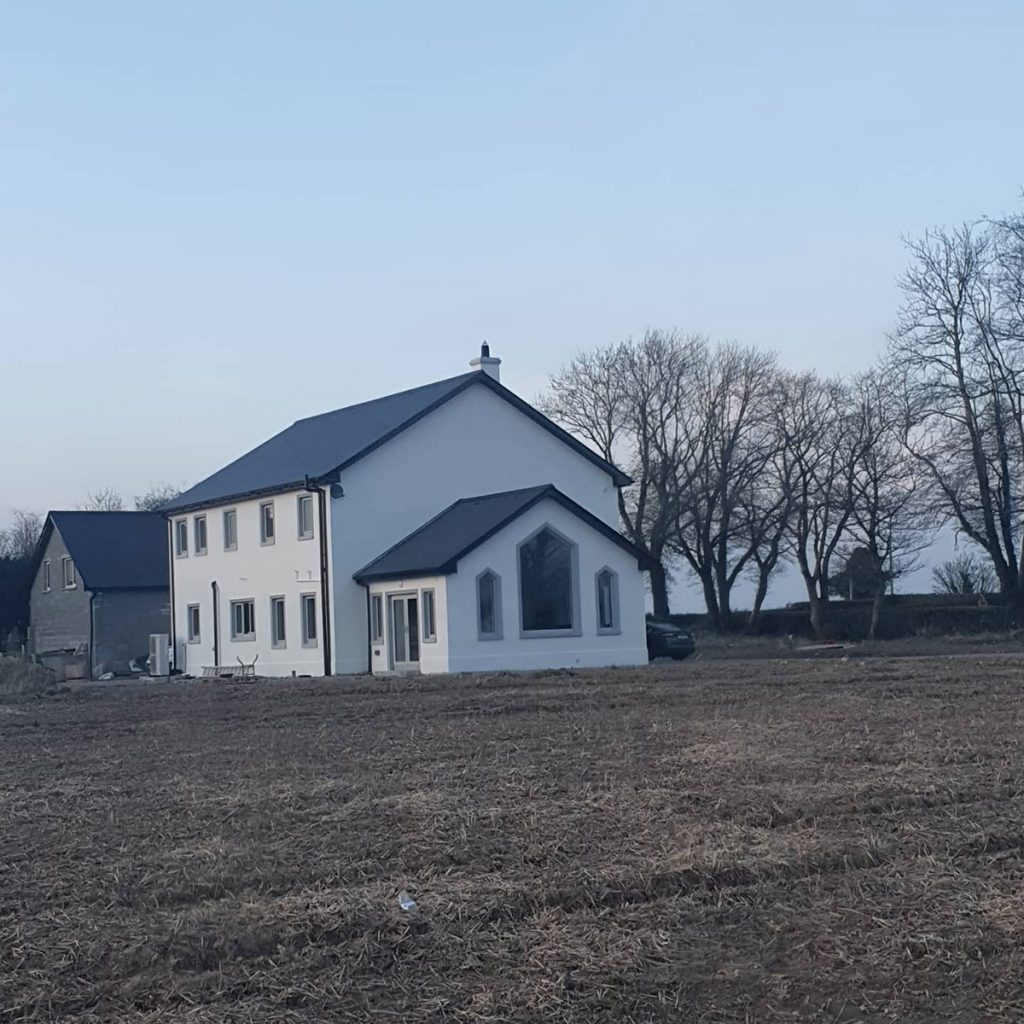
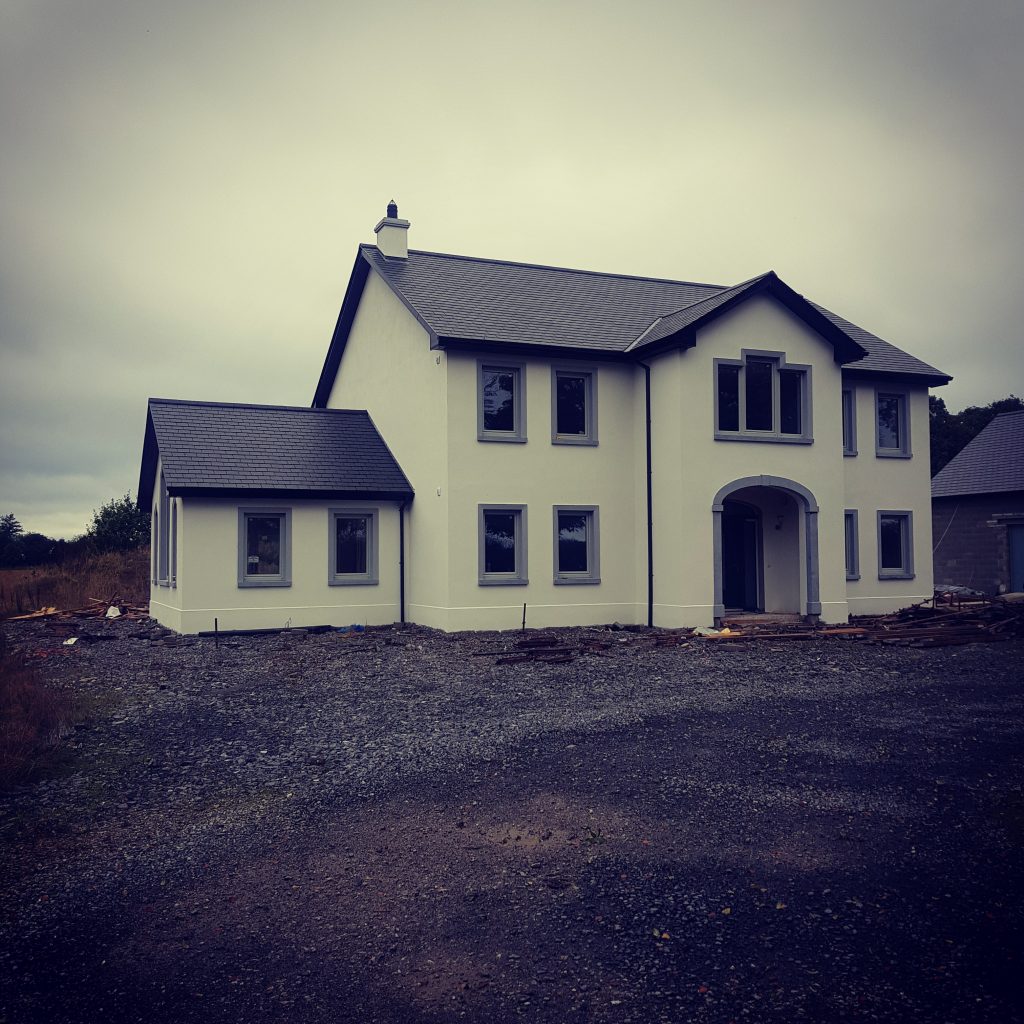
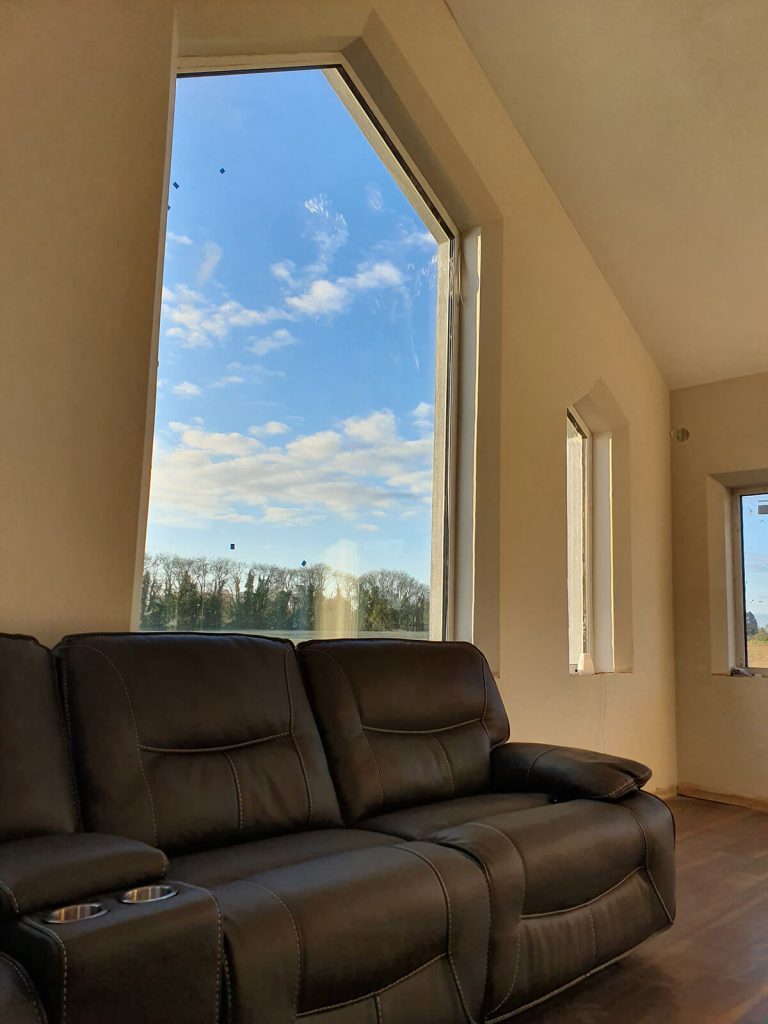
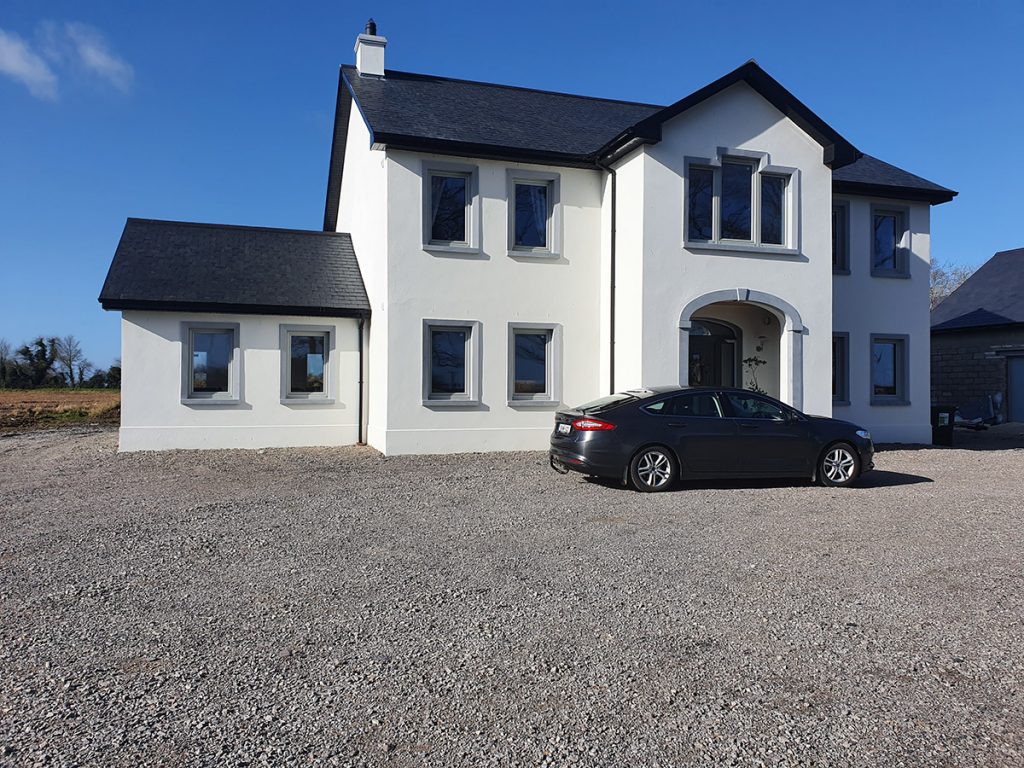
The new house design was of a more traditional shape and we put in large apex church style windows in the sunroom. The roof is a natural slate roof as we wanted to have a more traditional style.
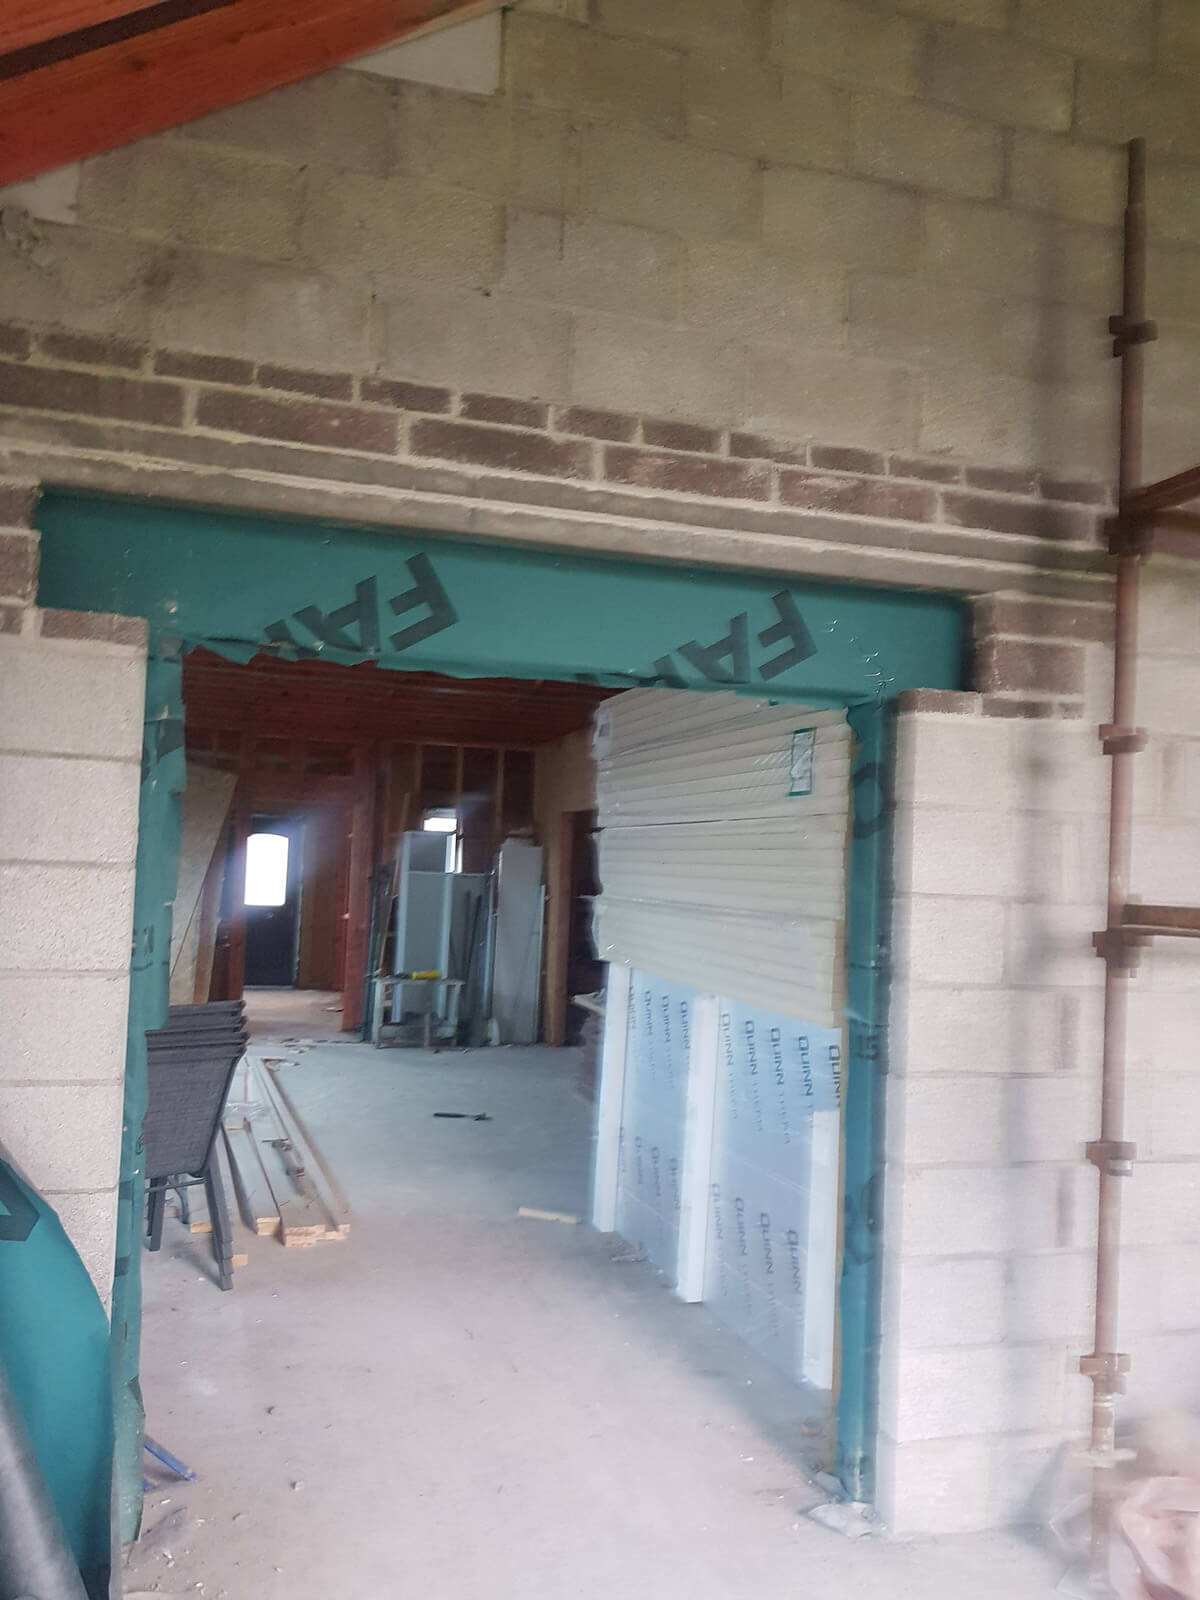
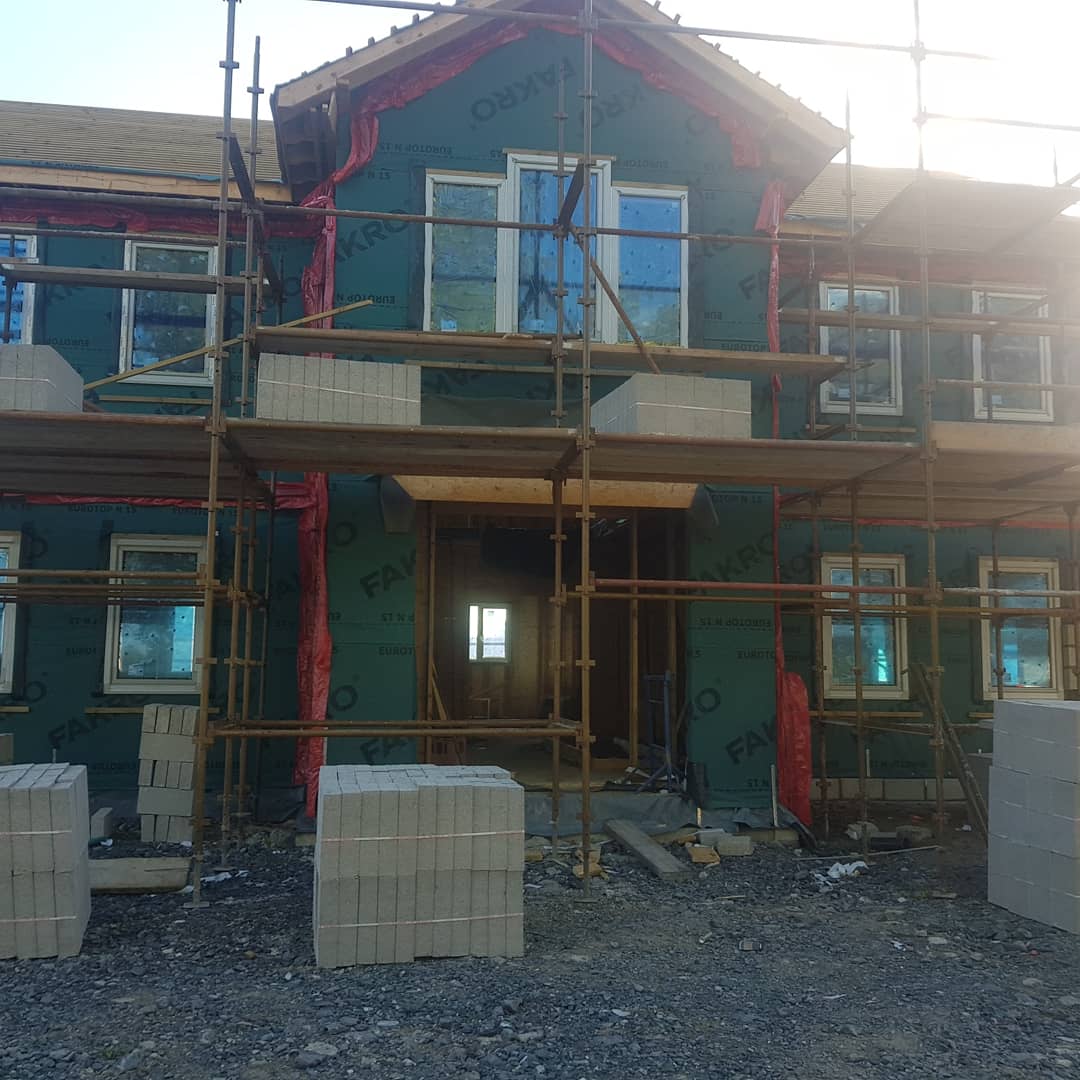
In the end planning took a year and a half, and we changed designers. We also had to build a course of blockwork externally, to plaster, which the timber frame is holding up.
Apart from the timber frame, what work did you do?
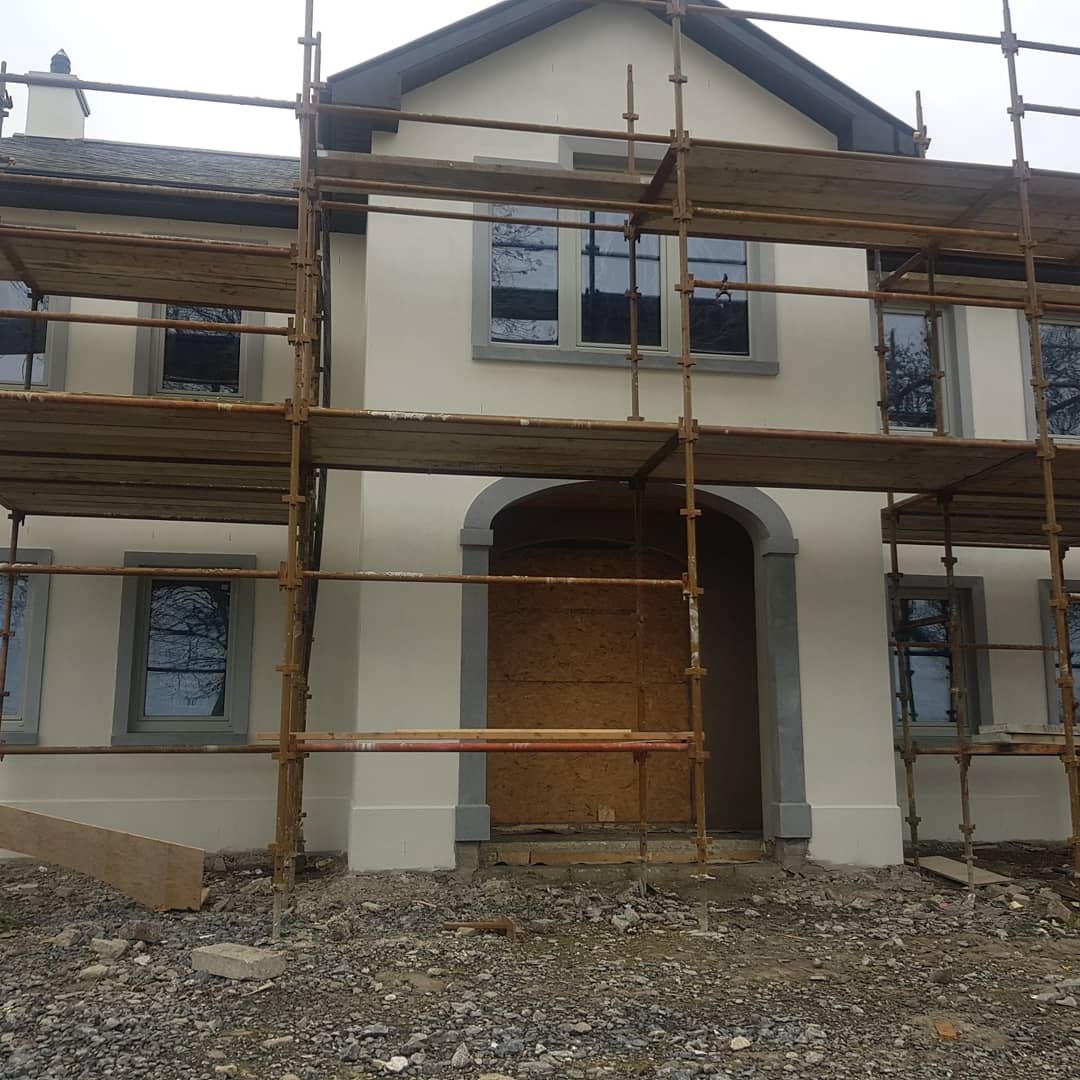
Everything I could. The main trades we brought in were the block layers, plasterer, electrician and plumber. For the external plaster we got a sponge finish with a four inch band around the windows; the arch above the doorway was custom made and took five months to arrive but was worth the wait.
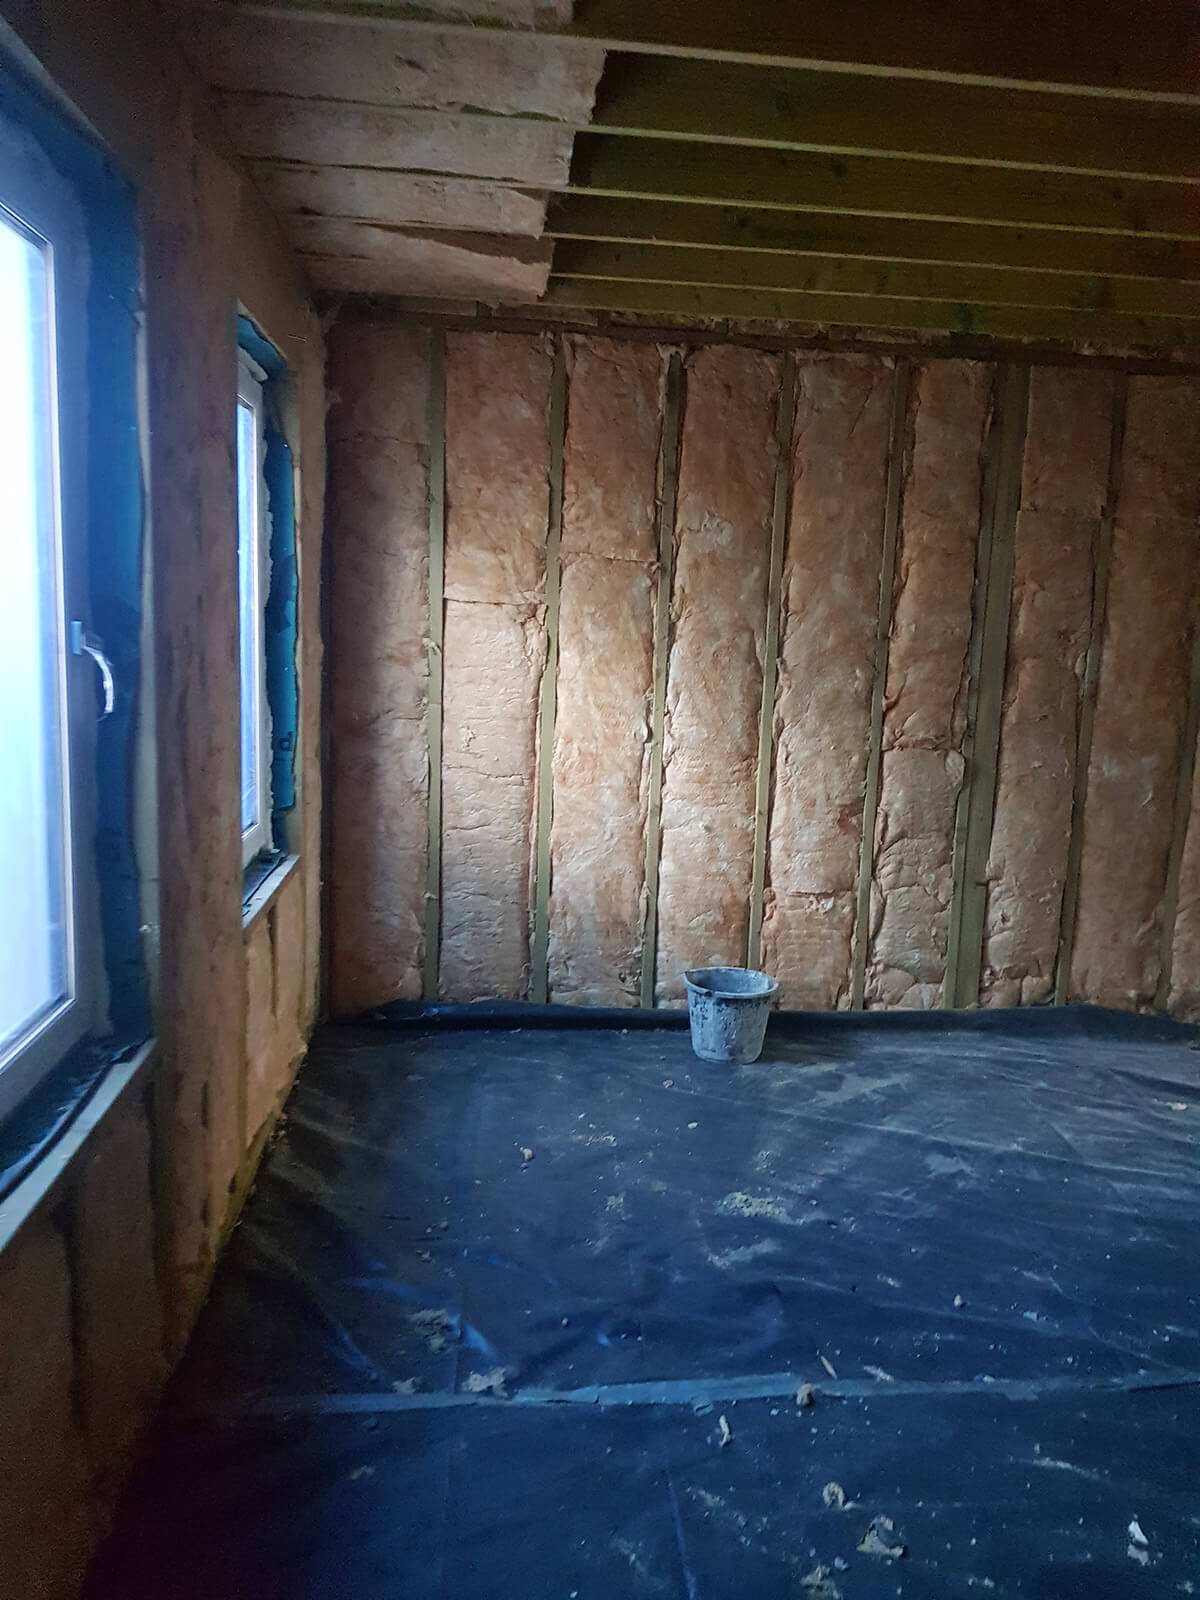
I did all of the tiling and slabbing (put up plasterboard) and the scaffolding too. I installed the insulation and airtightness membrane and tapes.
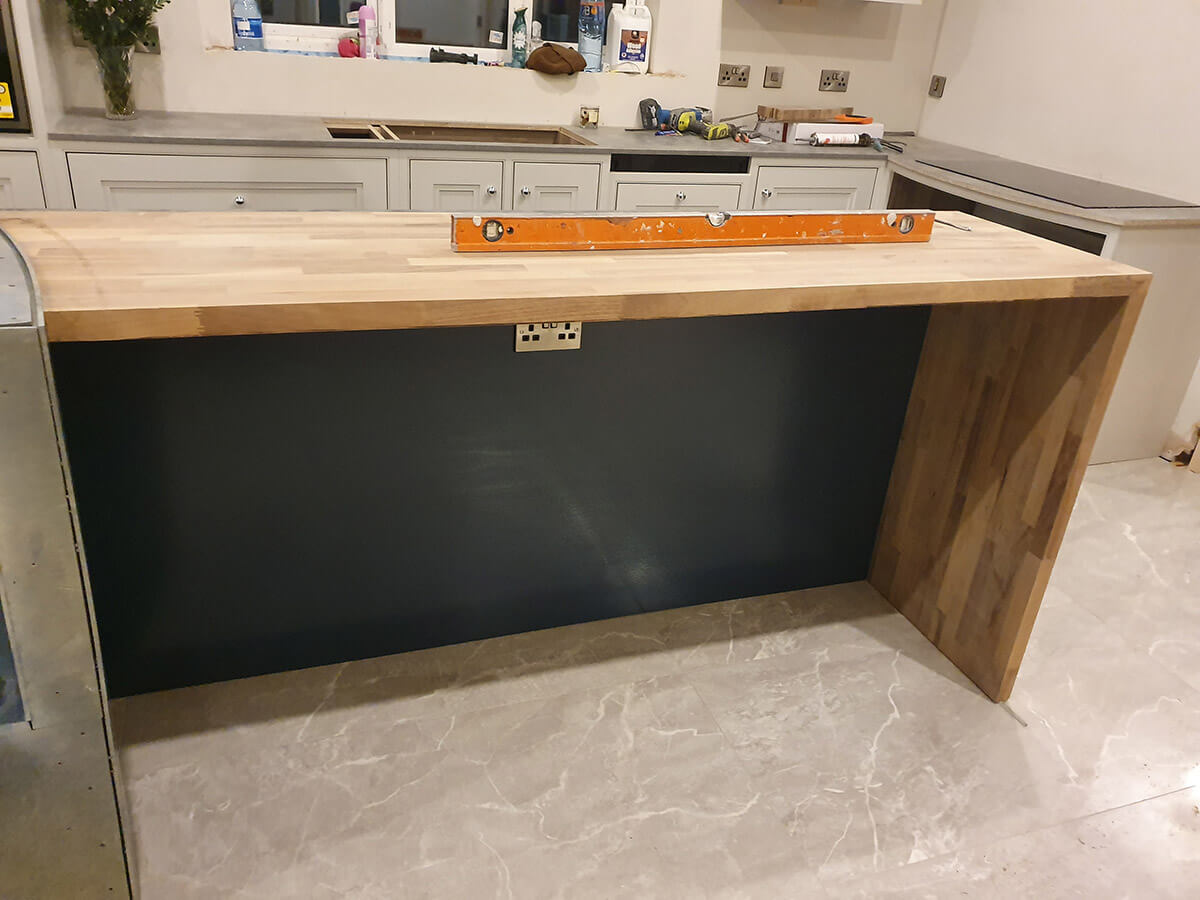
I also built our in frame kitchen myself, with a walnut veneer on a poplar frame, which was designed by Serena around a diner style booth with curved seat. The worktop will eventually be quartz but for now I put in a cheap cement panel. The booth was done last and we will eventually get it upholstered to complete the look.
At this stage most of the bedrooms are also floored. And I recently made a vanity unit for the bathroom which I spray painted and installed in our ensuite but it will eventually move to the downstairs bathroom when it is tiled.
We don’t want to borrow any more than we have already so we will add on as we can afford to. It will probably take another year or two, but with the Covid lockdown I got to get some panelling done, some painting and other jobs around the house so we may be finished sooner as a result.
Did you get a joiner to build the stairs?
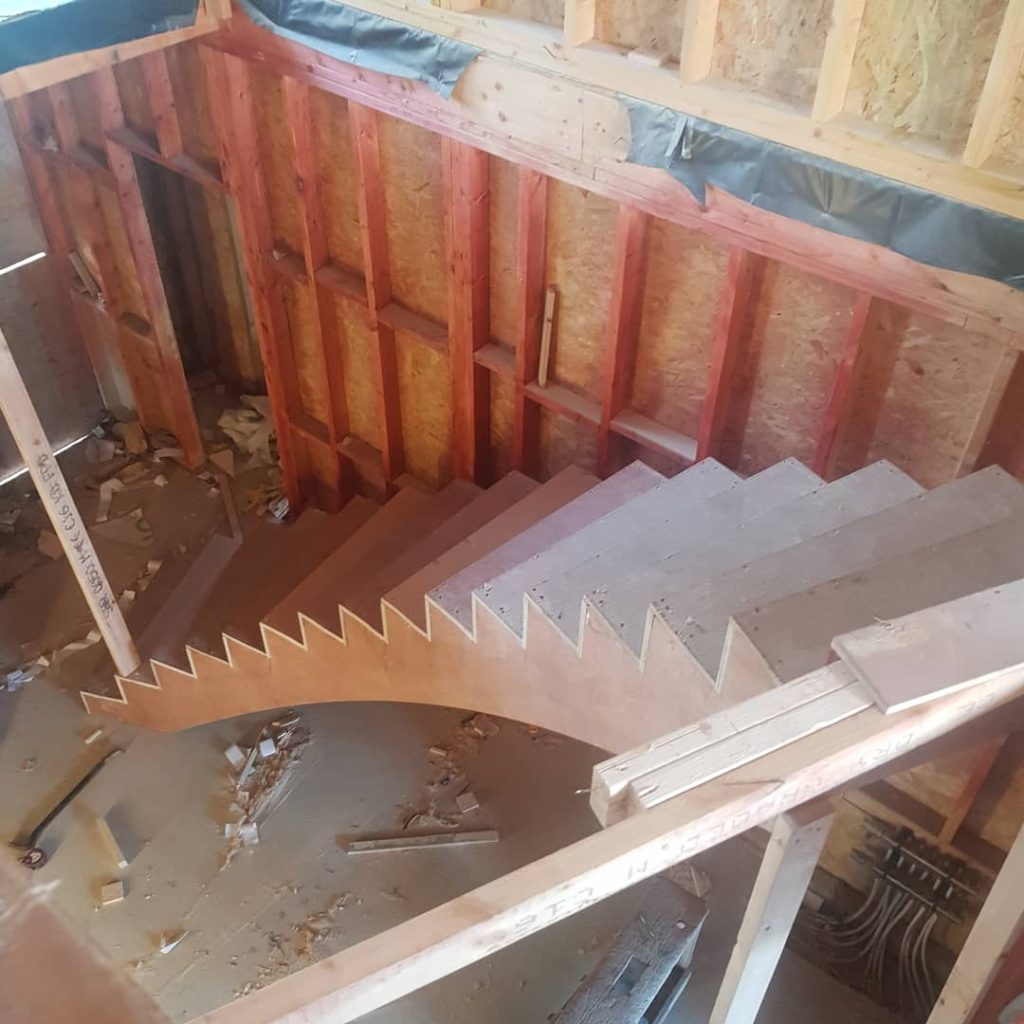
I did get it priced but we got crazy prices back, in the region of €25,000 as it is free standing and curved. And since the house is timber frame we didn’t go with a concrete stairs as it would have required more steel in the house to hold the weight.
So this was my first attempt at building a staircase; it took me three weekends to put up the structure. We have not got the oak on the stairs yet but that’s the long term plan along with laminating the sides; we have coated the steps in polyurethane paint for now.
What did you do for heating?
We put in an air to water heat pump and I’m not sure what it’s really costing us. Our Christmas bill was €500 but that was our first one, so that included having the heat on to dry out the house.
With hindsight, I would get a full heating package from the one supplier, as in get the radiators and underfloor, heat pump and heating controls from the same manufacturer. I thought buying each component was an off-the-shelf experience but you have to look at it as an ecosystem.
Our plumber said we undersized our radiators and we should have heating controls in each room, instead we just have one stat upstairs and the other downstairs.
How about ventilation?
Because of the new building regulations we were building the house to be really airtight so we needed some form of central mechanical extract system.
The house is well sealed but I wouldn’t pay for an airtightness test mid build because it was going to cost €500 and since I did it all myself I knew it was done right. So at the end, when we did the final test I was sweating it! If we had failed the test we would have had to redo some of the work, which would have been expensive. But we got an excellent result, at 0.61 m3/hr.sqm at 50Pa. The maximum value you are allowed is 5.
We chose Demand Controlled Ventilation (DCV) instead of heat recovery. It’s a simpler and less expensive system that’s humidity controlled; in rooms that need fresh air like bedrooms or the living room you have standard vents in the walls with a humidity sensor, so the vent only opens when there’s a lot of moisture in the air.
In rooms that need extraction, i.e. bathroom, utility, kitchen, there is a mechanical extract vent that takes out the air. Cost is what prevented us from choosing a heat recovery system, which brings in air from the outside from only one point as opposed to multiple vents. The outdoor air is preheated and distributed throughout the house, and the extraction works in a very similar way as DCV.
With all the vents in the walls, at the first storm the house was singing. We had paid for a certain brand because we had heard good things about it, but when the company came to install it they put in another brand. They said that system we’d specified couldn’t be used anymore, so I checked it out and it was still available so I made them come back and change it.
Even if the supplier gives you a reason to change the brand, don’t be afraid to say that’s not what you priced. You have to get what you pay for, and sometimes you have to fight for it.
What surprised you?
The drawings make the house seem so small, then when you start building you come to wonder if you shouldn’t have added a few meters here and there. But now that it’s built and furniture is going in, the house is actually huge.
I also didn’t expect the amount of drainage that would be required around the house, we have a French drain to a ditch to deal with rainfall.
I suppose a self-build can be stressful to a certain extent so it’s good to be aware you will argue over stuff. Nobody has the same taste. But what seems like a big deal today won’t be tomorrow. Everyone will make mistakes but as long as you choose trades wisely and price around, you will be ok. Just make sure the people you bring on site are reliable and come highly recommended.
Built out of timber spec
Walls: timber frame, insulation 150mm mineral wool and 50mm PIR boards then 50x40mm battens for cables and services then another 50mm mineral wool.
Vaulted roof: 170mm mineral wool, 2x40mm PIR laid opposite direction, foil taped joints, counter battened for services and expanding foam and tapes.
Cold roof: 170mm mineral wool half inch ply on top, 100mm PIR foil taped with 18mm ply on top as attic floor.
Windows: triple glazed tilt and turn windows, RAL colour 7038 on the outside, white on the inside.
Suppliers
Timber frame
Christopher Gillick Carpentry Ltd,
info@christophergillickcarpentry.ie, mobile 0874104780,
instagram @darickhouse
Insulation
Metac Isover, isover.ie, and Quinn Therm boards, quinn-buildingproducts.com
Heat pump
Samsung Joule model Cyclone Cy340L Smart Plumb HG 250/90, joule.ie
Windows
Wright Windows, wrightwindows.ie
Wastewater treatment
Biocycle, biocycle.ie
Tiles and herringbone floors
Tile Once, tileonce.ie
Other flooring
Noyeks, noyeks.ie
