Timber flooring is beautiful and cost effective. Find out how to choose the perfect wood, how to install it and how to combine it with underfloor heating.
In this article about timber flooring, we cover:
- How much timber flooring costs, for both materials and installation
- What sustainable timber really means
- The difference between engineered and hardwood floors
- What engineered wood floors are made of
- Why oak floors remain the most popular
- Designing the layout
- Differences between plank, herringbone parquet and chevron
- How to install floorboards: bonding versus floating method with underlay
- Tongue and groove systems
- Preparing the floor for underfloor heating
- Checking for moisture content
- Maintenance and how to keep your wooden floors looking new
- Sanding, sealing and restoring existing floors
- Tinting and sealing wooden floors: lacquer vs oil finish
When it comes to choosing floor coverings, timber floorboards are a popular alternative to tiles or carpets, although LVT (luxury vinyl tiles) offer similar warmth.
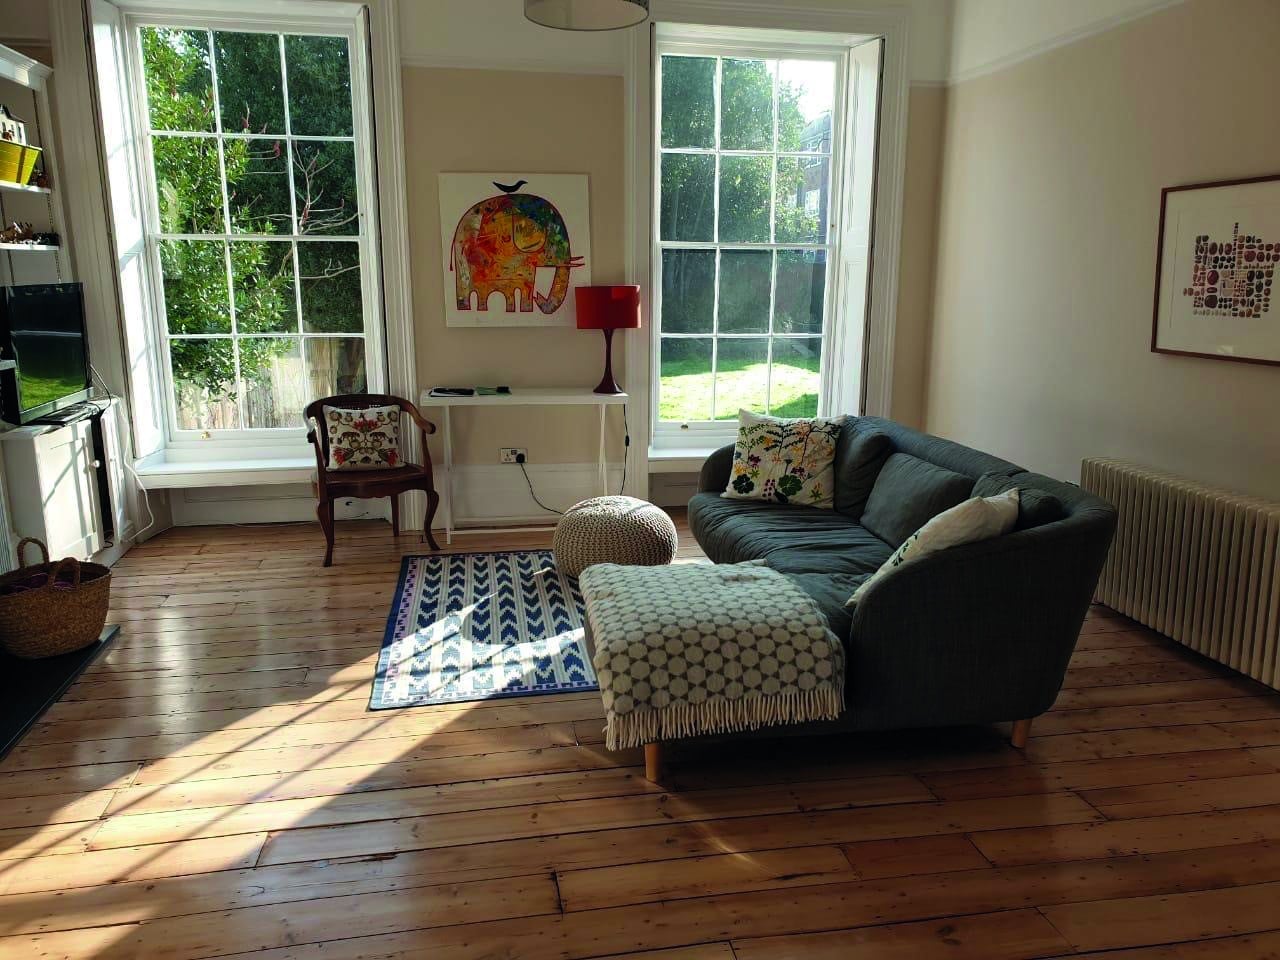
Hardwood floorboards, made entirely of timber, are now pretty much a thing of the past. They are tricky to install, aren’t always compatible with underfloor heating and tend to require very regular care.
Unless you have an older house and want to match floorboards, you’re probably going to choose engineered wood flooring.
Engineered wood consists of a thin veneer of solid wood adhered to a backing of either plywood or softwood. And it now virtually dominates the market.
That’s because it provides a very stable product for the rigours of underfloor heating, offers all types of finishes and designs, and is readily glued to a wide choice of floor screeds.
Popular timber flooring species
Oak still dominates the timber flooring market because it is durable and reasonably stable (does not warp or shrink once seasoned) and blends in with most designs.
The demand for ever more colour choice increased the demand for European oak (Quercus Robur) because it takes ‘smoking’ and stains much better than its North American cousin, which used to dominate the market.
The American white oak species (Quercus Alba) when smoked can produce a very dark heartwood (central wood of trees) and light sap wood contrast. It is not the most pleasing to the eye.
The demand for European oak is now mostly met by wood floor mills in the Baltic areas and Eastern Europe.
Combined with the slowdown in Chinese growth through rising labour demands and the removal of subsidies, mills in Eastern Europe now compete on a more even footing with those of the far east.
Walnut is still a choice offered by many producers and is experiencing a bit of a resurgence.
It is virtually impossible to achieve the unique burl and swirl of walnut with oak, even with the vast array of stains and tints which can get close to the colour.
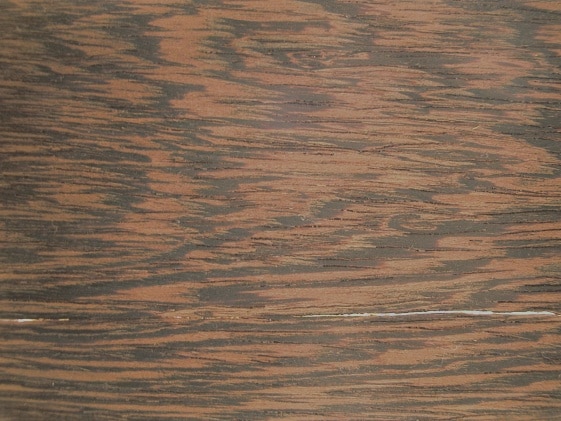
Same with African Wenge, although Wenge tints are available for oak, the grain structure of the species is totally unique.
Closer to home, Douglas fir with a whitewashed oiled finish has gained market share thanks to the popularity of Scandinavian interiors designs.
With the market moving towards stained oak as the main choice, forgotten species such as ash, birch and maple are less common.
But as a wood lover, I urge you to consider the beauty and individuality that comes with these and many other wood species.
And remember, when you sand your maple floor in the next ten years, it will look exactly the same as it did when you bought it. Unlike a stained oak which will revert to its original colour.
Timber flooring designs
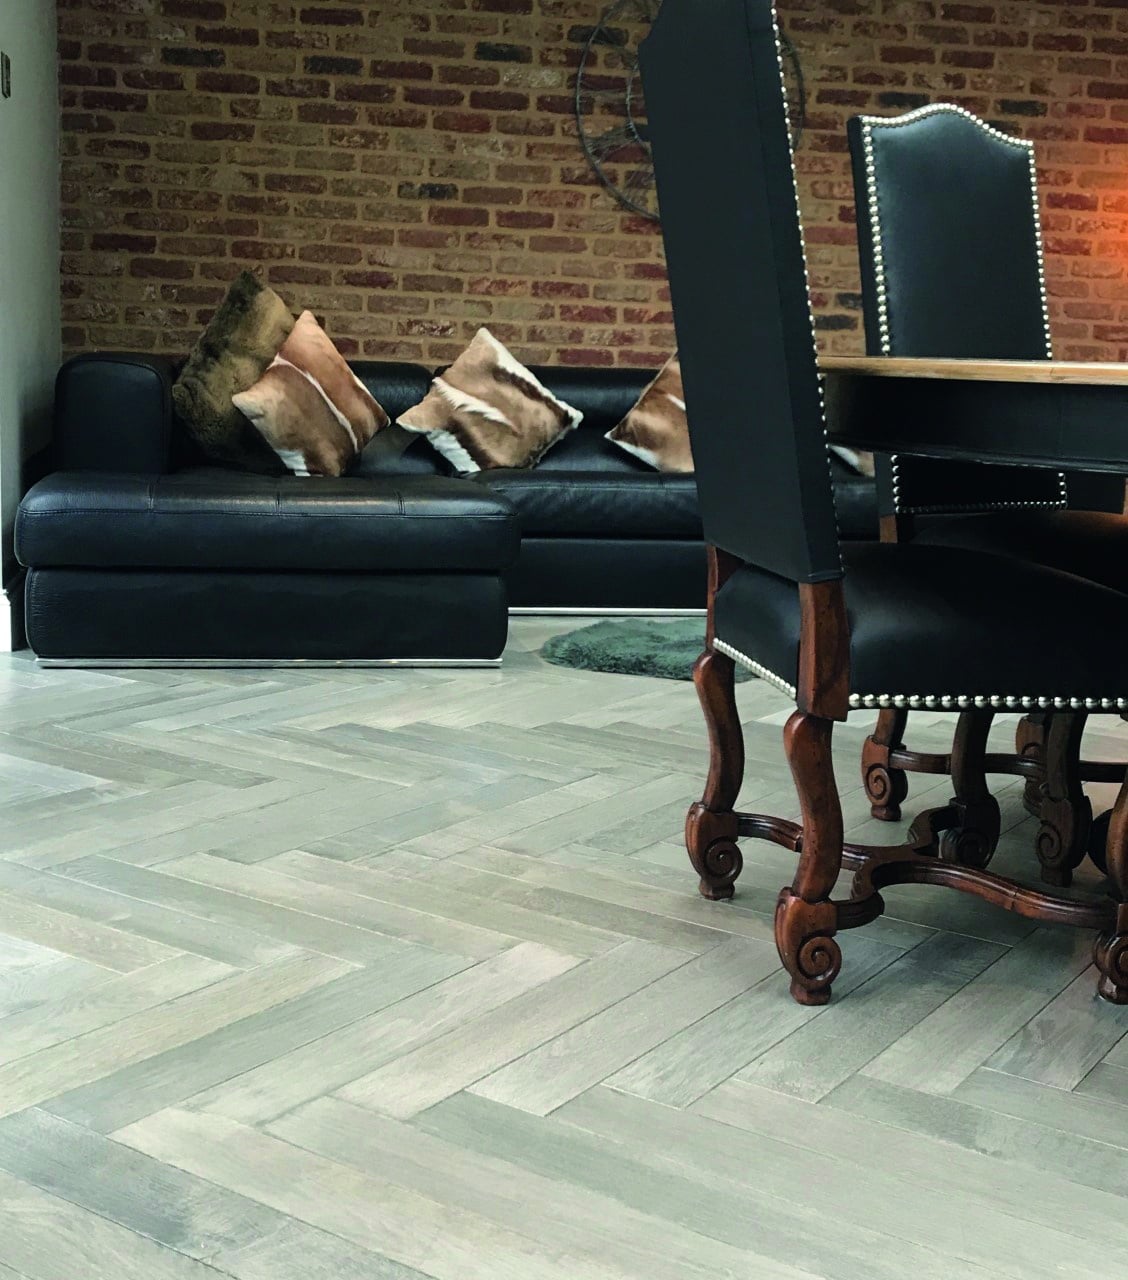
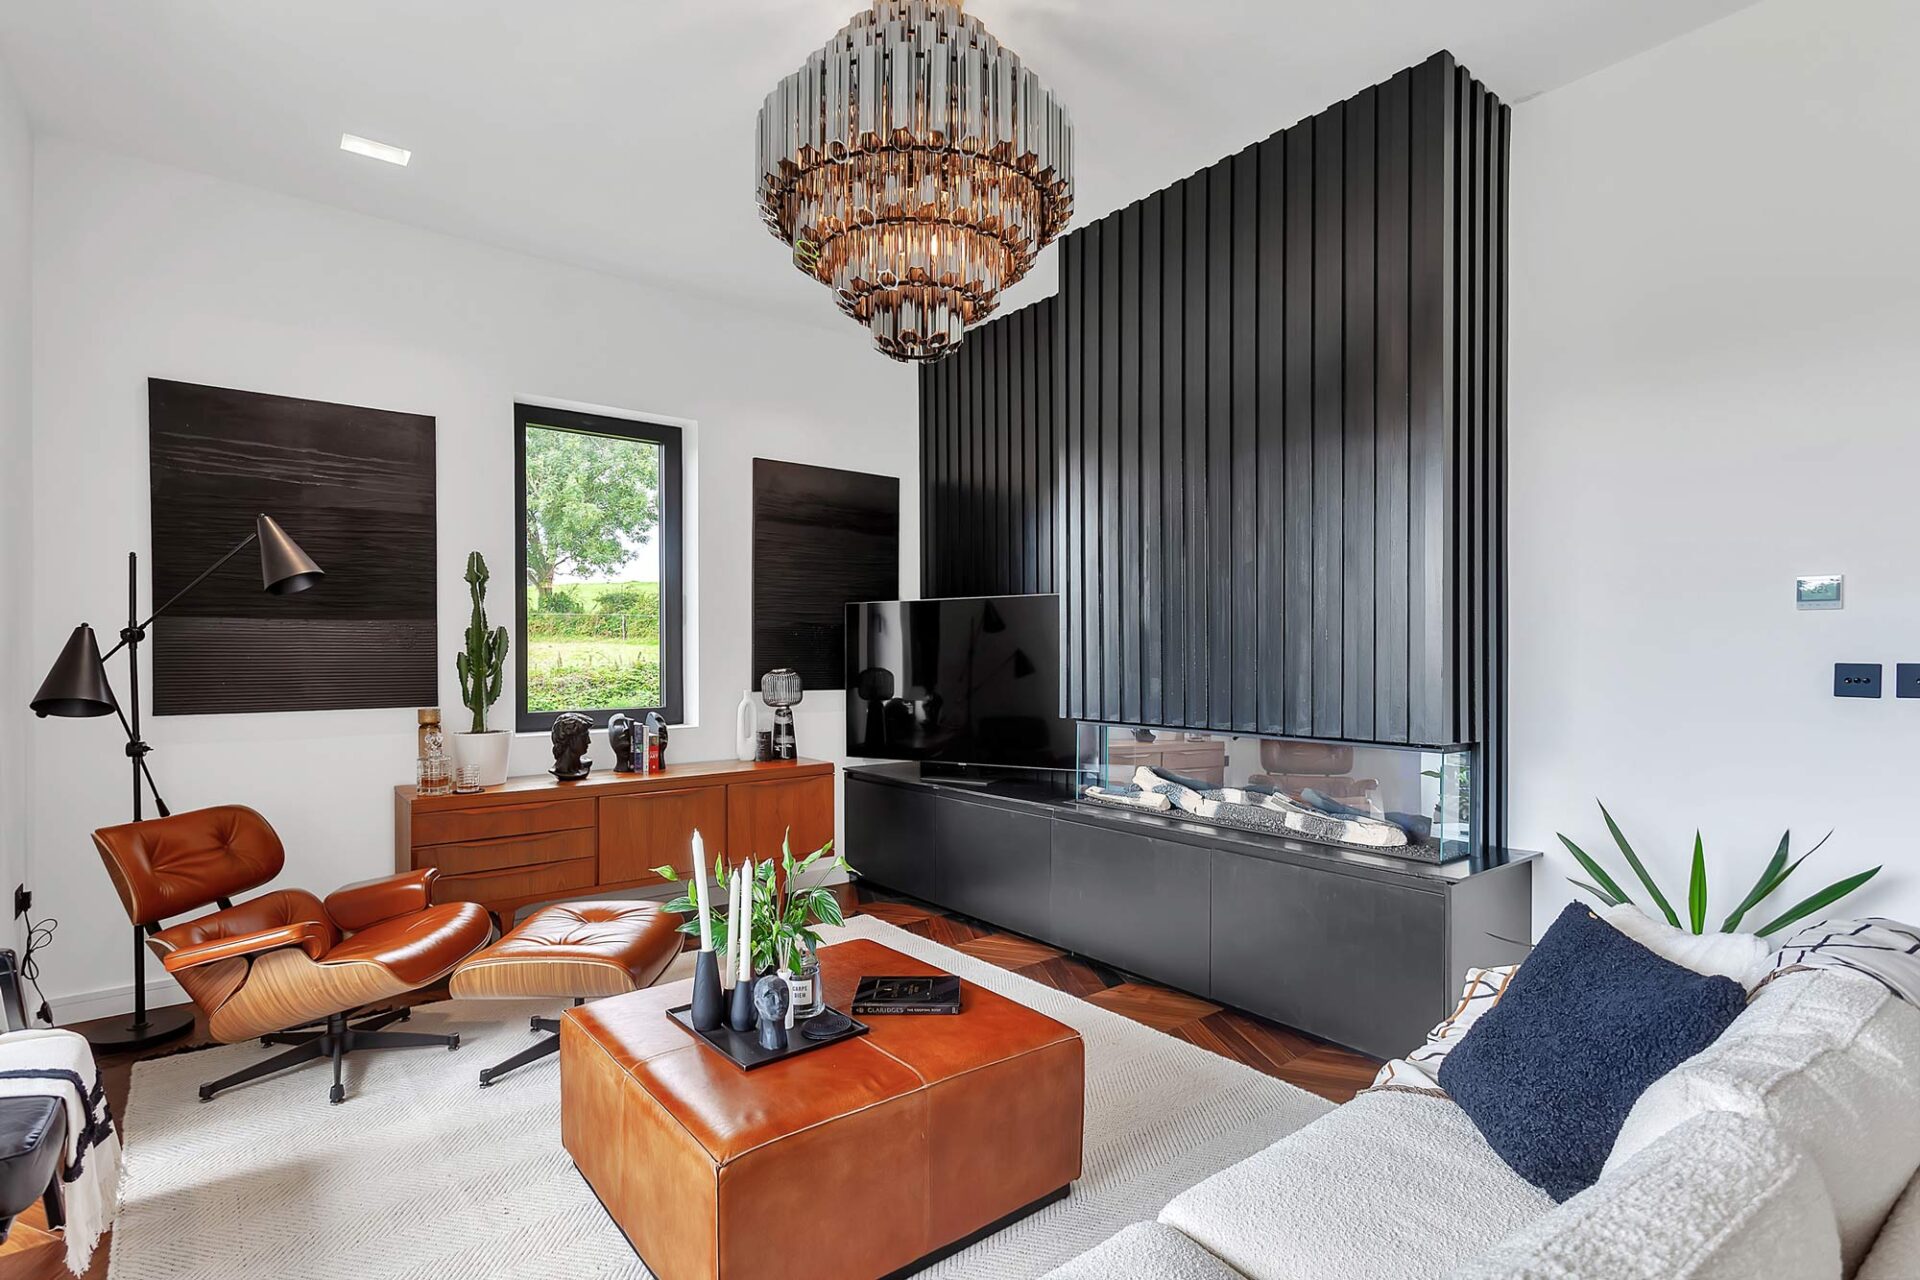
Plank wood flooring whereby the planks are laid parallel to one another has, for the time being, lost to herringbone parquet laid at 90deg angles.
Not the traditional small herringbone wood floor seen in many schools and village halls, but the more ‘Teutonic’ style of longer boards laid without a border.
Parquet boards of up to 1800mm have been used in some recent designs I have worked on, creating a long lazy zig zagging design that meanders through the interior and invites you around the next corner.
Boards of 600mm length and 70mm or 100mm width are gaining popularity for herringbone patterns.
Sitting alongside herringbone as an alternative to plank is chevron. Sometimes known as Hungarian Point or point d’Hongrie, it is available with a 45 degree or 60 degree design, yielding an attractive regimented pattern.
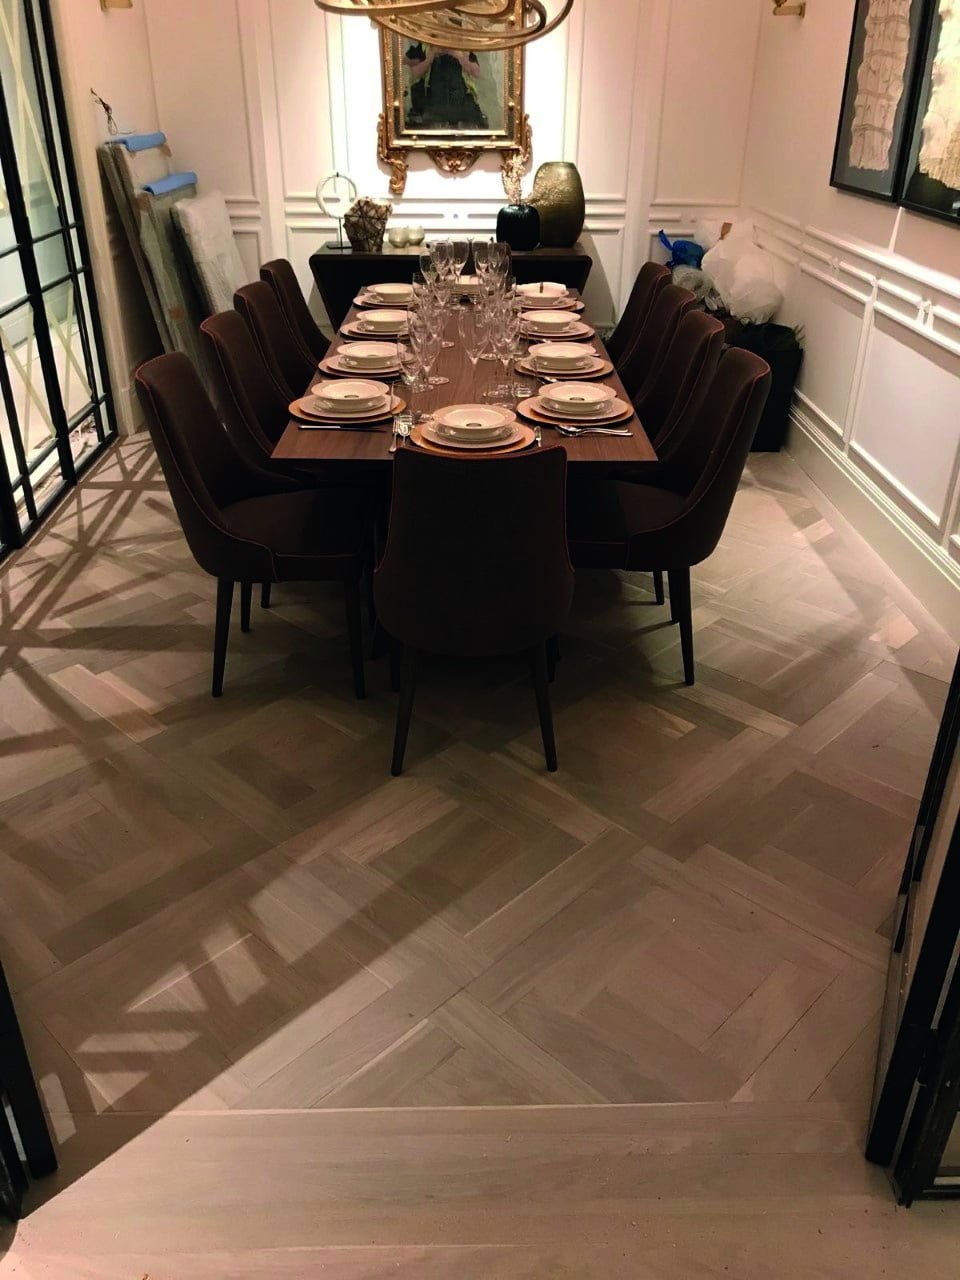
In recent times, we have seen quite complicated designs of wood floors becoming available as panels that are laid as large tiles, such as the one known as Versailles echoing the handmade wood floors of the building that bears its name.
Or Mansion Weave which is made from three or four repeating pieces to make up the overall jigsaw design.
How to install timber flooring
A word of caution though when considering a panelled floor, get an architect or designer to work out the timber flooring layout first. Panels tend to be produced in set dimensions. If laid without thought, you can end up with an ugly cut panel up against a wall that will annoy you for many years to come.
Methods of installation have come a long way since the use of nails or bitumen. Now it is common to use an adhesive to bond the timber flooring securely to the substrate screed.
The alternative of floating the wood floor using adhesive on the tongue and grooves only, and laying the wood on a foam underlay, is still commonplace as it increases the speed of installation.
Developments in the click system of joining the individual boards mean you can even get parquet and chevron designs.
‘Unless you have an older house and want to match floorboards, you’re probably going to choose engineered wood flooring.’
Sustainable timber flooring
Sustainable Forests are managed to promote natural diversification for flora, fauna and wildlife and to avoid erosion of the soil through clear cutting or the use of heavy extraction machinery.
The FSC logo is a leading quality mark for sustainable forestry and I recently asked an architect if he insisted on FSC approved wood flooring for his projects these days.
His response was interesting, he said “…..well all wood floors are produced to FSC accreditation these days aren’t they?”
Like fair trade coffee, and cosmetics that are not tested on animals, we expect that these are the de-facto ways of doing business. But it is still worth asking the question about sustainability as a consumer and keeping suppliers on their toes.
The source of hardwood for the manufacture of wood flooring has moved to Europe for oak and demand for alternative species has fallen in the Irish market in recent years, reducing pressure on dwindling wood species such as teak.
Installation with underfloor heating
I can’t stress enough the need to work with your heating and plumbing contractor closely when installing underfloor heating.
The general requirement for the surface of the wood floor not to rise higher than 27
degrees Centigrade is a critical element in the design of the overall heating system.
Check with your manufacturer, but in my experience the figure of 27degC is almost universal.
And that point of measure at the wood surface is also critical, not at the thermostat or front door. Purchasing a simple handheld temperature measuring device online for a few euros/pounds can save many thousands and the upset of having to rip up an overheated floor.
The installation site should be watertight and a heated space. That means windows and doors should be fitted and the heating fully working but not necessarily on at the time of installation.
Most wood floor adhesives do not like the substrata to be heated during their application. The requirement is usually an ambient room temperature of around 21degC and a humidity of between 45 to 65 per cent at this temperature, all of which should also be maintained throughout the wood floor’s life.
Finally, two other critical elements for installation are the moisture content of the screed and the moisture content of the wood being laid.
Again check with your installer or manufacturer, but generally with cement based screeds the moisture should be below 4 per cent before laying a wood floor and depending on the type of heating used the hardwood element of the wood floor should be either 6 to 8 per cent or 8 to 10 per cent. The lower being the measure for underfloor heating.
A recent development in the market is the fitting of small credit card sized measuring units to a routered out pocket to the rear surface of the wood floor. They are expensive at present but will settle any dispute between the wood manufacturer and the heating contractor as it measures the moisture content and temperature of the subfloor.
Looking after your timber flooring
Very simply, regularly sweep and vacuum your wood floor. Fit mats to entrance points and make sure all of your furniture have pads fitted to protect the finish from abrasion.
Use a proprietary wood floor cleaner and try to apply a shoes-off policy, at least for those entering your home with stilettoes or high heels.
Minor abrasions with hand applied oiled floors can be removed by applying the same oil on a rag and rubbing gently in.
Unfortunately, lacquered floors are virtually impossible to spot repair. In the event of a major dent or localised damage, boards can be lifted and replaced by skilled wood floor layers.
It’s always worth keeping a few boards around the house from the original install for this very purpose. Although the effect of the sun on your wood floor over the years may well mean that a fresh new plank installed into the floor will stand out when newly laid. The good news is that over time it will start to mellow and blend in.
If a routine of weekly cleaning is followed, a wood floor will last for ten years or even much longer before requiring a sand and seal to look brand new again.
Sanding, sealing and restoration
Those of you who are now looking at your tired wood floor that your children have been abusing for the last ten years may well be considering what to do next.
Sanding technology, and dust suppression during the process, is now quite sophisticated with modern machinery claiming up to 99 per cent dust free sanding. But, of course, this depends on the person using the appropriate equipment in the appropriate way.
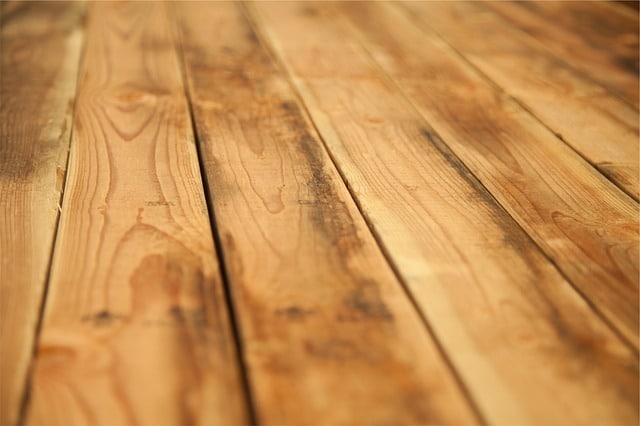
Coupled with the demand for stained and tinted wood floors, the same colour ranges that are available from the manufacturers for new wood floors are now available for the sanding and sealing process.
Buffing machines can buff in stains that keep the wood grain showing through but achieve the desired tone. Then seal in with a clear top surface for wear and durability.
You will then face a choice of gloss level and that ever present choice between lacquer or oil finish (see below). There are a number of fast drying hard wearing lacquers that involve the mixing of hardeners with the lacquer to accelerate the drying process. Many having the same drying time as oils.
Tinting and sealing your timber flooring
Will you choose a lacquer or oil finish? What colour?
Protecting the wood from wear and tear will require the application of either oil or a lacquer. Quite a number of wood finish manufacturers have developed a range of very mat lacquers and oils that are absorbed by the wood surface and keeps a very natural look to the wood.
Almost appearing as though nothing has been added to the surface. I call these The Emperor’s New Clothes finishes for obvious reasons.
High volume wood floors produced using UV cured lacquers on production lines are cost effective but have less opportunity for restoration after being laid due to the fact that it is virtually impossible to add further coats of lacquer on site without sanding the wood first.
To change the colour of the wood, manufacturers will do one of the following:
– Add stains to the veneer to change the tone from deep earthy browns through to pale Scandinavian whitewashed looks.
– Use centuries old techniques such as smoking which involves the exposure of the oak to ammonia to remove the tannins or using bleach to accelerate the natural weathering of the wood. This changes the base tone of oak prior to the layering of stains over the top. In this way, natural looking greys are created or deep rich ebony finishes.
– Add tinted oils which are then wiped from the surface leaving coloured residue in the grain prior to adding further tone through the layers. Many products start with brushing the surface to remove the summer growth wood before adding the oil. Bespoke oiled finishes, carefully applied in small batches allowing each coat to naturally dry before applying the next, are labour intensive and expensive but the finished and installed wood floor will allow much easier maintenance and refurbishment by buffing in further coats of oil yourself at home.
Together with the a move towards products with low Volatile Organic Compound (VOC) emissions (with corresponding smell associated with oils and lacquers), the process of sanding and sealing is now less of a chore.
Something to bear in mind with new wood floors are textured finishes. Bandsawn, distressed or brushed wood floors are virtually impossible to keep in original condition after a sanding process.
There are scrubber dryers on the market that will intensively clean your wood floor before having a refresher coat applied. Or some contractors will reapply these elements to the wood floor by hand on site, which is effective but very expensive in terms of labour cost.
Current timber flooring pricing levels
The overall cost of a wood floor is separated into three elements. The cost of the wood flooring itself, the cost of laying the wood floor and the cost of the ancillary items that go along with the installation.
When looking at the cost of a wood floor, it varies from a high volume engineered product most likely made in the far east with a thin veneer of wood as a wear layer, that may be as thin as 2.5mm, all the way to a Versailles Panel with a distressed and hand applied stain finish. As little as £20/€25 to €35/£30 per sqm for the former to €150/£140 to €300/£280 per sqm for the latter (all prices are including VAT).
Although parquet and chevron boards (€75/£70 to €150/£140 per sqm) can be cheaper than plank (€25/£20 to €150/£140 per sqm) the cost of installation will be higher due to the time needed to install a herringbone floor for example.
The installation of plank tends to range from €20/£15 to €40/£35 per sqm excluding adhesive or underlay, whereas parquet or chevron would be between €50/£45 to €70/£65 per sqm excluding underlay or adhesive. Panel floors and wood tiles such as mansion weave would demand the same rates.
Ancillary items such as underlay (€5/£4 to €20/£15 per sqm) or adhesive (€12/£10 to €15/£12 per sqm) need to be added to the figures mentioned above. Together with the cost of transition elements to other floor coverings such as tile or carpet which could add another €2/£1 to €5/£4 per sqm to the cost of installation.
The complexity of the finish and the amount of knots, colour variations, etc. will add cost to the wood floor product. Installation and ancillaries remain the same.
Finally, a word about who you allow to install your wood floor. For many years I have watched the outcome of wood floors that have been laid by carpenters and joiners. Whilst many offer years of troublefree service, some result in disaster.
Problems can be reduced by employing a wood floor specialist company to carry out all of the process and removing this element of work from your builder.
Allowing the same company to design, supply and install your floor will reduce the chance of problems. Making sure, of course, that they all communicate on needs for programme and site conditions.

