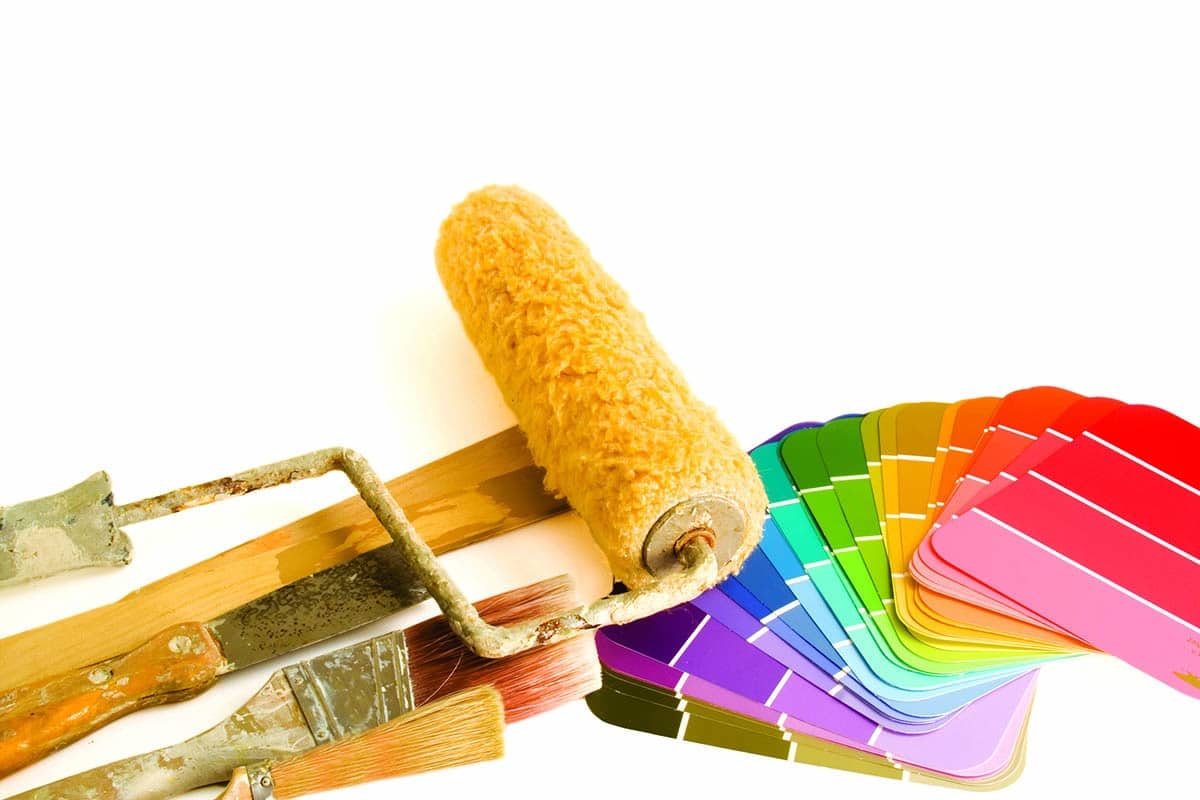
Due to its ability to instantly transform a room, paint is the interior designer’s best friend. Find out about the different types to make it yours…
In this article, we cover:
- Types of paint for different applications
- Interior paints and how to use them
- Wood paints and how to use them
- Troubleshooting paint that doesn’t stick
- Stripping down existing paint: how to do it and what products to use
- How to deal with lead paint
- How to tackle older homes
- Dealing with damp walls
By providing a first line of defence, paint can protect other materials and so extend their lifetime almost indefinitely. An obvious example is cast iron guttering but there are many others, such as elements that require protection from fire.
As with all building materials, you will need to use a product that’s fit for purpose, and one that is of a high standard.
The reason to invest in quality paint is that it ensures better, smoother coverage (you generally won’t need as many coats), superior durability and protection of the underlying surface. It is easier to clean, offers long lasting colour, mildew resistance and won’t pick up dirt.

Paint types
Here are the different types to choose from:
Cellulose or lacquers synthetic resin e.g. acrylic resin or cellulose acetate dissolved in organic solvent which evaporates giving a quick-drying finish.
Clay and chalk these paints provide a matt finish and consist of said ingredients bound with organic compounds such as methylcellulose, small amounts of preservatives may also be included.
Emulsion often used as a catch-all term to denote any type of paint that is applied to walls and ceilings, it technically refers to latex paints.
Enamels contain only a very little pigment and dry to a very hard, high gloss film.
Intumescent A single coating of a specialist intumescent paint can provide Class O fire protection for surface spread of flame, even if you cover it with an acrylic or latex paint for a more decorative finish later. If you are using steel beams in your house, it may be necessary to provide fire resistance to comply with Building Regulations for this part of the construction, but unlike other paints, you can put it on and leave it open to the elements on site without destroying the fire proofing, because it will resist moisture penetration. Special intumescent paints are available which can provide half hour, one hour or even two hours fire resistance on steel, preventing it from distorting or collapsing during a fire. If you are using timber linings and want to varnish them, there is also an intumescent varnish which can achieve Class O, the highest classification for protecting timber from flame spread.
Latex Pigments dispersed in a water based emulsion of a polymer such as pvc or acrylic resin. Low odour, quick drying, can be used on wood and metal surfaces. Use ‘breatheable’ (to allow water vapour to pass through) for exterior work. Thin with water. Clean brushes with soap and water.
Oil based uses a natural drying oil such as linseed as the vehicle and contains a basic pigment of either iron/lead/titanium/zinc oxide to which coloured pigments are added. The type of basic pigment determines the type of finish, that is whether gloss, semi-matt or matt. The hard smooth finish can tend to become brittle and crack over time. Not suitable for use on galvanised metals or fresh masonry. If required, thinning with oil, in particular linseed, enhances the durability of the timber base. Designed to let moisture already present in walls, out. Clean brushes with white spirit or turpentine.
Paints to cover metal must have aluminium or bronze added to them in order to cover effectively. Look for anti-rust properties on the can.
Primers or undercoat Lots of pigment so give very good cover. Use on bare surfaces. Use a tinted primer that is water based to allow for movement for wood, and remember to paint knots with a knotting compound to prevent resin seepage and discolouring. The rule of thumb is for the undercount to be less porous than the final coats.
Interior paint types
Ceiling paint thicker than wall paint and so spatters and drips less, best applied with a roller.
Emulsion quick drying, low odour, easy clean up paints in matt, silk and satin finishes. Matt finishes tend to hide uneven surfaces better. Wipeable.
Textured paint for both walls and ceilings. Contains sand or beads, cover cracks and minor imperfections. Apply with a roller.
One coat paint easy for beginners, time saving, use on walls and ceilings (emulsions) and wood (gloss) and Satinwood. Sceptics argue these don’t always work as well as they claim (second coat may be required).
Kitchen and bathroom paint Contain fungicide to deter mould growth. Wipeable.
Children’s room paint often based upon acrylics (to withstand knocks and bumps), they are low odour, quick drying and durable. Wipeable but wait for two weeks after applying before you do. Also available are blackboard paint, glitter glazes and heat sensitive versions.
Satinwood and gloss paint decorative and protective, the finish is dirt and water resistant. Liquid gloss or non drip – never stir the latter before use.
Floor paint for wood and concrete, able to withstand heavy wear and tear. A low sheen finish.
Metallic and pearlised paint for use on wood, wall, metal and fabric. Easy to use water based for a feature wall. Make sure wall is flat and dent free as the shimmer effect will show up the slightest imperfection! Apply on primed surfaces in thin coats, usually at least two.
Historical paint mainly water based and highly breathable, often used on lime walls. These include milk (casein) paints for a matt finish, limewash and distemper which are powdery and create an aged effect. Have a short shelf life.
Masonry for masonry, render, pebbledash, concrete and brick. Smooth (resists dirt adhering), or textured (covers minor imperfections) finishes and contain fungicide. Scrub wall with a stiff brush first to remove loose material.
Gloss for exterior wood and metal in satin or gloss, tough and durable. Dirt and mould resistant, non yellowing. Some require a primer.
Metal paint ensure surface is rust free and fill pitting with epoxy based (rust inhibitor) filling. Degrease surface first with soap and water. Gloss or satin finish.
Waterproof paint bitumen based to create a waterproof surface. Do not over paint with ordinary paint. Cover adjacent areas.
Protection products stabilise the surface before painting, e.g. a fungicidal wash or a stabilising solution to seal chalky or weathered surfaces and provide a good base for the topcoat.
Painting wood
Preservatives, coating materials and some sealers (if based on organic solvents) are not absorbed by the cell walls of the wood, unlike water, which is. This is because of their higher viscosity and pigment content. Even in timber with large pores, i.e. hardwoods, pigment particles cannot penetrate the wood, which is why we are able to strip it off relatively easily and paint it another colour.
If you want to coat a piece of weathered timber, you are best to remove the weathered surface by planning/sanding, otherwise you many find that the resin primer you apply will not bind with the wood fibres. Some hardwoods in contrast have large pores which absorb a lot of coating which results in an irregular finished appearance.
To get a smoother look, you can fill the pores with grain filler but this is only recommended for indoor areas.
Using paint or wood stains will not keep the moisture present in the atmosphere from being absorbed to some extent by the wood. Conversely, sometimes paint can stop the timber from drying out if it is wet.
Some woods, such as pine, have lots of knots which leach resin. Applying a knot sealant can help, as will painting the wood with a dark colour; fortunately the problem will decrease with time. Until then, if the wood is painted with a light colour, try to keep it out of direct sunlight because warmth makes the resin more mobile.
When it doesn’t stick
If the paint fails sooner than it should, the root cause is probably bad preparation. Redecorating old surfaces which have not had flaking paint, dirt, grease or mould growth removed from them will all affect new paint. Again, new paint will also not adhere properly if it has a totally different physical characteristic to the paint you are covering, for example, using a latex based paint onto a weak water soluble paint surface.
If you are decorating a new surface, the most usual mistake is not leaving enough time for the underlying surface to dry out, particularly if it has been treated with preservative. The preservative will start to leach through the paint, especially if the atmosphere is heated after the paint has been applied. Leaching will also happen through knots, (see above), and thorough application of the primer is essential to achieve a good top coat. On porous surfaces the first coat should be thinned in order to achieve adhesion.
In older buildings it is very common to find an 18th Century reflective lead based paint over painted with a dark 19th Century layer, and finally a reflective modern application, all of which adds up to a recipe for disaster in direct sunlight conditions.
As a general guide, external paintwork should be inspected every three years and certainly not less than every five; prevention is better, and cheaper, than cure. Of course any failure of the paint may be caused by the base material onto which it is applied being faulty. Walls must be dry, all cracks and holes filled and sanded as well as any crumbling plaster replaced. Mould and rot will also cause havoc to any new paint, as will efflorescence, rusting etc.
There is a wide variety of treatments for dealing with these, but before you attack the offending area, ask the advice of the technical department of the manufacturer whose paint you intend to use. Above all, don’t try to cover things up; you will only make the problem worse.
Stripping down existing paint
Where a paint film has failed, there really is no alternative to stripping back to a firm surface. Modern warm air strippers are good because they keep dust to a minimum and don’t damage the underlying surface, but the best strippers are the ones designed to match the type of paint or varnish you are trying to remove (never use on lead, see above).
Caustic chemical strippers need to be used with care because they can remain on the surface of the timber or plaster and spoil newly applied paint. These most commonly come in liquid form (apply with a brush, wait for it to work and scrape off) but you can also get it in a paste (apply the putty on the wood surface with a scraper/trowel, add a strip of paper, wait for it to work and peel away the paint). The latter is especially useful for lead paint.
Another possibility is a heat gun, but this produces unpleasant and possibly noxious fumes, especially from older paint, and it’s also very slow.
If all of this sounds very environmentally unfriendly, there are some “green” strippers available.
Doors are much easier as they can be removed and put in a tank of either caustic soda or potassium hydroxide which removes everything – including any glue or filler. But beware, the chemical can cause the wood to split. If you do choose this option as soon as your door comes out of the tank, rub it down well with linseed oil or you could be left holding pieces of firewood!
Paint types for older homes
In an old house or cottage, you could destroy hundreds of years of history by applying a modern paint remover. Keep a record of each layer, and remember that softwoods in Georgian and Victorian houses were intended to be painted. Prolonged soaking of doors, for example, in caustic baths, can cause lasting damage. For both interior and exterior paint finishes seek professional advice and possibly help; technique is more important than method.
Lead paint was used in the UK until 1992 so for anyone renovating a house older than this it might be worthwhile to invest in a lead testing kit. Removal by either burning or sanding poses a serious risk to young children or foetuses. If you want to get rid of it, bring in a professional wood stripper or hire a vacuum cleaner which will filter out the particles of lead. Lead paints have advantages of durability however, and can be permitted on certain Listed (NI) or Protected (ROI) buildings. Contact your local council heritage officer for advice and information.
If your walls are quite highly moisture saturated, such as in an older property, use only porous paints and on the exterior you will generally need lime which can be finished with silicate or other breathable paint. Cement and waterproofing agents will often trap moisture inside the wall, thus increasing your problem.
Tips when using any paint type
Check out the Selfbuild+ Paint Guide by Brian Cahill here
Always check the manufacturer’s instructions.
Handle all products and mix with care, you might inhale, touch or swallow toxic materials.
Work in a well ventilated area; keep pets and young children out.
Do not eat, drink or smoke while working, or store food and drink near the work area.
If possible, keep windows open to assist drying.
Oil based glazes are inflammable so dispose of them carefully (at your local recycling centre).
After using liquid stripper wash the surface with water or white spirit and leave to dry.
When using a heat gun, be careful not to scorch the wood; use a shave hook to scrape out the paint from awkward areas and vacuum off.
Wash shiny surfaces well with soapy water, rinse and wipe clean with a cloth containing methylated spirit to remove any remaining grease.
Clear out all loose plaster, using an old paint brush for the crumbs or vacuum. Dampen plaster around the area to be filled (with a water spray), so that the filler does not dry too quickly and create further cracks.
If using a new brush for the first time, rub it vigorously across your hand to remove stray hairs.
Tie a piece of wire or string across the top of the paint pot so that you can scrape off excess paint against it.

