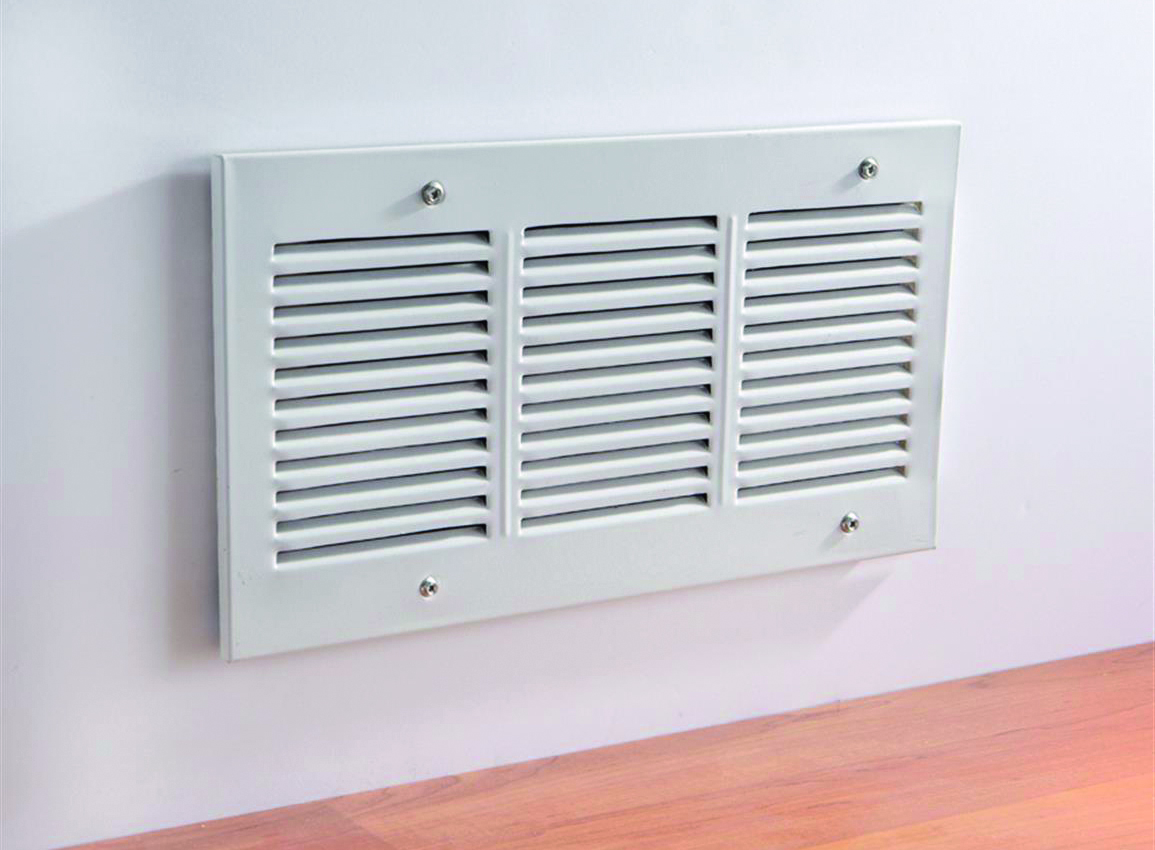
There is a misconception that you can’t have an airtight building with natural ventilation. Architect Aleyn Chambers looks at how it can be done and the downsides to this approach.
Natural ventilation (fresh air supplied through holes, often in the wall or integrated in windows) is the most cost-effective way to comply with the Building Regulations requirement for fresh air in the home. However this approach has fallen out of favour with self-builders as it is prone to result in uncomfortable draughts and high energy loss.
That said I have worked on self-builds that specified both a high level of airtightness, defined as achieving less than 5m3/hr/sqmK at 50Pa, and natural ventilation.
Example of an airtight, naturally ventilated house
Whilst it would appear like a contradiction to build an airtight house and then puncture holes at various points to provide ventilation, it is important to remember that these are the only apertures in the fabric and they have both been designed and sized to meet the ventilation requirements of the Building Regulations.
Indeed, if natural ventilation is your chosen method of ventilating your home you will have to factor this in at the design stage as the construction drawings will need to ensure provisions are made for each of these openings – building an airtight house requires essential detailing at all openings. If a through wall vent is formed then the airtightness membrane must be carefully sealed around the pipe with proprietary gromits and tapes.
[adrotate banner="58"]If the details aren’t worked out early enough, it may not be possible to make the openings airtight. For example to avoid draughts, in some instances you may need to make a ventilation opening through the roof, as opposed to through the wall, and provisions need to made for this early on.
In a 170 sqm airtight house, with specific meteorological conditions, I calculated a requirement of 140,000 sqmm free area of ventilation. This meant specifying a 5’’ (125mm) vent in most of the rooms and the standard size 4’’ (100mm) vents for the bathrooms and kitchen – in these wet rooms 4’’ mechanised extractor fans were also installed to deal with steam and condensation.
In total we had 15 standard ‘hole in the wall’ or ‘hole in the roof’ vents (excluding the intermittent fans). Because of the high amount of wall vents we had to install, we had to plan these throughout the home to avoid the possibility of providing too much ventilation in certain rooms. As a result we had an opening in the dressing room, plant room and corridor areas, which do not typically require ventilation, to evenly distribute the air flow.
As would be the case in all homes, regardless of the ventilation system, we installed an additional background ventilator in the living room to allow for the ventilation requirements of a fuel burning stove.
Living with natural ventilation
We achieved a good standard of airtightness and feedback from living in the house for over a year has indicated that it is warm and efficient to heat.
However not long after the homeowners moved in, the vent in the utility room was inadvertantly blocked up and this had an almost immediate impact.
Condensation started gathering within the room, visible as water forming on cold surfaces such as door handles, due to the fact that warm moist air from the washing machine and drier could not escape. Once the vent was unblocked the condensation issue was resolved just as quickly as it had appeared.
This goes to show that with natural ventilation, all vents must be kept open at all times, even if this can at times result in some discomfort.


