The most important thing about insulation is making sure it’s installed correctly on site. Find out how it’s done in Ireland.
In this article we cover:
- Why and how the poor installation of your insulation on site will lead to a cold house
- Top tips of what to check for on site
- How to get ready for installation
- How to deal with metal fixings
- How to check mineral wool installation is done correctly
- How to check board insulation correctly instaleld
- Cavity walls and attics
- What to avoid doing
Your home may look highly energy-efficient on paper but if you’re not careful, you could end up with a poorly insulated house. Independent insulation consultant Dermot Kearns gives some pointers on how to avoid such a scenario.

Ask any self-builder for advice and they’ll tell you that one of the most important things to consider is whether or not the products, materials and systems you have specified are going to be installed properly.
In most instances, however, what you’re up against is insulation that isn’t tight-fitting and while this will provide you a certain amount of cover, it is likely to translate into high energy costs – so high in fact that they can be up to 50 per cent higher than what could be expected of the specification.
On the other hand, it costs you nothing to keep a close eye during the building process to ensure that best practice is being applied. Indeed, inspection of the insulation application during the construction stage cannot be taken lightly as it is key to achieving the desired thermal performance of the building.
When designing a thermally efficient home, the insulation (along with the breathability of the construction and the vapour/moisture management) is the single most important building product to be specified as it not only saves energy it can also play a vital role in the protection of the structure.
If the insulation fails due to incorrect application or being poorly specified, all of the other components, such as a highly energy-efficient boiler for example, will have to work harder to maintain the desired temperature. The insulation, the vapour management and the breathability of the structure are all part of a system which ensures that your building is healthy, warm and comfortable. For this reason, all of these components should be specified at the same time. An incorrect installation could mean moisture/condensation problems down the line, so it’s crucial to get all of it right on site.

Before you have the insulation installed, take the time to go through the application process step by step with your builder and ensure everyone on site is fully aware of the importance of correctly fitting the insulation – and most importantly the consequences of getting it wrong.
In most cases you probably will be told by the installer “I have been fitting insulation for years” and other phrases of that nature. But it is worthwhile to take the time to go through the fitting process, as this will remove any uncertainties in your mind. As a rough guide, here’s a basic list of what should – and most importantly, shouldn’t – be done when fitting insulation.
Make sure there’s enough insulation
It may seem obvious but you need to make sure there is enough insulation going in. This doesn’t necessarily mean going down the expensive route – in fact cheaper insulation fitted correctly will outperform expensive insulation fitted incorrectly. So the bottom line is to always produce a written insulation specification to include fitting instructions before you start to build.

If you are opting for a cheaper insulation material, in order to achieve the desired thermal performance you will require more space to install it – this could mean designing your home to have thicker walls and deeper timber rafters. For instance, a 200mm thick standard glass wool layer of insulation (with a lambda value of 0.044) will have the same thermal resistance as a phenolic foam insulation board half the size (95mm thick with a lambda value of 0.020).
As a rule of thumb it’s also best to over-specify the insulation; this will prevent having to add insulation later down the line at a potentially high cost. It is indeed likely that in a retrofit scenario the insulation will have to be thin for it to fit, which means that it will be more expensive because better-performing.
How to install insulation on site
Add insulation when using metal fixings
One of the simplest ways to insulate a solid block or cavity block (hollow block) wall is to dryline the walls with insulated plasterboards (thermal boards), which can be mechanically fixed using a combination of nylon and metal mushroom fixings.

Due to the thermal conductivity of the metal fixings, it is important to note that when fixing the insulated plasterboard directly to the blockwork with all metal fixings you will have to increase the thickness of the insulation by 10mm to 15mm, depending on the insulation product type selected.
The recommended number of metal fixings is three per board with the remainder being nylon or plastic, and the total number of fixings per 1200mm x 2400mm board is 21. The three metal fixings are installed as a precautionary measure; in the event of a fire they will continue to secure the board to the wall. Where the insulated plasterboards are dot and dabbed with a bonding compound to the wall, the metal fixings are still required.
Mind the gaps: plasterboard
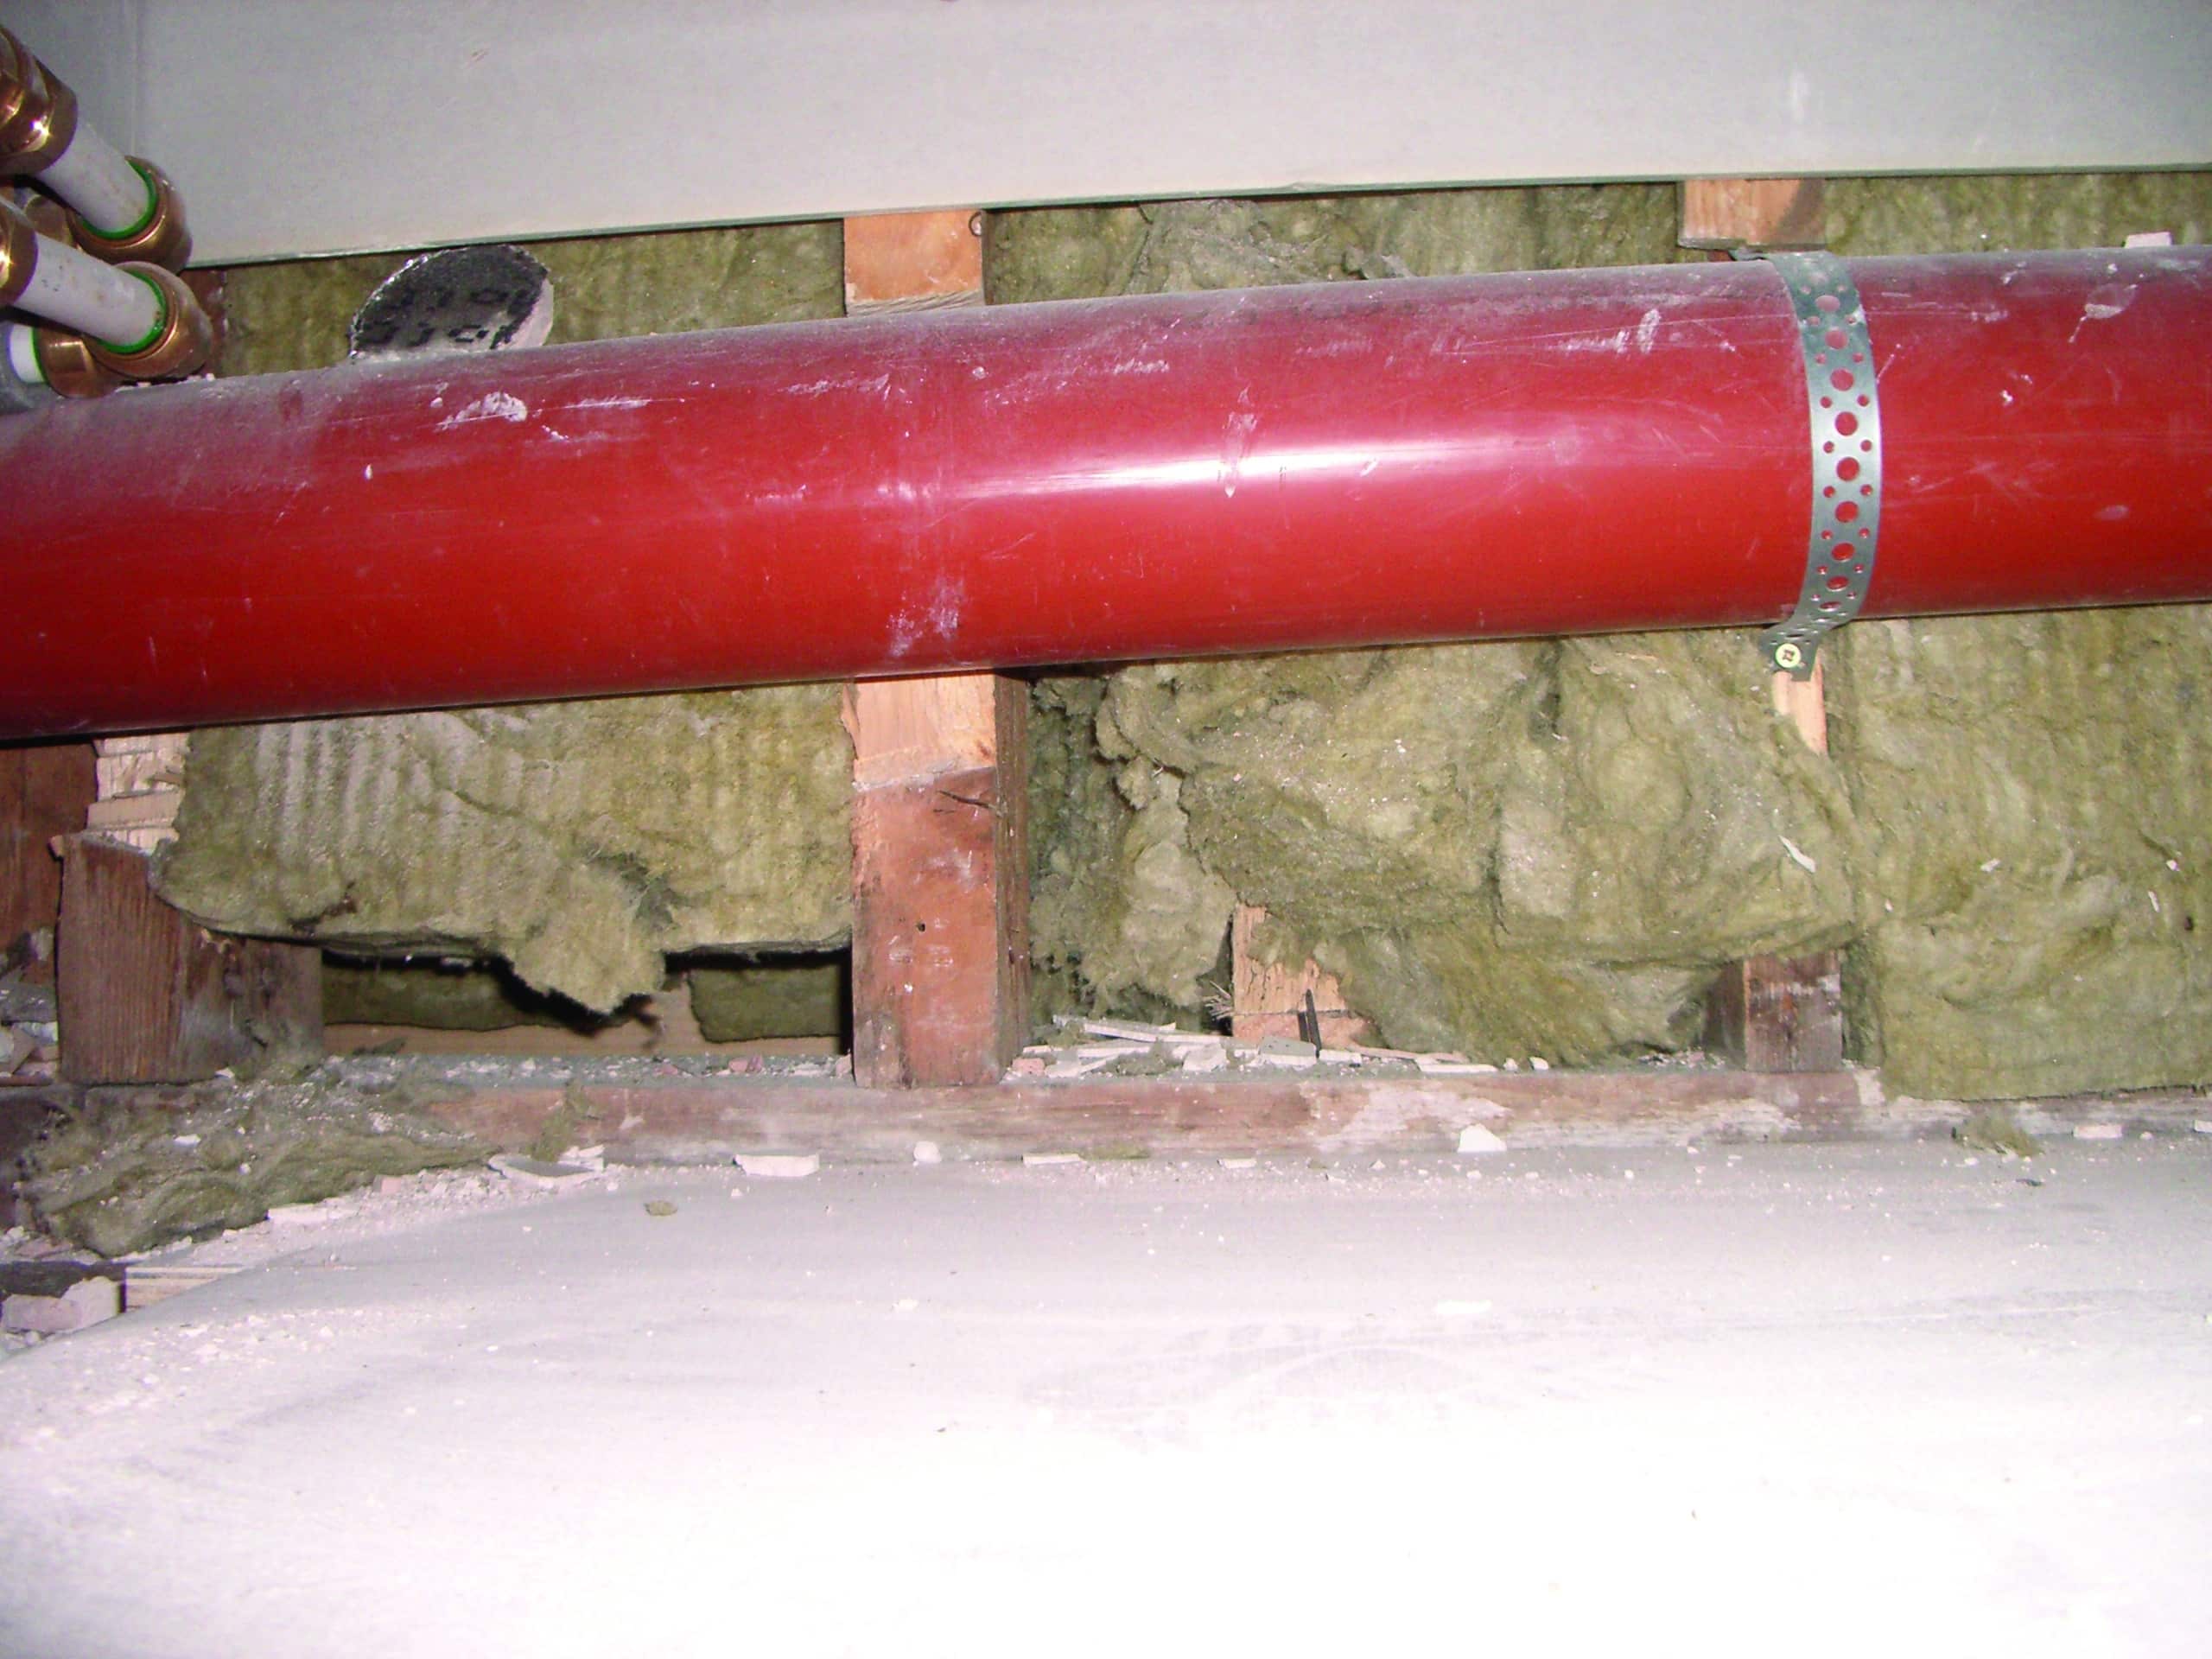
You can also get a gap in the insulation at the base of the plasterboards, which is another common reason for poor performance. Insulated plasterboards must be fitted continuously from the ground floor level through to the ceiling space, and they must cover the entire surface of the external wall and finish above the attic space to ensure there are no gaps in the insulation.

Alternatively the area between the ceiling joists can be insulated with a glass wool or rock wool insulation filling, one meter in from the external walls, so as to prevent thermal bridging. There should be no gaps between the floor and the insulated plasterboard as this can cause heat loss through convection. Such gaps should be filled with fire-rated expanding foam or glass wool insulation to reduce this risk.
Mind the gaps: cavity walls
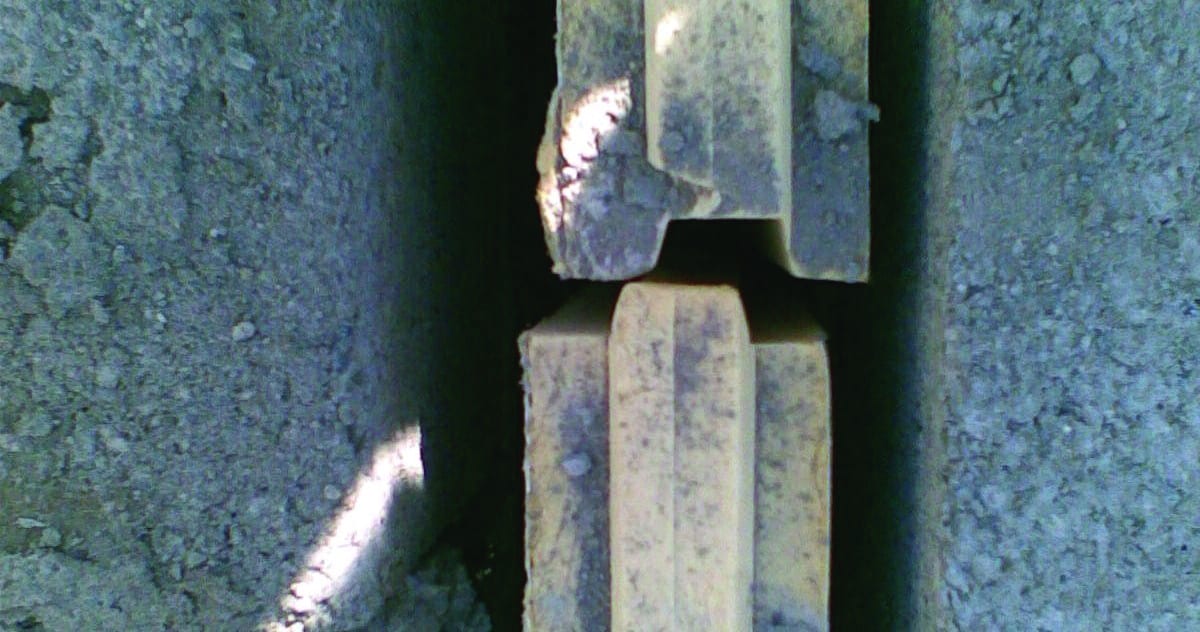
Gaps in the insulation are the most common reason for poor (or even zero!) insulation performance. In the case of cavity wall insulation, if you are applying a board of rigid foam to partially fill the cavity then make sure it is fitted tightly to the inner leaf of the cavity wall, without any gaps between the two. All the joints must be very close together because if there are gaps, and cold air from the cavity is permitted to flow between the insulation and the inner leaf of the cavity wall, the insulation simply won’t work.

Don’t compress the insulation too tightly
But don’t become overzealous in your attempt to tightly fit your insulation. Insulation types that come in rolls, such as glass wool for instance, must indeed be snugly fit but should not be bundled up or compressed in any way, as this will lead to poor performance. A balance between snug and too tight may take a while to get used to but this distinction must be well understood.

Cut the insulation as prescribed
The insulation will most likely arrive on site in boards or in rolls, depending on the type you’ve chosen. You’ll undoubtedly need to cut these to size and as seen above, it is important to make sure that this is correctly measured so as to avoid gaps between the floors, joists, rafters, etc., and the insulation. Resist the temptation to collect all of the discarded bits and pieces you’ll have collected along the way to use again – for the insulation to work at its best it needs to be continuous. Cuts in the insulation itself are also to be avoided.
Don’t block up the services
Blocking the ventilation with your insulation won’t necessarily affect the insulation’s overall performance in the short-term, but the material will be affected by humid conditions over time.

It is also likely to lead to serious moisture build up problems in the future, so make sure you understand how the home is being ventilated, especially in the case of cold versus warm roofs. Remember, the energy efficiency of you home works in a balance and all of the various components need to be allowed to do their bit.
In terms of fire safety, make sure the insulation doesn’t touch any exposed electrical components, including lighting fixtures.
Special consideration should be given to downlights – in this case it is preferable to fit the lights in a service cavity, below the insulation level, to provide adequate ventilation and also to make sure the heat from the lights won’t affect the insulation.
Other options exist, such as availing of non-combustible boards and non-combustible downlight covers but it’s still best to separate the two if you can.
Check out Dermot’s full guide to installation on site:
Product application guides are available from the various manufacturers for the different types of insulation materials and I would strongly suggest you read them before the insulation works commence. The above list is not meant to be exhaustive; information specific to your purpose should be obtained prior to use.


