After all the effort of designing the house and working out the room layouts, it’s far too tempting to ‘worry about the details later’. But leaving the detail for ‘later’ can mean a lot of hardship for ‘later’
It seems odd that a room where you spend so little time when you’re at home (compared to the living room, kitchen, and bedroom), can involve so much expense per square metre and probably a lot of frustration in the building. And while we’d all love a huge bathroom where we can stroll from the shower, passing the potted palm tree which doubles as a towel holder, it invariably ends up a tight squeeze. The following are some suggestions on how to avoid stress and frustration in planning the project, and the later inconvenience and expense of a poorly considered job.
Planning your bathroom early in the design process is essential rather than just a good idea. The reason is that most of the plumbing (water supply and waste), and the electrics, need to be buried in walls and floors. For example, if your waste pipes are being laid in a concrete floor, changing your mind on the position of the sanitary ware after the floors have been poured will be expensive, delaying and inconvenient. Changing your mind after the finished surface has been laid will be all of those multiplied by ten and you will probably end up with a job that looks ‘patched’. So, while you are still at the drawing board stage, take a deep breath and consider a few layout issues.
The Layout
The key consideration with regard to sanitary ware location in a bathroom is the waste pipes. Showers and baths need a 40mm waste pipe and WHBs (wash hand basins), a 32mm waste pipe. The water supply pipes to most items is of secondary importance as they are much smaller (15mm to 28mm), and can be positioned more easily. As with all waste pipes, you want to minimise any bends or junctions as they are potential locations for blockages. Also, waste pipes must have an appropriate fall to them, neither too little nor too much. The former can result in the water not flowing away quickly enough and allowing solids to settle in the pipework, while the latter can result in the water running away too quickly and leaving solids behind.
If you have concrete floors, then going through them with soil pipes is something to be carefully considered very early in the build. As mentioned above, moving waste pipes laid in concrete even a few inches can be a major performance and will probably impact on your choice of sanitary ware. For example, if you’ve set your heart on a pedestal WHB then, deciding later that you would prefer the WHB moved two inches to the side will mean chiselling up the floor to relocate the pipework or else choosing a semi-recessed or vanity WHB instead. Poured concrete floors are unforgiving enough when it comes to positioning waste pipes, but inserting or moving pipework in engineered concrete floors (e.g. block and beam) is not to be remotely considered without official confirmation.
The least flexible item in terms of layout is the WC. This is because, unless you are using a macerator, it requires a 100mm soil pipe. The handiest place to locate a WC is usually against an outside wall as, in that position, the soil pipe can exit from the back of the WC straight out through the wall into a soil stack. If you position the WC against an internal wall, there are two options. The first is to run the soil pipe along the surface of the wall until you reach the external wall and punch through it to get access to the soil stack. Running a soil pipe in that way will require some ‘boxing’ which most people don’t like as it interrupts the otherwise smooth line of their bathroom, and the ‘shelf’ created tends to become a convenient place for bathroom cleaning products as well as an excellent dust gatherer
If you’ve chosen a back-to-wall WC suite, this approach can’t be used; the alternative is to go down through the floor with it. A bathroom on a wooden floor on the ground floor is the most convenient location for this, you can just go straight down to below floor level and then horizontally out to meet with the sewerage system – just make sure the soil/waste pipes are securely bracketed under the floor as a significant weight of water passes suddenly through them when they are called to action. In the case of a wooden floor upstairs, if you are close to an outside wall, you might be lucky with clearances – while adding in an allowance for an adequate fall in the pipework – to allow the soil pipe to fit within the floor.
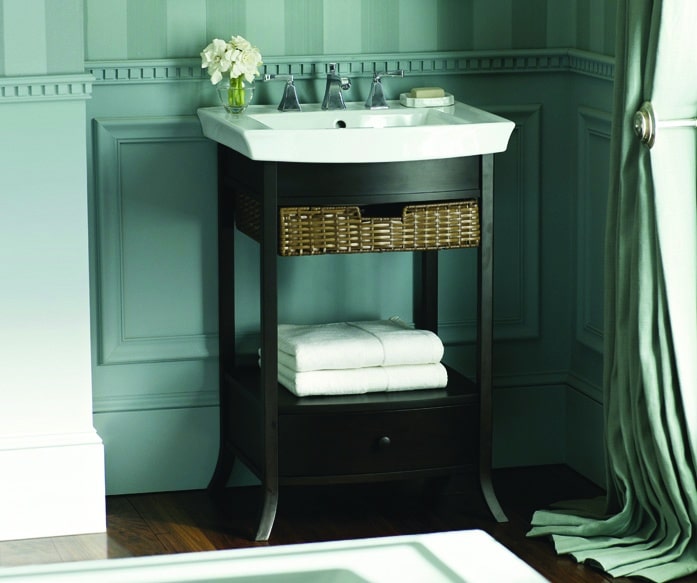
An external wall position is also ideal for the WHB for the same reason. However, unlike the WC, the location of the WHB in relation to the window (usually also on an outside wall!) is important and often forgotten about until the last minute, when deciding where to put a mirror. The bottom line is, don’t put a WHB under a window as you will have nowhere to put a mirror.
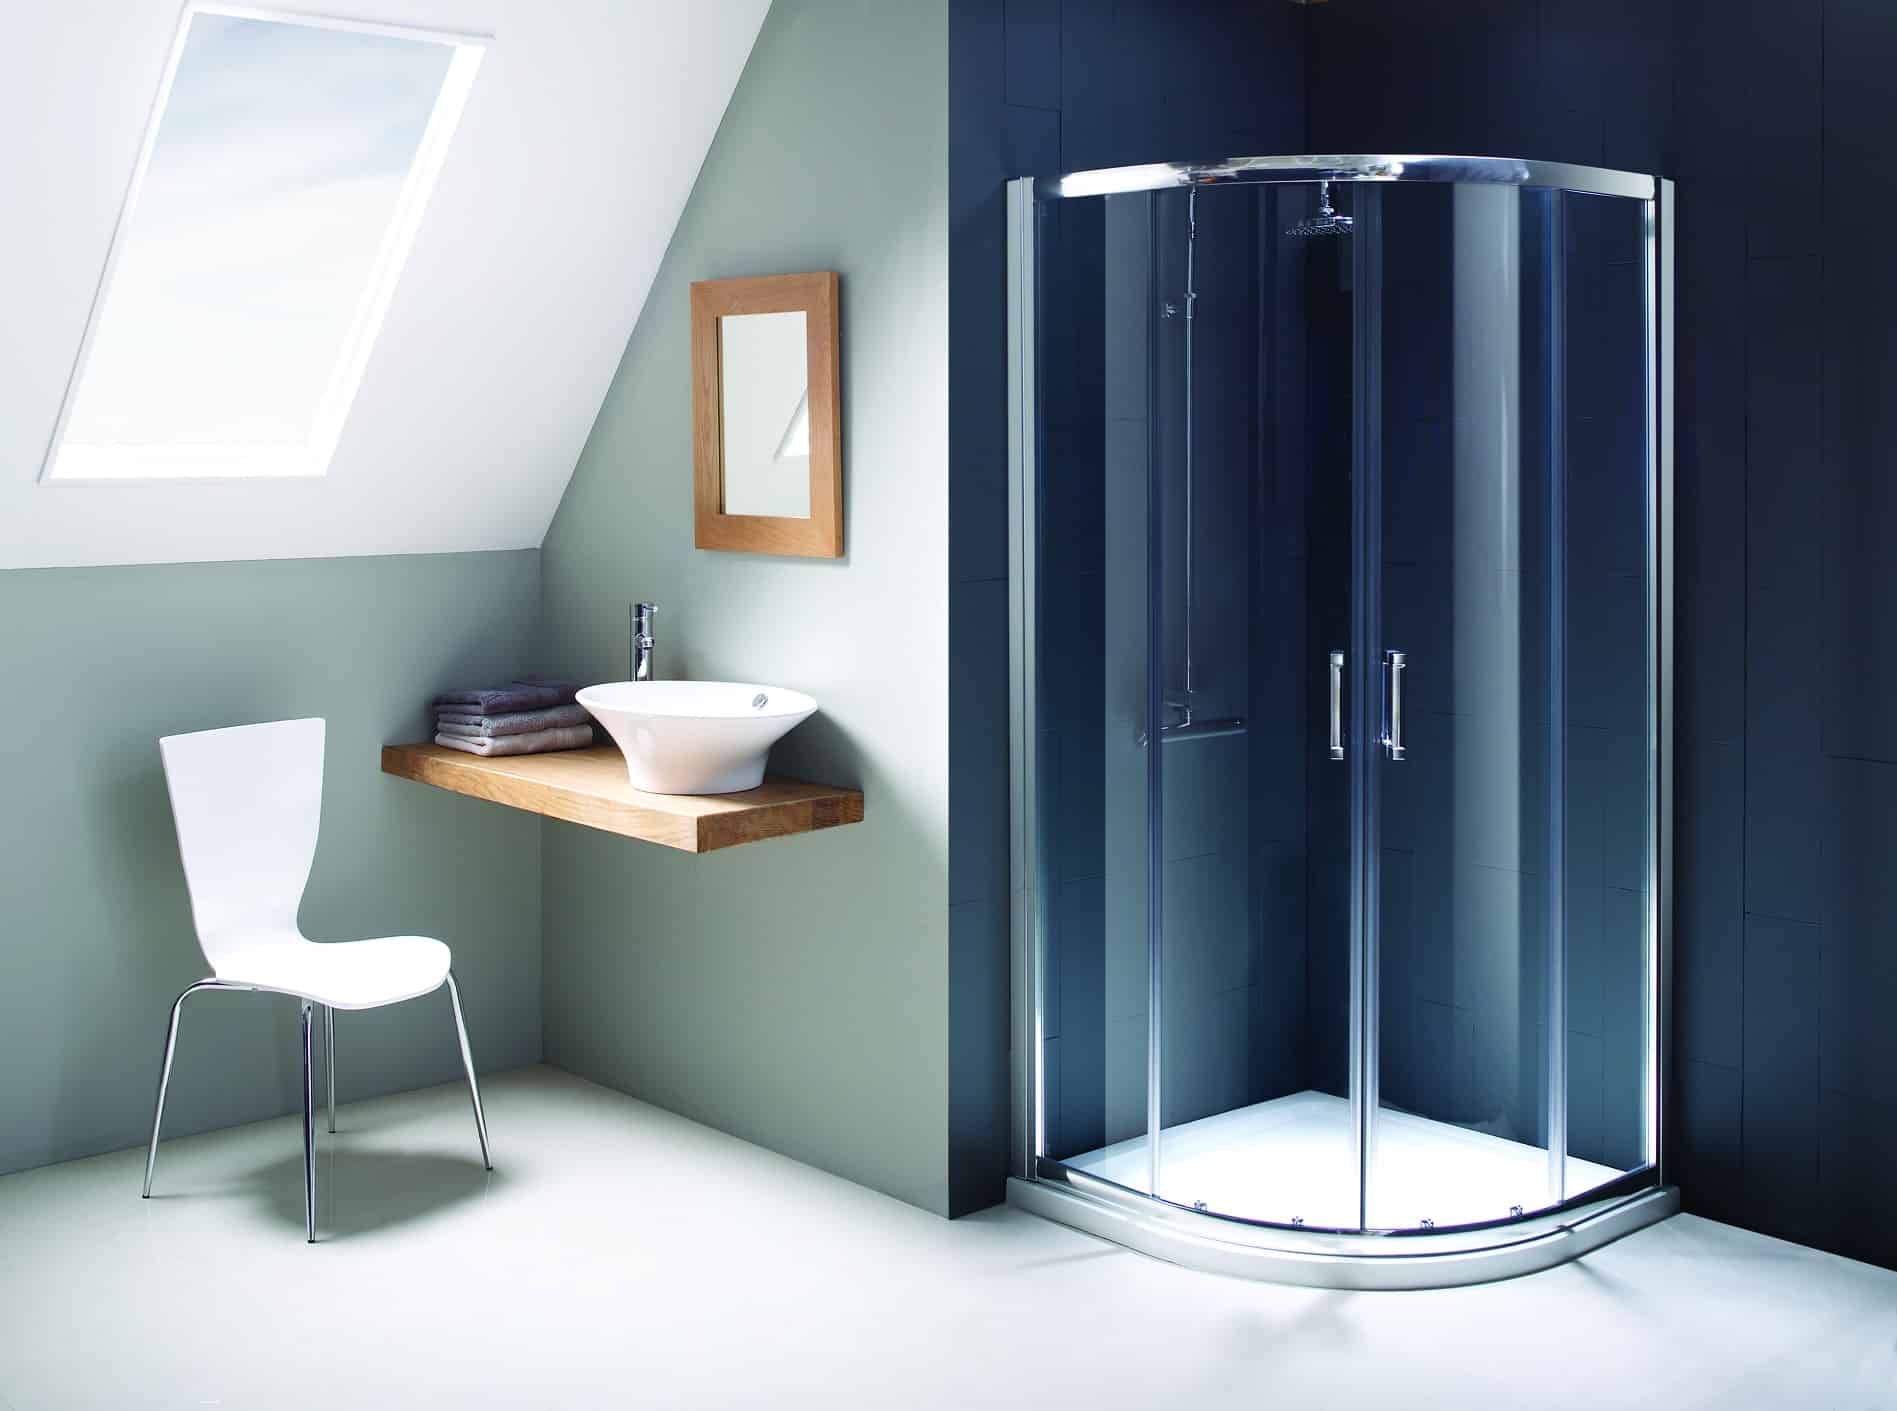
For ease of access to tackle future problems, showers are best put where the shower valve and associated pipework can be reached from behind. This allows it to be replaced or maintained without having to chip off all the tiles in your shower enclosure. The preference is for shower wastes to be buried within the floor. If you don’t do that, you will be faced with a step-up into the shower of approximately 100mm plus the depth of the shower tray and the possibility of some boxing as the waste pipe makes its way to the soil stack.
Going Shopping
This is the fun part. Armed with a rough idea of the dimensions of your intended bathroom, you can go window shopping and brochure browsing for your various bits and pieces – but don’t dream of buying anything yet! Get the brochures and make sure they have detailed measurements with them. While you’re out, get some old-fashioned graph paper as well so that when you get home, you can draw out your bathroom to scale, including the doors and windows. Having chosen your pieces, draw them on another sheet to the same scale and cut them out. You can then shuffle the sanitary ware and other items around to your delight. Don’t forget that doors usually open into the bathroom so allow sufficient space for it to swing and for you to manoeuvre yourself around it.
Many bathroom showrooms will provide you with a computerised version of this, and will even advise you on appropriate clearances (e.g. some elbow room at the WC). The disadvantage is that if you change your mind later it means another trip back to the shop to see what it might look like and, if you’re considering using items not on their stocklist, it can be tricky. However, there are software packages and even some internet-based design utilities that will help you to a point.
With this done, the next step is to find a big floor space and draw out everything in life size to see how a normal human being will interact with the layout. Use chalk as you will invariably realise that something isn’t right!
When you’re happy with the arrangement of the major pieces you can now refine things further. With most Irish bathrooms, you really do need to measure down to the last millimetre. And, at that level, you must make sure to include seemingly trivial measurements like tile thickness, tile adhesive thickness, plasterboard, plasterboard adhesive and plaster thickness. It might seem fanatical, but if you don’t disaster looms.
Practical Thinking
With the general layout in place, (we can revisit it a little later if needed), it’s time for some practicalities. If you’re starting with bare concrete walls, you can choose whether you want to dryline or wet plaster them. While you are apparently squandering a precious few inches of your space by dry lining, there are benefits.
You will need to bring supply pipework and cables to the sanitary ware throughout the bathroom, and a gap behind the plasterboard can be a very useful channel in which to hide them. Unlike wet plastering, plasterboard is an almost instant surface that you can paint or tile onto. A key disadvantage is that plasterboard on its own will take very little weight if you’re planning on hanging items like WHBs from it. Therefore, you will need to build in sufficient ‘grounds’ capable of taking the weight where you will be fixing heavy items to the wall. When locating these grounds, don’t forget to make allowances for finished floor and wall levels.
If you choose wet plastering straight onto a concrete wall, it will need those extra few days to dry before you can attack it with tiles or paint. A suitable channel will also need to be cut for pipework if it is to be embedded in a concrete wall. This is not a trivial task and should be avoided wherever possible. Apart from the inconvenience, cutting too deep a channel in any wall can seriously affect its ability to support its load. Also, for hopefully obvious reasons, you should strenuously avoid any temptation to cut any horizontal channels in concrete walls (vertical ones are acceptable if done correctly).
An alternative is to embed the necessary pipework in the floor, but you may still need to cut into the concrete for pipes rising vertically, such as those feeding a shower. An easy way around cutting into walls is to use false walls in appropriate places to run the pipework through. For example, at the head of the bath or on one side of a shower enclosure it does not look at all conspicuous. You may also be able to run pipework through rooms adjacent to the bathroom and have them poke through the bathroom walls at the appropriate location. A problem with this is that you are extending the potential for damage from a leak and also, particularly when it comes to waste pipes, if you don’t have adequate sound insulation, it can be quite noisy. If you have a pressurised water system or are extremely careful with your pipework layout, you may also be able to run the pipes in the ceiling of the bathroom, dropping down to supply fixtures as appropriate.
Another concern with concrete walls in bathrooms is condensation. They are invariably colder than plasterboard and steam will therefore condense much more readily, especially where an outside wall is involved – sometimes even the strongest fan can’t tackle it. Consider therefore plasterboarding the outside wall if possible.
Walls in the area of the shower need special consideration. In a perfect world, the tiles and grout, in combination with a well sealed shower tray, will provide all the waterproofing you need. The problems arise when this barrier fails in some way, possibly by the cracking of the tile grout or from a poorly sealed shower tray if the floor or walls have moved slightly. By the time you’ve spotted it the damage has probably been done and, while you can seal up the crack, the wall behind will be destroyed and major work required to put it right. In the shower area, rather than using ordinary plasterboard, use concrete board, marine plywood or ‘green’ plasterboard. On top of these and also if your shower is against solid walls, use an appropriate tanking or waterproofing layer before fixing the tiles. If you’re at all concerned, there are a few specialist contractors who will come and seal the whole area around and including your shower/bath to the extent that it will satisfy the most apprehensive of individuals! With an appropriate waterproof lining, the impact of a crack in the tiles will be limited to the surface (tiles), and not affect your walls.
Piping Considerations
Embedding pipework in walls or floors of any kind is a job requiring great care. Don’t use mechanical joints anywhere you can’t get to them to tighten them up. For timber floors, make sure the pipes are well out of range of any nails. Concrete is quite an aggressive substance, so don’t lay pipes directly into it. The handiest pipework material to use when faced with the possibility of hidden joints and embedded pipework is coated flexible copper. It is much easier to bend than normal copper though not as easy as plastic piping. It comes in coils and some types are covered with a plastic coat allowing for expansion and contraction of the pipe while protecting it against the corrosive nature of concrete. It can be joined (in accessible locations) by normal compression joints and, in hidden locations, by solder joints. For plastic pipework, a conduit (a loose-fitting ‘outer’ pipe that covers the water pipes), is a very useful option when these are being buried and has the added benefit allowing you to replace sections – a nail puncture for example – by pulling the damaged pipe out through the conduit, and sliding in a new one.
When you are designing the layout, try to keep to a sensible plan so that you don’t have pipework spreading around like a spider’s web. While this may seem convenient at the time, it adds a certain edge when you decide some time later to hammer a nail into the wall and encounter that unpleasant “did I run a pipe here or not?” moment of panic. Keep all pipes running together and/or at right angles to each other in an orderly pattern – maybe running horizontally within 300mm of floor level – and rising directly vertical as required. Wherever possible, make sure that supply pipework is adequately insulated – even if you’re burying it in concrete.

When you have all the pipework laid out and are almost ready to cover it up, test it! It doesn’t take long and avoids the much more troublesome experience of discovering a leak after the bathroom is finished. You will have to blank off the pipework anyway before anything else happens to prevent dust and bits of tiles or concrete getting into it, so go the extra step to at least connect up a hosepipe to the pipework and check it all over for leaks. If you’re slightly more diligent, rent a pressure test pump and make sure the pipework will hold the pressure for a while.
As mentioned, precision in locating your pipework is essential in a bathroom. With poured concrete floors maintaining careful placement relative to walls can be a nightmare. Apart from the use of conduits, one ‘trick’ to give a little flexibility in the placement of pipes is to put a temporary collar made out of a piece of soil pipe around the pipes coming up through the floor and then fill the collar with sand. When the concrete floods the area around the pipes, the sand-filled collar will keep the concrete from fixing the pipes completely. This will at best only give you a few millimetres of wriggle room.
Heating Considerations
The combination of tiled surfaces and open windows tends to make quite chilly places so heating is important. It is worth spending time and money on insulating bathrooms not just to help reduce condensation, but for warmth and noise as well. Sound insulation might not be high on your list but, between shower pumps, Jacuzzis and the unfortunate effect bathroom acoustics have on singers-who-should-know-better, some consideration will go a long way.
Bathroom heating is synonymous with towel rails but, unless you have a very, very big one (i.e. one that’s too big to be appropriate), a towel rail will not heat a bathroom adequately. A standard radiator will, but takes up often valuable wall space. A useful alternative is a combined towel rail and radiator, but making sure that the towel rail can be heated electrically. If not, when you switch off the central heating in the summer, you’ll be left with a cold towel. Electrically heated towel rails use very little electricity and putting them on a time switch is even more economical. They’re not expensive and are widely available. Placing the radiator/towel rail can be anywhere, (except next to the WC), but not too close to the bath or shower otherwise it may get wet, nor too far away, so that you have to sprint, dripping, across the room.
Unless the bathroom has independent zone control, heating it when you’re only using the room briefly except for a slightly prolonged time once or twice a day does seem rather a waste. While disliked by some, it’s hard to beat a properly installed electric convector heater for economy in the rarely used bathroom.
If you have installed UFH throughout your house then it makes perfect sense to run it into the bathroom. A very handy alternative if you haven’t got wet UFH, is to fit the electric version. It’s easy to install (your electrician and tiler should be familiar with it) easy to control and fits the bill perfectly!
Fans
If you have a shower, (particularly a power shower), or a bath in the bathroom, you will need an extractor fan to help reduce condensation and/or odour. Nobody likes the noise the fans make or the fact that they run on after you’ve left the room, but it’s essential if they’re to fulfil their function and on some the run on period can be adjusted. For noise reduction, look for an ‘in-line’ model that allows you to site the fan in the roof space. Shower fan-lights are always an attractive option for those who dislike the usual look of an extractor fan; they too can be bought with timer controls and inline fans.
Electrification
In addition to the aforementioned showers, fans, heaters and towel rails, you are also likely to want shaver sockets, mirror lights, UFH and Jacuzzis. What you can fit and where you can fit it is strictly regulated, but common sense should prevail in the knowledge that water and electricity don’t mix ; consult a professional electrician about your selections and plans. Accommodating wiring isn’t usually as inconvenient as accommodating pipework but, again, having a precise location of where everything is to go is essential. Bathroom lighting is worth spending some time over as, from a safety aspect, you can’t install a lot of the usual light fittings and the bathroom specific versions can be quite expensive in comparison. Poor or underpowered lighting is never acceptable in a bathroom. One option is two separate lighting circuits so that you can have a more subdued effect when you’re having a relaxing soak in the bath and the normal full blast when you’re not.
Accessories and Extras
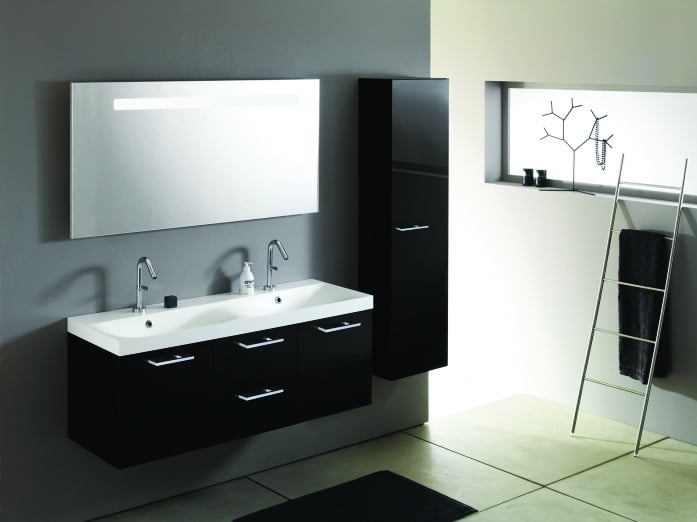
Although referred to as ‘accessories’ it’s still very important to allow for these when planning the layout. Traipsing wet and naked through the house half way through your shower to find the bottle of shampoo you forgot to bring with you is only one of the possible penalties; so don’t forget about storage. This may take the form of a standalone cabinet, integrated vanity unit or similar. Make a space allowance for it at the design stage and ensure the cabinet is big enough to hold your entire bathroom bits if you want to avoid the side of the bath looking like a supermarket aisle.
Tiles and Flooring
There are few bathrooms that don’t have tiles somewhere, and most have them everywhere bar the ceiling, window and door. Possibly it’s because there aren’t many alternatives for really wet areas, they’re cheap to have installed and they don’t wear out under normal conditions.
Even for DIY fanatics, if there’s more than a few square meters to do, getting a professional in to do the job is well worth the money as, for some reason, and considering the skill that’s involved, good tilers are surprisingly cheap to hire. If doing the job yourself, prepare the surface well. With a wooden floor, after making sure that all the floorboards are securely screwed down, you will need to put down a layer of well screwed down 12mm plywood at least. While this may upset your floor levels at the doorway, you need that extra layer to strengthen and level the floor. The doorway floor level issue can usually be solved easily by cutting the saddleboard in half lengthways.
It should go without saying that wall tiles and floor tiles are not necessarily interchangeable so check that whatever tiles you’ve chosen for the floor are slip proof.
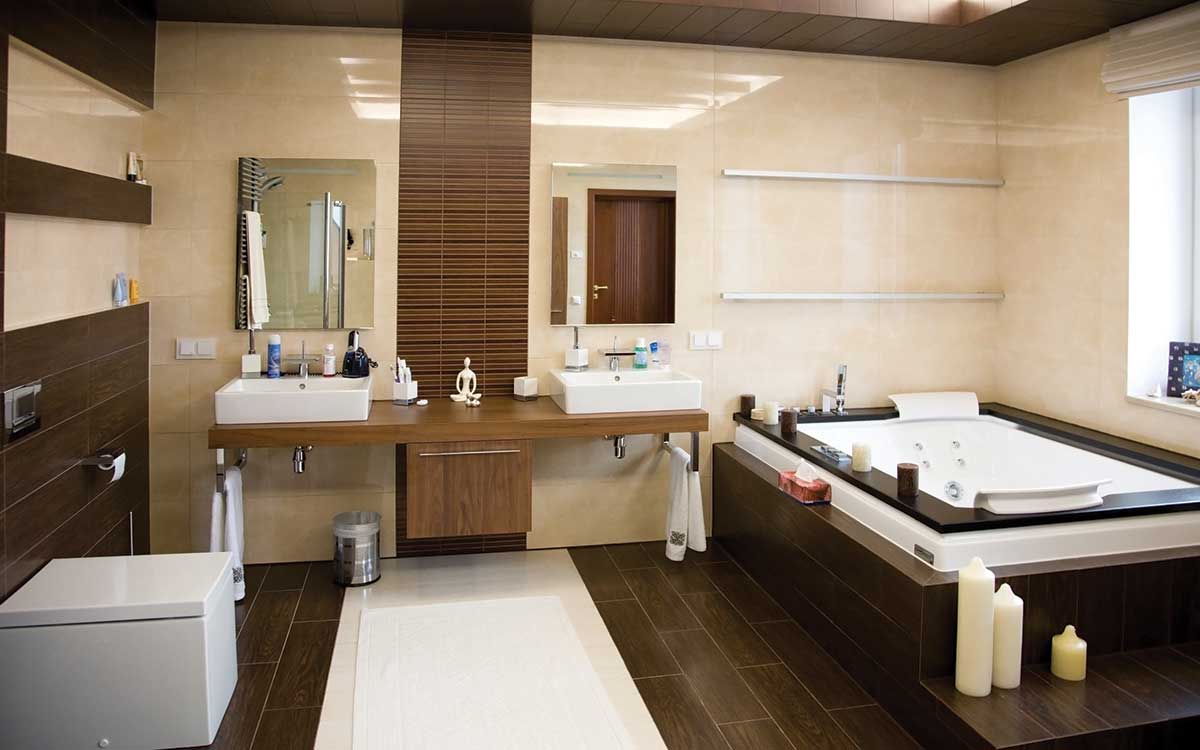
Naturally, unless you have UFH, ceramic tiles are not going to be warm underfoot so think about this and be happy about wearing slippers in the bathroom or having bathroom floormats scattered around. Other options to ceramic are cork, vinyl (forget about any memories of vinyl tiles from the 70’s), and carpet tiles are all well worth a look assuming the particular type you choose are suitable for bathrooms. If you’re looking for something more stylish, check out Marmoleum. It’s a little more expensive than ceramic tiles but is non-slip, waterproof and the designs and cushion comfort it delivers can be quite impressive. One downside (or maybe not!) is that fitting it is not normally a DIY job if you want it to perform as expected.
Wetroom Thoughts
Choosing to have a wetroom in your new build, be it for aesthetic or access reasons, involves surprisingly little extra work over a ‘normal’ bathroom. In the shower area you will probably be avoiding the use of a standard shower tray, however you will still need to profile the floor in that vicinity so that water drains towards the waste outlet. It is possible to do this by carefully shaving off a wooden floor or chipping /casting a concrete one to create the appropriate falls, and then inventing an ingenious method of incorporating a suitable trap. For an excellent time and stress saver though, consider a shower floor former. This is effectively a flat shower tray (approximately 25mm thick) that has been subtly profiled to drain towards the outlet and can be easily recessed into the existing/future floor. Fitting them is surprisingly easy on either a wooden or concrete floor (just follow the manufacturer’s instructions), and then they are ready to be waterproofed and finished with the system of your choice.
The waterproofing requirement for a wetroom is very similar to that for the standard shower tray approach mentioned above (and will take place at the same time in the process), except there is a lot more area to be covered as you will have to extend it well beyond the shower area, and there is no margin for error or shortcuts! Thankfully, the manufacturers of the various wetroom systems available provide excellent guidance on how to waterproof.
When it comes to wetrooms, many people like the idea of just having an open space and no shower screen. This is fine in a large bathroom but can be a problem with normal-sized ones. Think about how far the water might splash as you shower and the need to provide protection for keeping towels and toilet paper dry. The water from a shower is also going to contain soap and other materials so, if it lands on any surfaces such as mirrors, windows or sanitary ware, it will leave behind marks. As an intermediate step, look for a single clear panel that shields ‘sensitive’ areas. And don’t forget to take account of the water that lands on the rest of the floor area in the bathroom; you may find searching for a dry spot after your shower mildly inconvenient, but what about the other bathroom users who may be following after you?
Next Steps
Everything is looking brilliant on paper, but inside the house you’re facing bare walls … what next? Well, unless you are going to do it all yourself, you will need to consult with the various trades (plumbers, electricians, tilers, plasterers etc.), and make sure they all know what is being asked of them and that they agree with your plans and choice of fittings. If everyone is in agreement with the plan, make sure they can all meet your dates. In bathrooms it can be very awkward as, if one person doesn’t turn up on time, it means that everyone else will probably have to be delayed. However, the key timing issue is likely to be the availability of all those fittings you’ve chosen. It is usually best to wait until all the parts you’ve ordered have arrived and been checked before calling in the help. Some suppliers are notorious for delivering 95% of what you’ve ordered only to have a vital component missing – which you don’t discover until after everyone has arrived on site.
If you’re laying a concrete floor and plan to bury the waste pipes in it, you will need to locate the wastes as accurately as possible. Ideally put them in a duct of some kind if possible – this will provide you with a little wriggle room which is critical when it comes to fitting your shower tray in particular. Precise placement can be an issue if you are trying to take measurements off bare concrete walls and floors as you will have to include the thickness of the appropriate finishes in your calculations. A wooden floor is a lot more forgiving but do try for accurate placement nevertheless. If you’re planning to run the supply pipes through the floor, now is the time to place them. Again, try to put them in a duct if you’re laying a concrete floor and don’t forget to insulate them as well.
Any supply pipes and cables you are planning to bury inside the walls should be laid before plastering/plasterboarding commences. Take measurements from specific points or photograph where they are before you cover them up as you don’t want to put a nail through them later. If you’re planning on plasterboarding the walls, put the grounds in now.
Once all that’s done, you can test for leaks and cover up all your beautiful work with concrete and plaster! One word of warning; make sure the appropriate wall sheeting is used around the shower and that, in the area of the shower tray and around the bath, corners are kept to 90 degrees. If you’re planning to tile your wooden floor, lay any plywood you need at this point.
You’ve now completed all the really hard work – planning and getting the bathroom to the stage where you have finished walls and floors with the supplies appropriately placed. You should now have a nice ‘smooth’ room with the occasional pipe and cable putting in an appearance in (to the casual observer), random locations. Your next step is, unless you are installing a free standing one, to fix the bath in position. Get this right and make sure it’s perfectly level. When you’re in a hurry, it’s very easy to think that a bath that’s a few millimetres out of level isn’t going to be important. Depending on the design of bath, it might not be but, for most baths, those few millimetres amount to a bath that doesn’t drain completely and always has a little pond just to the side of the plughole! Also, make sure it is set at the correct height for the bath panel (if you’re fitting one), not forgetting to take the floor finish into account. Bath panels can be incredibly tricky to deal with and the bane of many a bathroom fitter’s life. Once the bath is very securely in place (do everything recommended and more to ensure this as they take a lot of weight and abuse!), you can now put an initial seal around it.
This is also the time to fit the shower tray. You may need to treat the shower area at this stage with your chosen waterproofing layer, or you may be able to wait until after the tray has been fitted. Again take great care setting the tray as, just like the bath, it needs to be exactly level. However, unlike the bath, any moderate indiscretions with the levelling of the tray will be punished as soon as you start fixing the shower enclosure in place. Make sure you follow the manufacturer’s instructions exactly on how to fix the tray to the floor. Most trays need to be bedded in concrete (even some plastic ones), and bedding them in silicon can still allow some movement that you absolutely do not want. Once the tray is set in position, seal around it as appropriate for now.
Most baths and shower trays come well packed to avoid cracks and scratches. They also usually come with a thin, clear plastic protective layer that is often hard to spot. If present, at this stage only peel back this layer as far as you need for sealing purposes – you’ll realise why after the tilers and painters have gone! Before the tilers/painters/floor-layers arrive, make sure you cover the shower tray and bath with blankets and/or cardboard to protect against the occasional dropped tile or hammer.
Now you are very much on the home straight. With the tiles and the floors done, all that remains in most bathrooms is to fit the WHB, WC, heaters and similar items. It’s the moment of truth for your layout, and to find out if you’ve correctly positioned the plumbing and electrics (which, at this stage, are probably buried deep inside walls and floors) correctly. The shower enclosure, bath screen and other accessories are usually the last bits. Fitting shower enclosures can be shockingly complex and, the sight of that medium-sized sack of different screws, washers, nuts and odd plastic bits tumbling out of the box is enough to send a cold shiver up many people’s spines.
Future Perfect
Fitting out a bathroom is an expensive exercise and one you don’t want to repeat, but you might find yourself in just this situation if you have not checked the composition of your water supply before building. There are three potential problems. Mains water may be heavily chlorinated or you may be in a hard water area causing a build up of limescale. If you are drawing from a bore hole or spring it’s essential to have the outflow analysed as it may contain a lot of iron causing brown staining on white china, the water may be acidic (a pH below 7), causing them to corrode and when combined with copper pipes produces a green staining. Limescale is probably one of the worst offenders as the resulting build up can not only cause the shower holes to block, but cover the element also so that the heat can’t escape and the element will fuse when it overheats.
Home and almost Dry
After checking that everything is correctly sealed, doesn’t leak and works as expected, the final task is a thorough clean and polish to get rid of all the dust and grime. Hopefully, your tiler will have warned you about trying to clean the grout dust off the tiles with a wet cloth (it won’t work as it just pushes the dust around the tiles – use a dry cloth first). Now for that relaxing bath….

