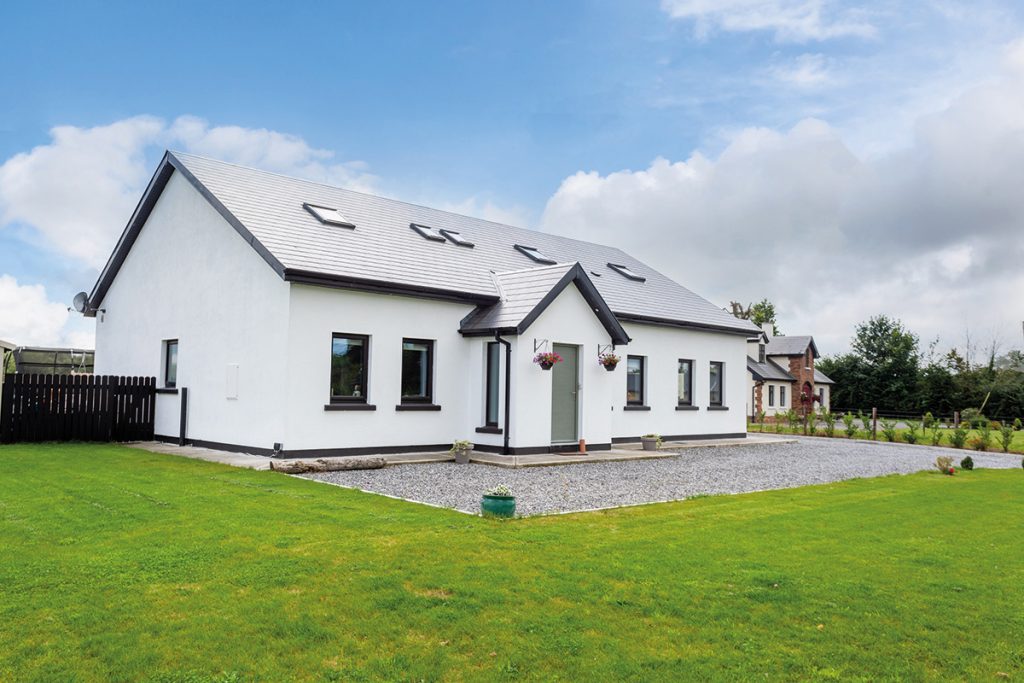
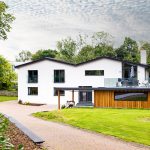
Alan and Ber Glass not only built their family home on a budget, they did it in such a way that regular bouts of respiratory attacks are now a distant memory.
In this article we cover:
- House design for a cost optimal build
- Planning permission process and site assessment
- How they kept the build on budget
- Choices on site to rein in the budget
- Where they could have saved more and where they splurged
- Insulation, airtightness and systems choices
- Top tips for a budget build
- Floor plans
- Full timeline, supplier list and specification
“Our only option, if we wanted to get the family home we needed, was to self-build,” says Ber. “We had bought a two bedroom apartment, before we had children. Then when we started our family, we moved to my aunt’s house where we stayed for a while.”
Site size: 3/4 acre
House size: 2,700 sqft
Bedrooms: 4
Construction: blockwork (cavity wall)
Heating and hot water: air to water heat pump
Ventilation: mechanical with heat recovery
BER: A2
Cost (build and finishes): €185k
“With negative equity still in the apartment, and the need to have a 20 per cent deposit for a mortgage on an existing home, we knew we’d have to wait at least five years to buy a house. So we started looking for a site and found one fairly quickly.”
[adrotate banner="57"]“It was ideal in that it was a good site to get planning permission on. It wasn’t zoned in the County Development Plan as being in an area with a local needs provision attached.”
Design stage
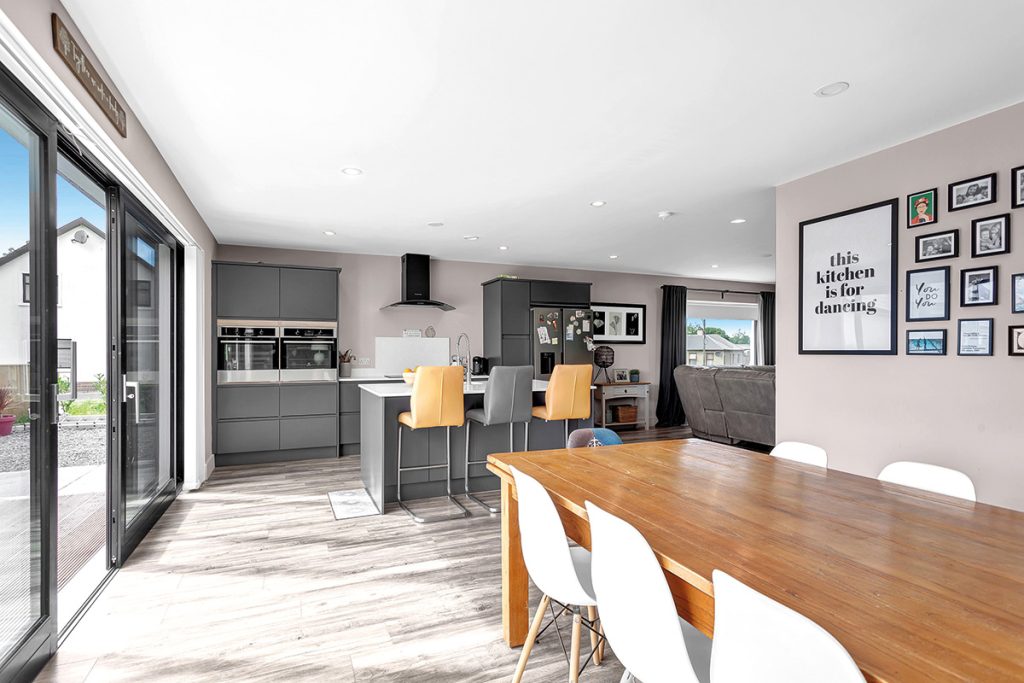
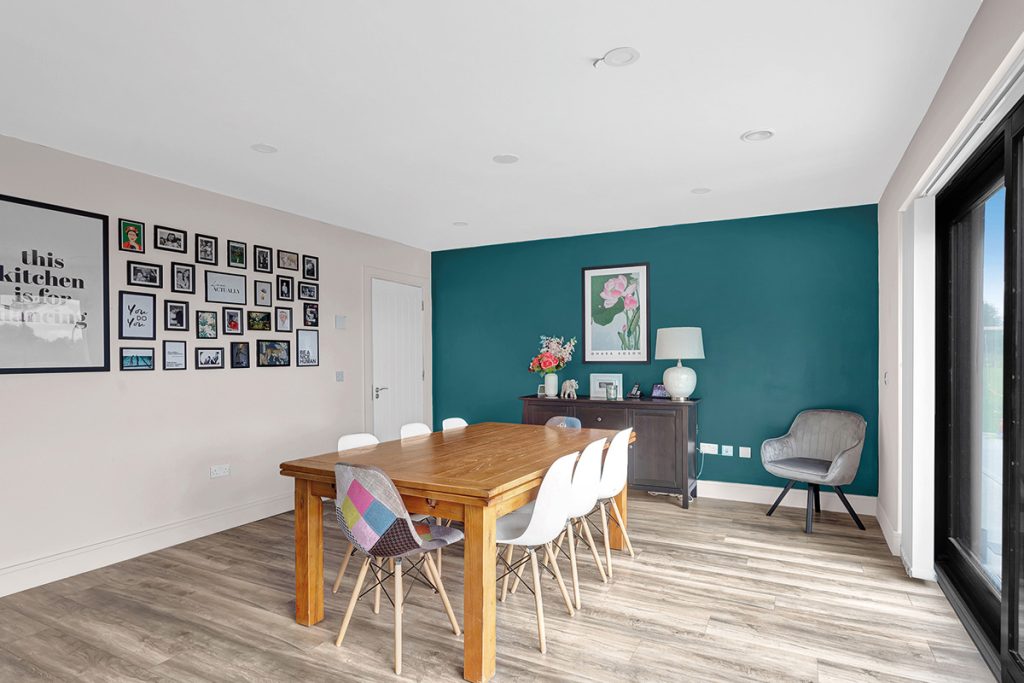
“When we bought the site, we had three children and not a huge budget,” says Alan. “So we started the design process with what we wanted out of the house: something simple, open plan, bright and that would make it easy to keep an eye on the kids.”
“I trained as a plumber and now work in the plumbing and heating side of things. I knew if we kept the rooms to the same size, and to standard measurements, that could save us quite a bit in construction costs,” he says.
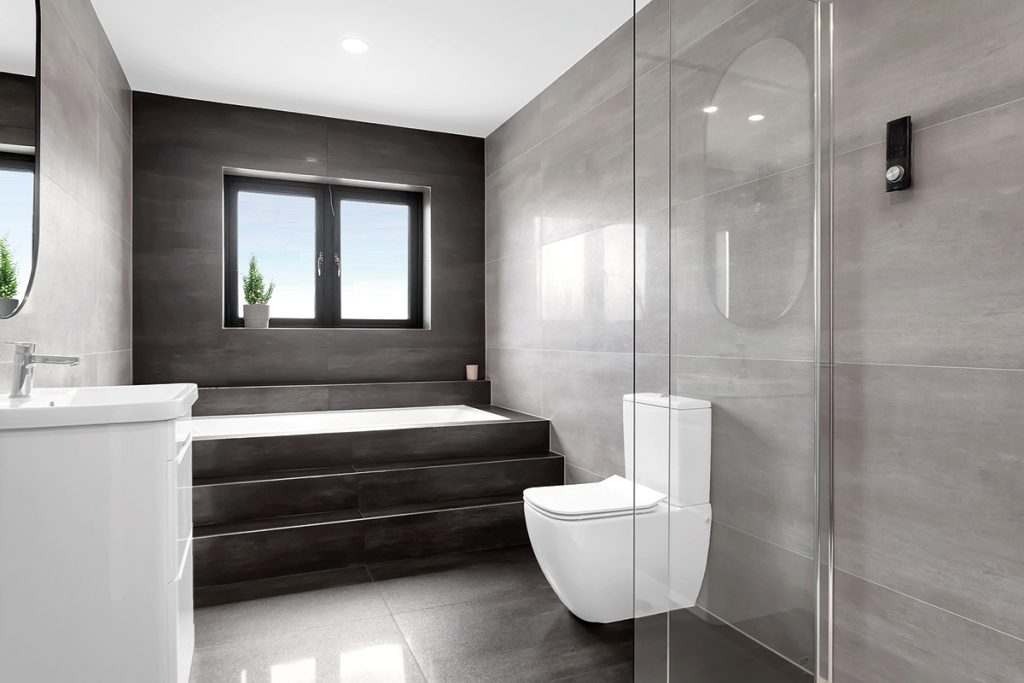
“I did want to have our living room a step down from the rest of the open plan but it would have added cost, adding complication to the build, so the compromise was to have a step up into our bath, and I love it,” says Ber.
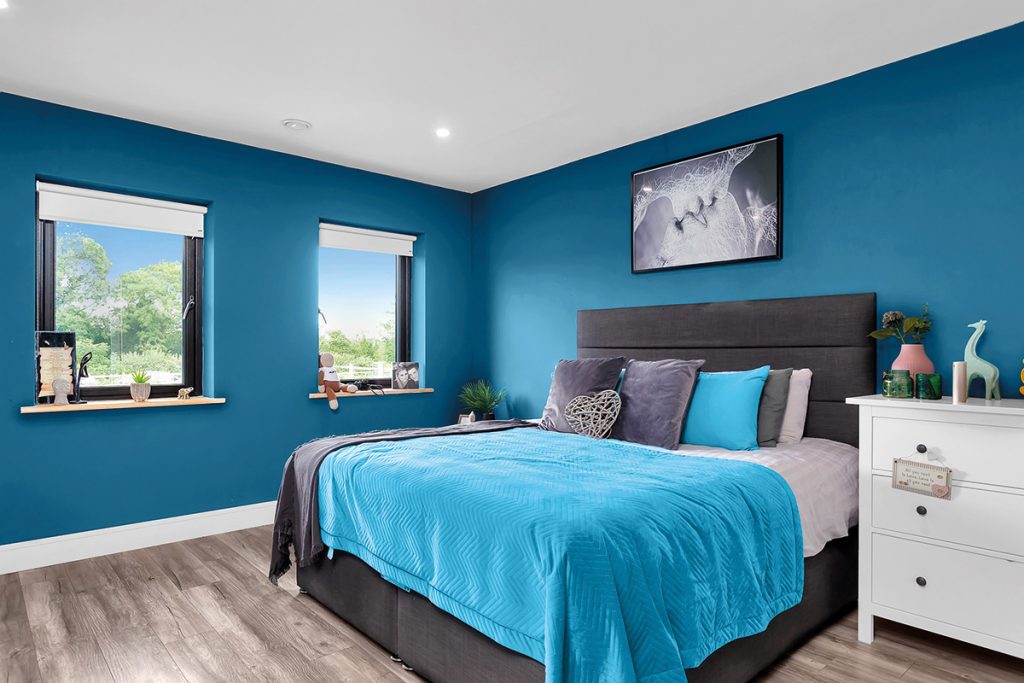
“We actually went all out on the bathrooms and could perhaps have used the space for more sleeping quarters – we only really use the family bathroom and with five children now, we could have used an extra bedroom.”
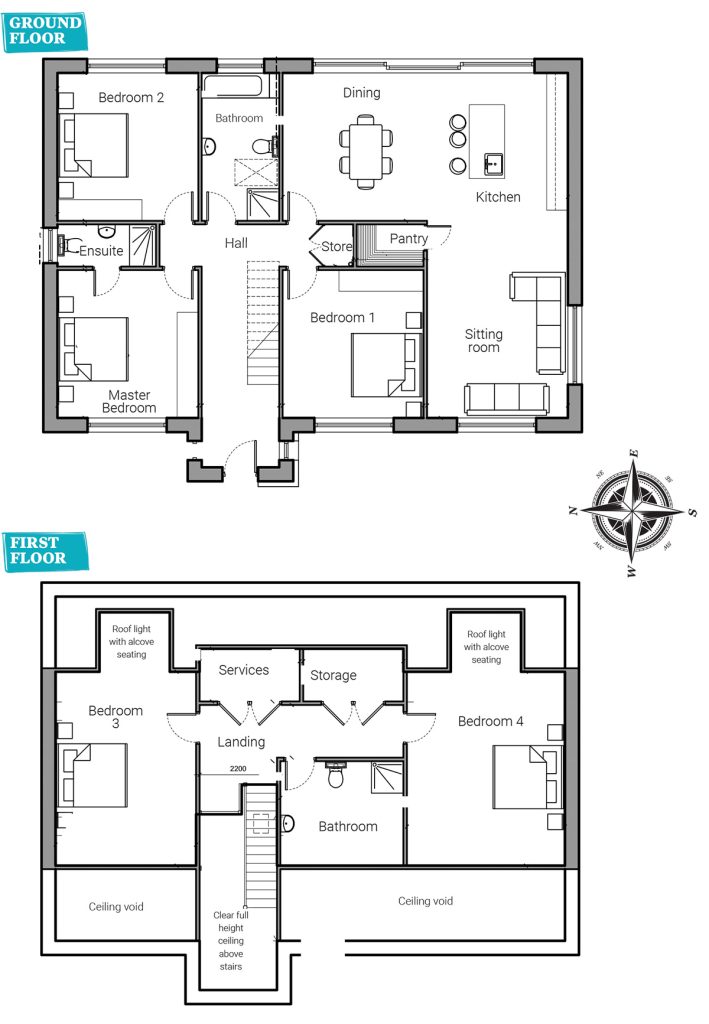
Alan and Ber started the design process with a sketch pad. “I sketched out floor plans with measurements, in a compact layout with square rooms,” says Alan.
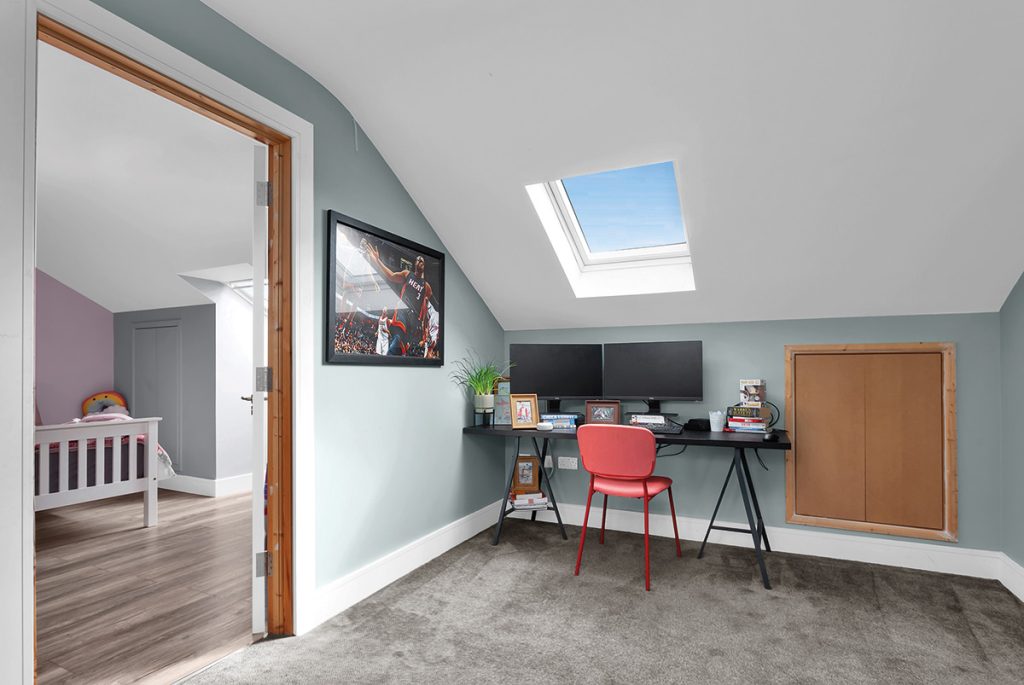
“We got a draughtsman to put it in a software and he suggested a couple of changes – mostly in terms of fire safety. Escape routes, roof lights. He also suggested splitting the upstairs layout. We had two bedrooms and he said it would add value to have an extra one.”
“He then wanted to know where the chimney was, but we didn’t have one,” says Ber. “Every house I’d lived in before depended on lighting the fire first thing in the morning. We didn’t want that anymore, neither did we want to be cleaning out ashes.”
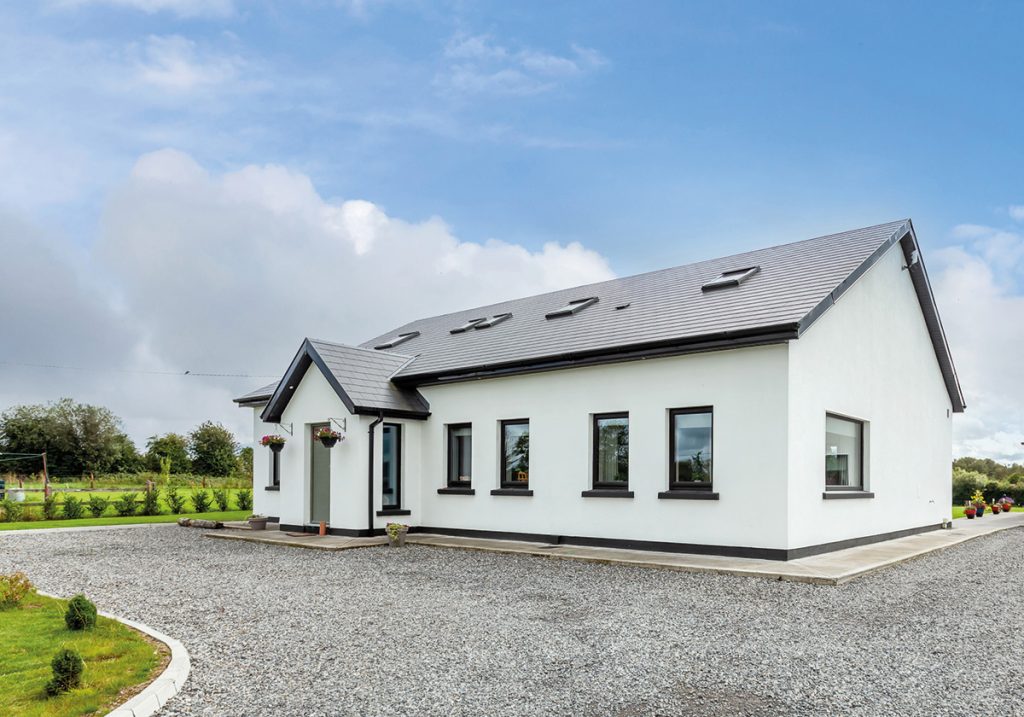
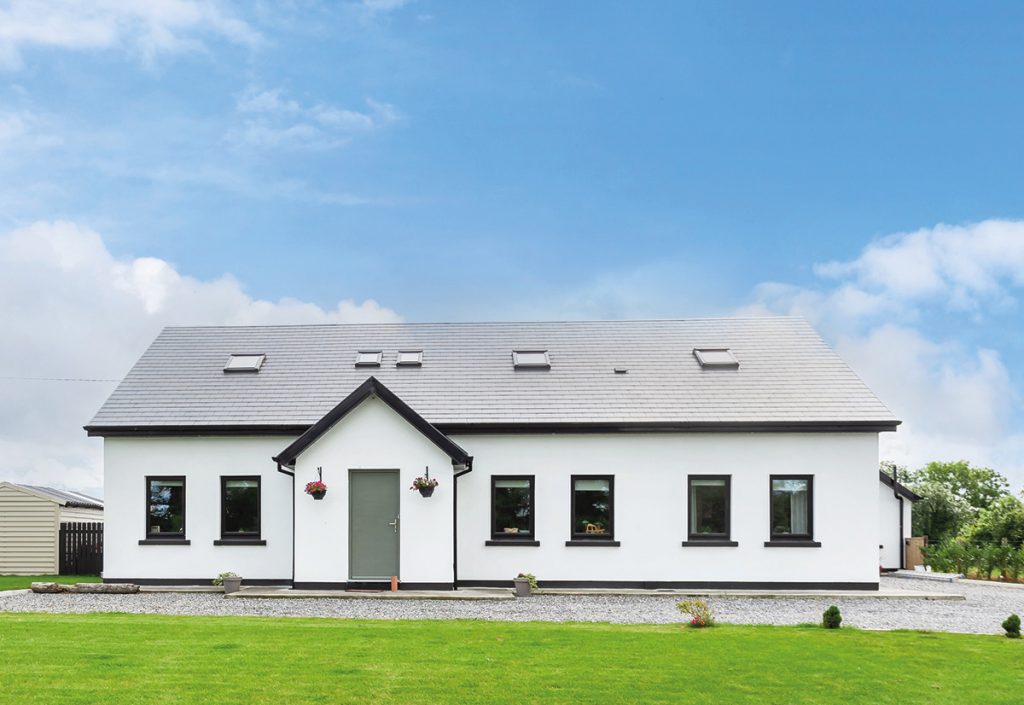
For the windows, the original plan was to go with three horizontal ones at the front, 2.2m wide by 1.2m high. “We thought the planners might object so went with a square shape and a more traditional frontage,” says Alan.
“For the same reason we decided not to add any windows in the gable, to prevent overlooking. I was probably overcautious as the sitting room side doesn’t overlook the neighbour.”
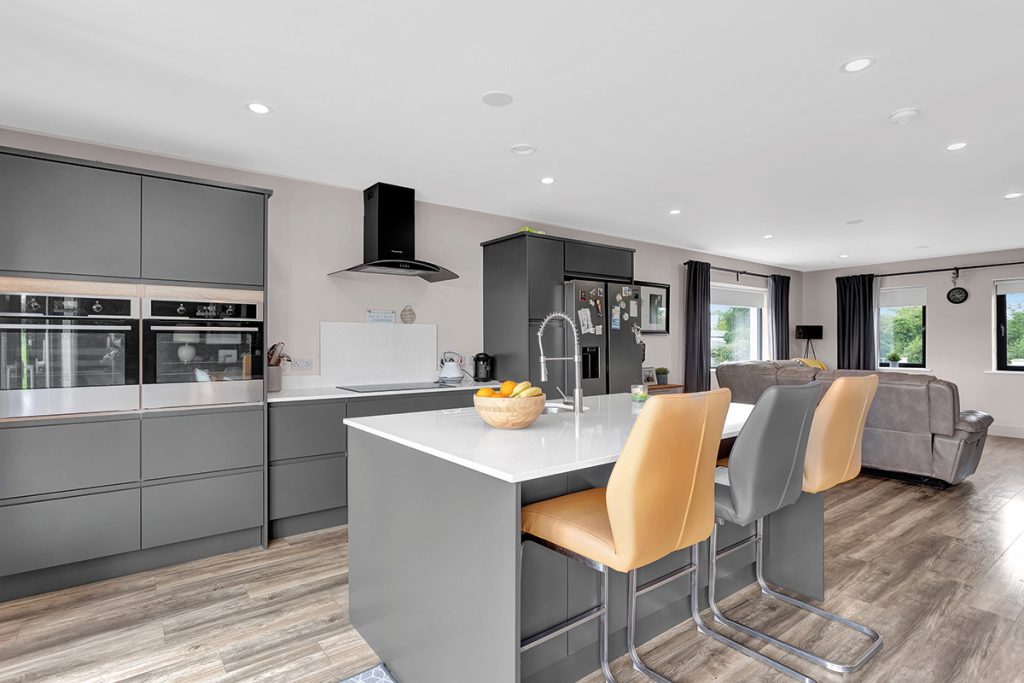
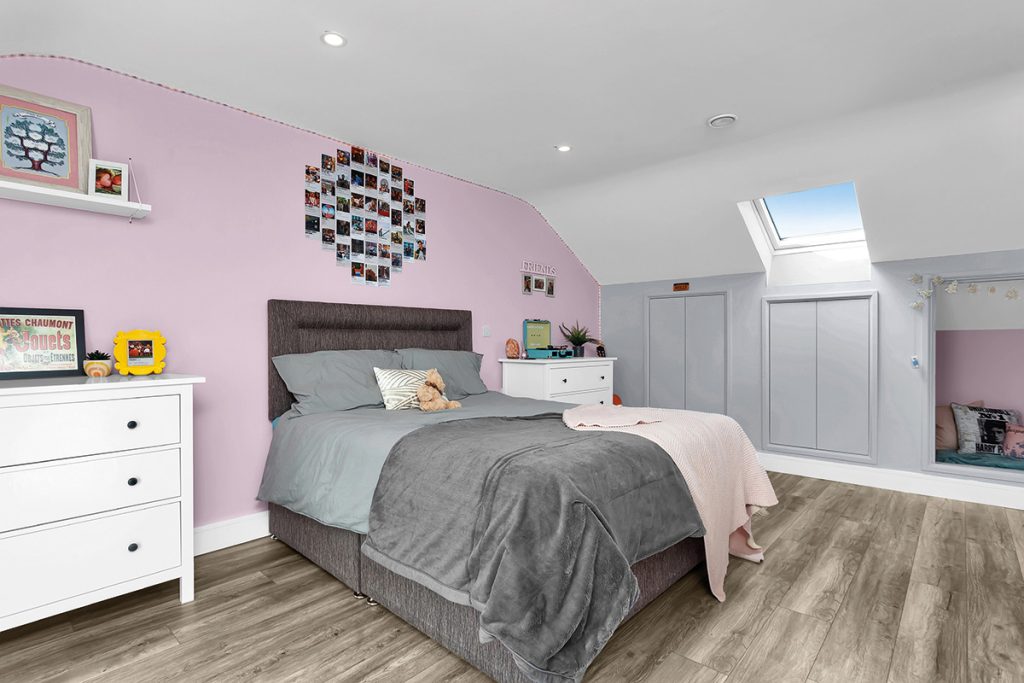
“An extra window downstairs would have added another angle of light, and upstairs it would have given us more options. There’s only one fire escape rooflight in our eldest’s bedroom, which is 5.6m by 4.5m, and if we’d had a gable window we could have split the room in two.”
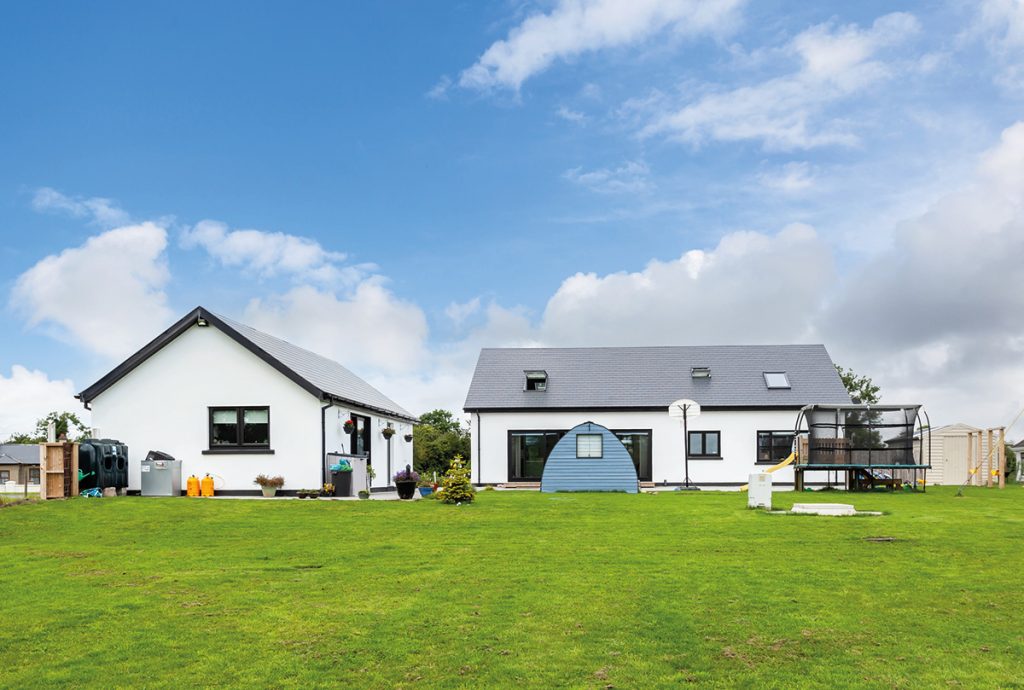
They also went with south facing glazing, at the back of the house. “To a certain extent, we bought into what we saw on television by installing the 6m long sliders,” says Ber.
“I was adamant that in our house, everyone would use the front door, so we don’t have a back door. What ends up happening is everyone just comes in through these sliders. In summertime, they are great if it’s warm as they can be left open. But when it rains we keep them shut and it’s roasting!”
“In wintertime, we do appreciate that they have a greenhouse effect and magnify the sun. So if we were to do it again we would keep the sliders but just not as big as we have them now. Probably just half the size – we currently have four 1.5m long panels. It is a really nice feature.”
“Perhaps the main thing we would do differently is not install the underfloor heating and the heat pump for space heating,” says Alan. “The only time we have the heating on is to warm up the floor which isn’t really necessary. It’s on a time lock so it only uses night electricity rate, heating up the floor on a Monday which lasts until Thursday.”
“I find that as long as the heat pump doesn’t have to work to below 5degC it’s fine but that’s when you need it, when it’s cold outside,” he adds. “If the outside temperature drops to zero the heat pump goes into defrost mode because it’s blowing cold air.”
Process
“Once planning permission was secured, we filed our commencement notice and registered the project on the Building Control Management System (BCMS), choosing the opt out route,” says Alan.
“I put myself down as the builder and got an engineer down as the designer and to sign off on the stages of the build. We uploaded the documents on the BCMS together, as the authorities are pretty rigid in terms of what they need.”
“We had to get our provisional building energy rating (BER), showing compliance to the energy requirements of the building regulations, so had to get a registered BER assessor to do that for us – we used someone who works for the engineer.”
“That involved calculations for the insulation and also took into account the choice of an air to water heat pump for our heating system. We decided to only have underfloor heating downstairs and no heat emitters upstairs, and we’re glad we did.”
“The heat recovery ventilation system is good at distributing the heat evenly and keeping the house at a steady temperature throughout,” says Ber. “That really was the best thing we put in the house – in the bathrooms the sensors pick up when you’ve had a shower and automatically puts the fan on boost mode for 15 minutes to clear the air.”
“The air quality is so much better too,” she adds. “One of the children has hay fever, and since moving in three years ago she hasn’t complained of symptoms nearly as much.”
“I’ve seen a reduction in issues with my asthma, compared to being used to regular GP visits. I used to be on antibiotics every three weeks, and I would end up in hospital with asthma attacks pretty regularly. Thankfully that’s no longer the case.”
Hands on
“Ber and I project managed the build ourselves,” says Alan. “We organised everyone, and it wasn’t too bad lining them up. Our block layer is a friend, and I did quite a bit of the other jobs. It was the concrete workers, for the poured floors and the paths outside that delayed us a bit. Trying to get someone reliable.”
“In our area, a lot of the concrete guys mostly work in agribusiness and the summer is their busy time. Of course that was when we had to get our work done so the timing wasn’t great but worth waiting for.”
“We were also lucky that Ber’s cousin had some free time, and a 13 tonne digger. He cleared the site for us, we then marked it out and had foundations poured within a week.”
“We were lucky the soil was good,” adds Alan. “It’s a raised site, and there was no issue with percolation so we have a standard treatment tank. On the other side of the road, just 50m away from our house, the site is sloping and there are issues with septic tanks there. We were quite lucky to avoid that headache.”
Insulation
“Before we started the build we were living in my aunt’s house, which was a nice size,” says Ber. “It was a small cottage that had been extended. The downside was the suspended floor construction. No insulation meant the house was cold in winter so insulation was important to us from the start on this build.”
“We insulated as much as we could – we put in PIR in the walls, roof and floor,” says Alan. “I did the floor and rafter insulation, and the blocklayer did the walls. I made sure we kept the insulation layer continuous and wrapped membrane all around the building elements.”
“For the floor I chose not to add a screed to cover the underfloor heating pipes. Instead, I put the underfloor pipes in the concrete slab. Usually you’d have the 150mm slab, then insulation then a 50mm to 70mm screed on top.”
“We wanted the floor to be able to retain heat, as opposed to have it be more responsive. There’s a trade off between how long the floor will keep the heat and how quickly it responds to the heating coming on.”
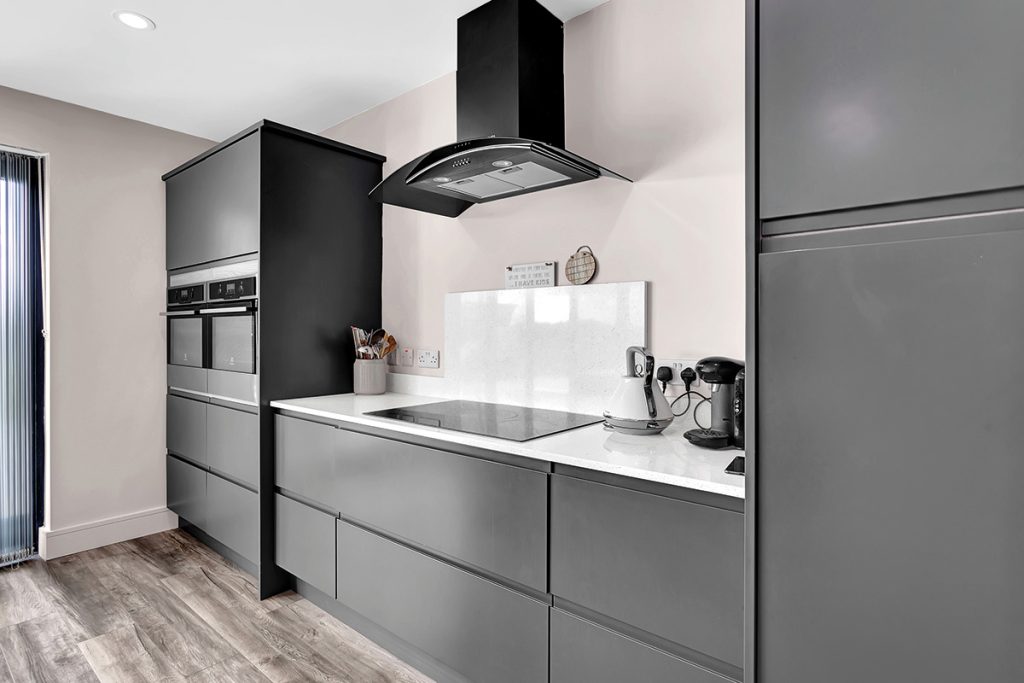
Alan also fitted out the kitchen himself, saving on the installation cost. “When I was a kid, every summer and after school I’d spend time doing carpentry with my dad, so I was happy enough to fit our kitchen,” says Alan. “I asked a friend from work to help me install it.”
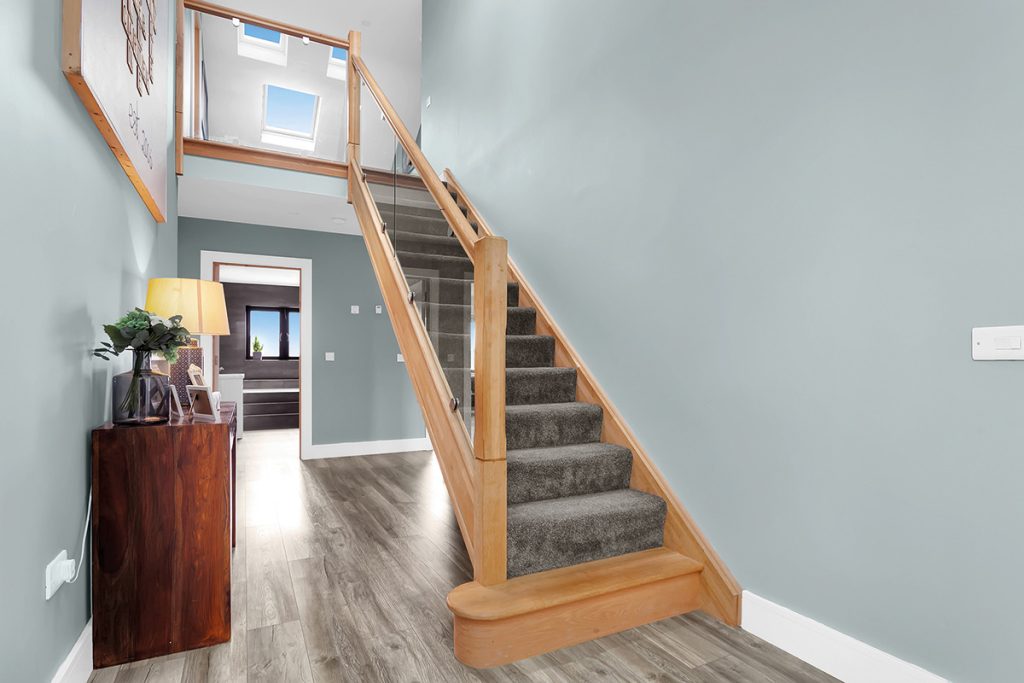
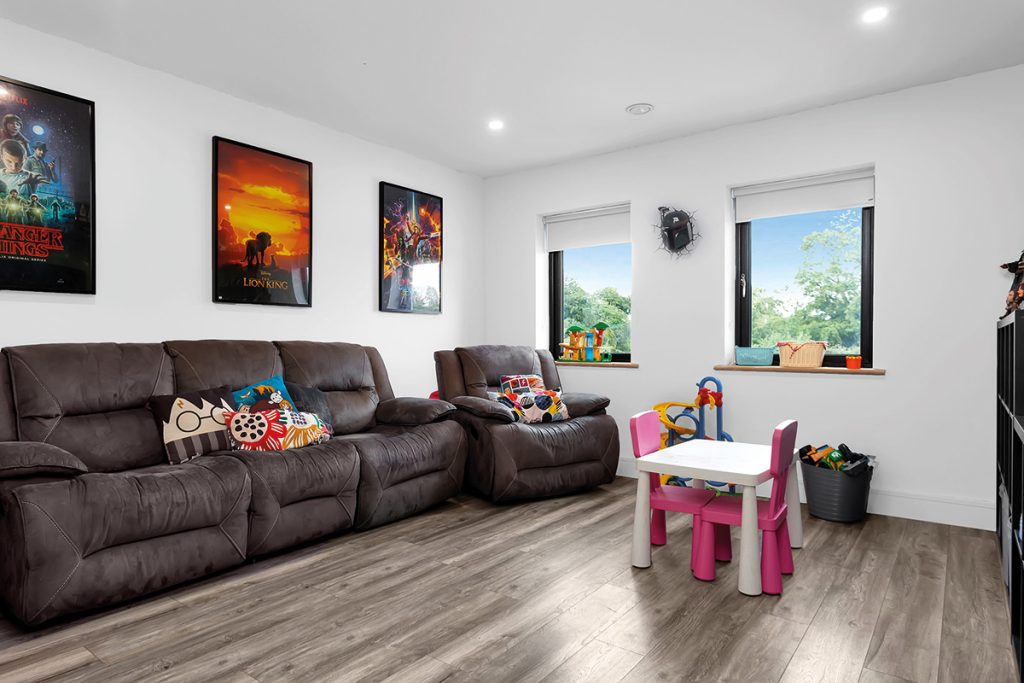
“For the upper storey, we didn’t have the budget stretch to a precast concrete slab, and even though I did put in ply above the joists we probably should have carpeted the upstairs instead of using laminate,” he adds.
“It was a relatively quick build but it did mean working late nights to get it done and moving back in with mum for a couple of months as we were completing it,” says Ber. “In the end we got the family home we wanted and the satisfaction that we had complete control over the process and the finishes. We love it.”
Q&A with Alan & Ber
What are your favourite features?
Ber: I love the house! The bathroom downstairs with the steps, the lights in the hallway. Pretty much everything.
Alan: The hot press with all the pipes. Living in the house, I love our living space. The sitting, kitchen, dining open plan – it’s great that it’s all in the same area. We are there all the time and it’s very communal and comfortable.
What would you change?
Ber: A bigger utility room would be nice but realistically, we got everything we wanted for our budget. We have stacked shelves to the side and across which was perfect for when we had three children, at the time of designing the house, but now we have two more which means more clothes.
What surprised you?
How well the heat recovery ventilation system would work. There’s only the upkeep of changing filters when needed and that’s easy to do.
Would you do it again?
It’s our forever home so we can’t see us doing it again, but it was an enjoyable experience. So you never know!
Alan & Ber’s tips
Stick to your guns. Alan says he got conflicting advice on the build itself, and he’s glad he didn’t listen to it all. “People told me I was mad not to insulate the walls internally with insulated plasterboard. But I wanted a sand/cement plaster downstairs, to store heat in the inner leaf of the masonry walls, and it’s a strategy that has worked for us,” he says.
“I think too much emphasis is put on the heat source of a new build, with people investing a lot in the equipment for the likes of ground source heat pumps. But if you look at it, in our case we not only have a low space heating demand we only need it for three or four months of the year. With the levels of insulation specified in the building regulations, and with the heat recovery system working 24/7, money spent on retaining heat is well worth it.”
Limit the number of bathrooms. “They require cleaning so think about how many you really need. My mum said we wouldn’t need so many,” says Ber, “and she was probably right.”
Suppliers
Groundwork
Brendan Kelly Agricultural and Plant Hire, tel. 0579354605
Builder’s merchant
Fletcher’s Hardware Portarlington, fletchershardware.ie
Kitchen
Panelling Centre, panellingcentre.ie
Bathrooms
Niko Bathrooms, nikobathrooms.ie
Heat Recovery System
ML Vac & Vent Systems, mlvacandvent.ie
Photography
Damien Kelly, damienkellyphotography.com
NI calling ROI prefix with 00353 and drop the first 0
Spec
Walls: cavity wall construction full fill with 150mm PIR board, internal and external walls finished with sand/cement screed
Roof: 100mm PIR between rafters, 50mm PIR boards underneath
Floor: 150mm PIR below concrete slab
Timeline
March 2018
Site purchase
Jul 2018
Commencement notice
Jul 2018
Build start
Late Nov 2018
Blocks and roof finished
Mid Jan 2019
Percolation and groundworks
Feb 2019
First fix finished
Mar 2019
Plastered
April 2019
Second fix, Electricity connection & Tiling/wood floors
May 2019
Moved in

