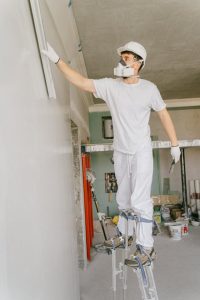
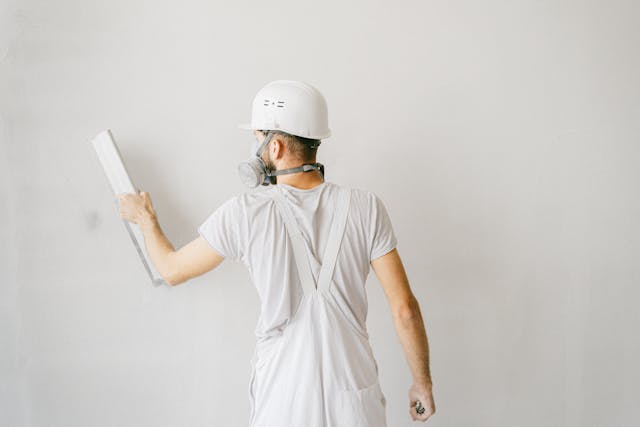
When it comes to plasterboard, you have two main finishes to choose from, board and skim or taping and jointing.
Reaching first fix is a major milestone in your self-build journey. With the structure and internal services now in place, you can move on to the fixtures, fittings and finishes that will turn your build into a home.
To skim or dryline
But before you get to that all-important second fix, your internal walls need to be covered and you have two choices: skim or dryline. Plastering is the most common route. For blockwork (i.e. cavity walls), this could be a cement render or a gypsum-based undercoat and skim applied directly to the wall — or alternatively, plasterboard. Whether insulated or not will depend on the thermal performance of the wall buildup. For timber frame, plasterboard is the go-to, as the studs are already there.
Plasterboard comes in a range of sizes and finishes, with either square or tapered edges. Tapered boards are typically preferred by contractors for both skimming and taping, as they help produce a flat surface.
The standard plasterboard thickness is 12.5mm, although 15mm is increasingly used, but not yet standard. It’s often specified for enhanced fire resistance or acoustic performance, particularly in apartments, commercial settings or where Building Regulations require extra fire protection.
9.5mm boards are also available and used in situations where weight matters, such as ceiling overlays or in curved wall applications, but not typically used in new builds.
[adrotate banner="58"]Specialist high-performance boards offer improved acoustic, moisture-resistant, or fireproof properties. Some are fibre-reinforced to hold heavier fixings such as TVs.
Though fibre-reinforced boards cost around twice as much, they are tougher, easier to joint, and allow direct fixing without the need for battens.
Board and skim
This approach involves fixing the plasterboard to the wall — either screwed to battens or glued using the dot and dab method — followed by two skim coats of plaster, each roughly 1mm thick. A third coat is possible but rare.
Dot and dab involves applying adhesive in dabs or ribbons directly to the wall, then pressing the plasterboard into place. The adhesive layer is about 25mm thick, creating a slight cavity behind the board. To improve airtightness, it’s best practice to apply a continuous ribbon of compound around the board’s perimeter, service entries and openings. Dabs should cover at least 20 per cent of the board surface.
 This cavity can pose problems when trying to fix heavy items, like a TV bracket, directly to the wall. That’s why timber battens are sometimes fixed to the wall first, with plasterboard then screwed onto them. You can install insulation in the cavity, and the battens provide secure fixing points for heavy objects, located using a stud finder.
Joints are taped with paper tape and a jointing compound before skimming begins. The two skim coats are applied in opposite directions—one horizontal, one vertical—to flatten any imperfections. After 15–20 minutes, a ‘flattening’ pass is done, and once the plaster has firmed up (‘gone off’), water is added for a final smooth finish.
Plasterers generally work in sets of three walls (known as a set or gauge), with experienced tradespeople completing up to three sets a day. The result is a beautifully smooth and highly durable surface.
While many believe a skim finish gives better airtightness, others say the difference is minimal. Still, wet plaster remains a preferred finish for its appearance and longevity.
The downsides? It’s more time-consuming and expensive. Good plasterers are in demand, and drying time (around two weeks, depending on conditions) must be factored in before painting. DIY plastering is strongly discouraged due to the skill involved and risk of cracking or unevenness.
Even the best plaster job can crack if the building moves. Using paper tape helps reduce cracking compared to scrim.
Indicative cost: £24/sqm (materials + labour).
Taping and jointing, aka drylining
Taping and jointing can be DIY-friendly, although some practice is needed — paint won’t hide poor joints.
Use tapered edge boards for best results, and if the budget allows, opt for soundproof boards to reduce the hollow feel often associated with drylining.
As with board and skim, plasterboard is fixed to the wall by screwing or dot and dab. Joints between boards are then taped and covered with jointing compound, and screw holes filled. Additional layers may be needed in corners, around windows, and at the ceiling junctions. Once dry, all joints and filled holes are sanded smooth, ready for paint.
A skilled professional can usually dryline a house in around five days, with a day’s pause midway for drying. Time-consuming joint taping can be sped up using purpose-made tools.
This method is faster, cleaner and more cost-effective than skimming. Less moisture is involved, so you can decorate sooner.
That said, the finished look is often less smooth and a bit dull compared to a skim coat.
Indicative cost: £16/sqm drywall to wall (materials + labour).
The verdict
While materials for both approaches cost roughly the same, labour and drying time make board and skim the slower, pricier option.
If you’re prioritising speed and budget, taping and jointing is the better fit. But if you want a flawless finish, skimming is worth the extra time and money — provided you can find a skilled plasterer and accept that some cracking may occur.
ECO OPTION
Plaster alternatives
Gypsum is the standard for internal plaster, but lime and clay plasters — materials used by our ancestors — are making a comeback. Though more costly, they appeal to those seeking natural, breathable materials that help regulate indoor humidity and temperature.


